Do you want to subscribe your visitors to a ManyChat sequence from WordPress? When you create a ManyChat WordPress integration, you can send targeted messages to the people who fill out your form using a Facebook Messenger bot.
In this article, we’ll show you the easy way to use your WordPress forms to trigger ManyChat Sequences.
Create Your ManyChat WordPress Form Now
What Is a ManyChat Sequence?
A ManyChat Sequence is a series of messages that are sent using a Facebook Messenger bot.
You can customize the messages the chatbot sends and choose the delay between each message in the Sequence.
For example, you could create a simple order form in WordPress, then use a Facebook Messenger chatbot to ask for a product review a week later.
Using ManyChat Sequences, you can:
- Send targeted messages to people who’ve purchased items in your store
- Automatically send Facebook messages asking your customers to fill out a product review form
- Share new content on your blog with your Subscribers
- Gather feedback and comments in Messenger that you can respond to personally.
If you think these techniques would help your business, you’ll find more lots more ideas in our ultimate guide to conversational marketing.
So now we know a bit more about ManyChat sequences, let’s put our WordPress forms to work.
How to Make a ManyChat WordPress Integration
In this example, we’re going to create a simple WordPress ManyChat integration to remind people to join a Facebook Event.
Here’s a list of steps we’re going to work through:
- Install the WPForms Plugin
- Create Your ManyChat WordPress Form
- Publish Your ManyChat WordPress Form
- Connect WPForms to Zapier
- Connect ManyChat to Zapier
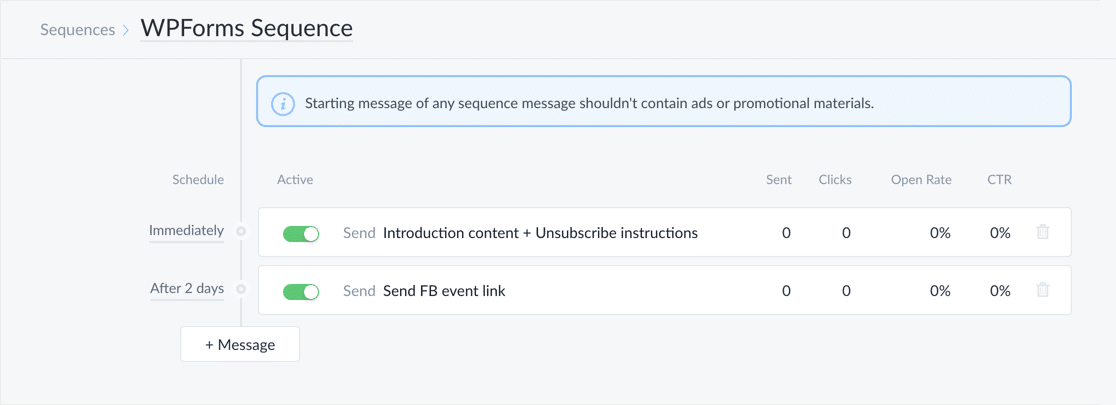
You’ll need to log in to ManyChat and create a Sequence before you start working through this guide.
Step 1: Install the WPForms Plugin
Start by installing and activating the WPForms plugin.
If you need help to install the plugin, see this guide on how to install a plugin in WordPress.
All set up? Great. Let’s create a ManyChat form.
Step 2: Create Your ManyChat WordPress Form
Start by creating a new form in WPForms. In WordPress, navigate to WPForms » Add New.
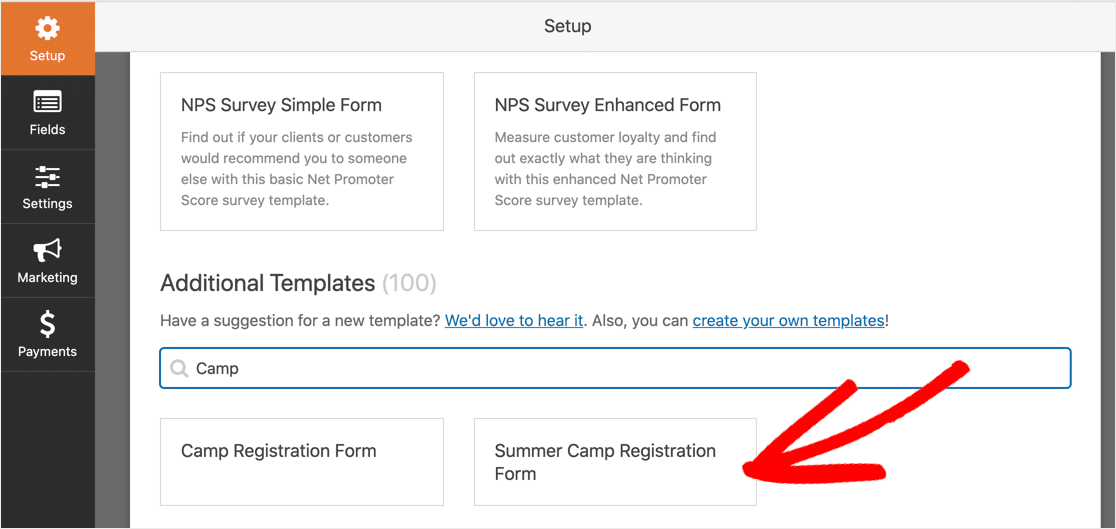
To make this step really easy, we’re going to use the camp registration form template. When someone fills out the form, we’ll add them to the Sequence so that they can receive reminders on Messenger.
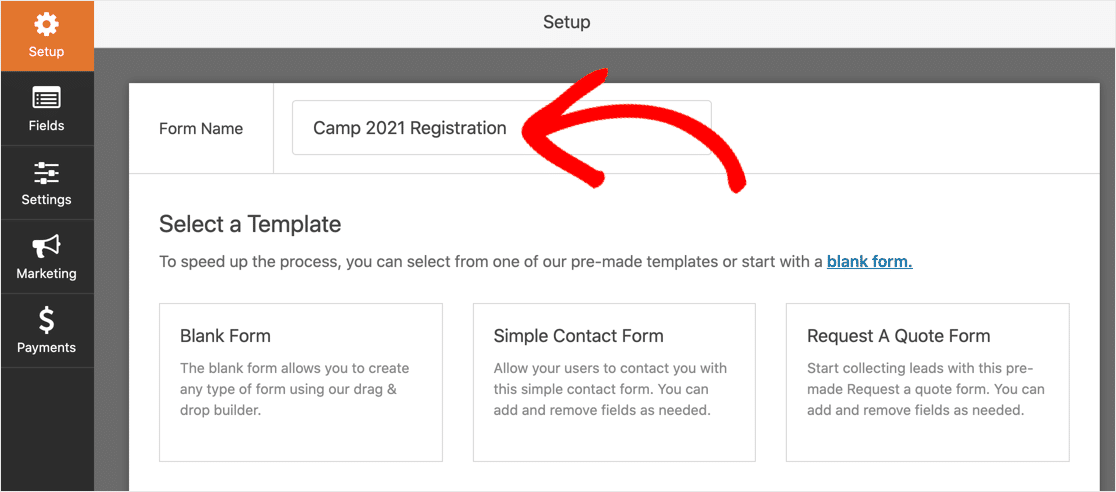
At the top, give your form a name you’ll remember later.
Next, scroll down and search for the template and click it.
WPForms will open the form builder so that you can customize your form. If you’re not sure how to do this, we have a complete guide to creating your first form that will help.
Don’t forget to click the orange Save button to save your form.
Now let’s publish the form on your website.
Step 3: Publish Your ManyChat WordPress Form
It’s really easy to publish your form. WPForms lets you do this without editing any code.
You can publish your form in 3 places:
- In a blog post
- On a page
- In the sidebar.
Let’s add our form to a page.
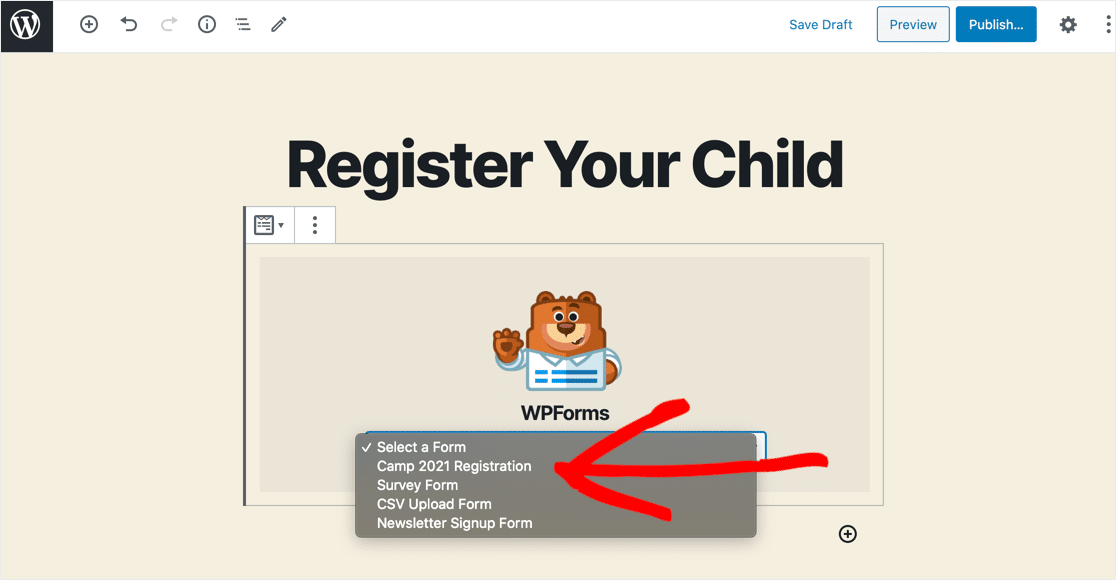
In the block editor, click the plus icon and search for WPForms. Click the icon to add the widget to your page.
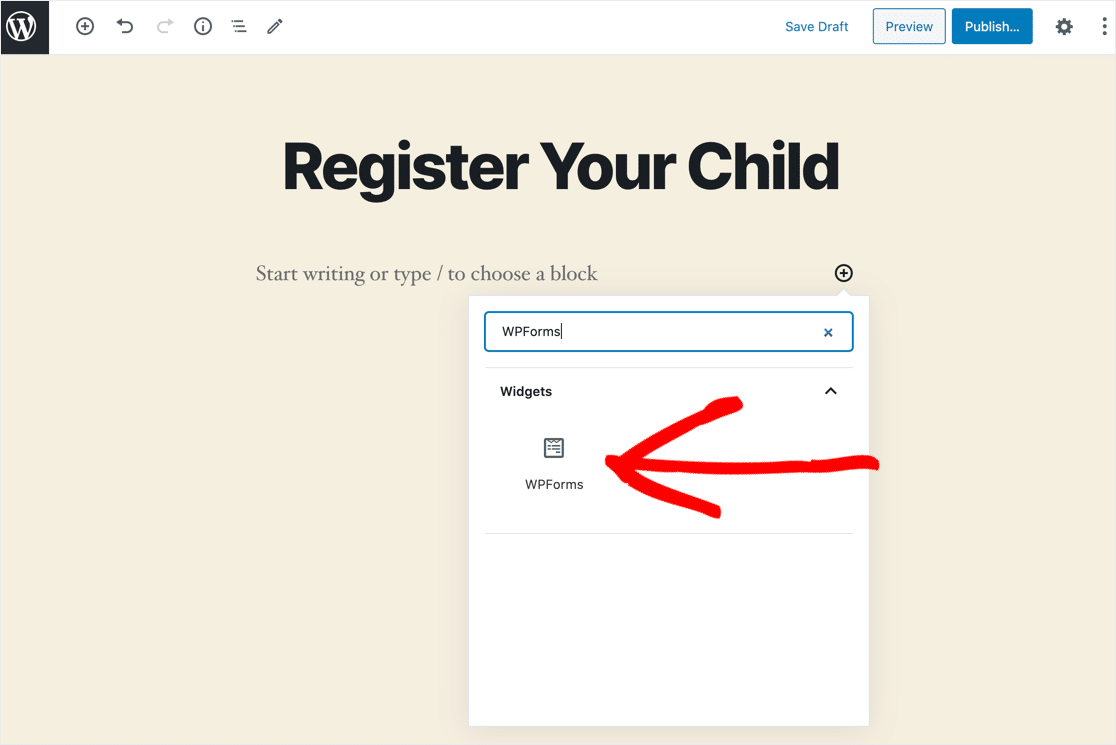
In the dropdown, click the form you created in Step 2.
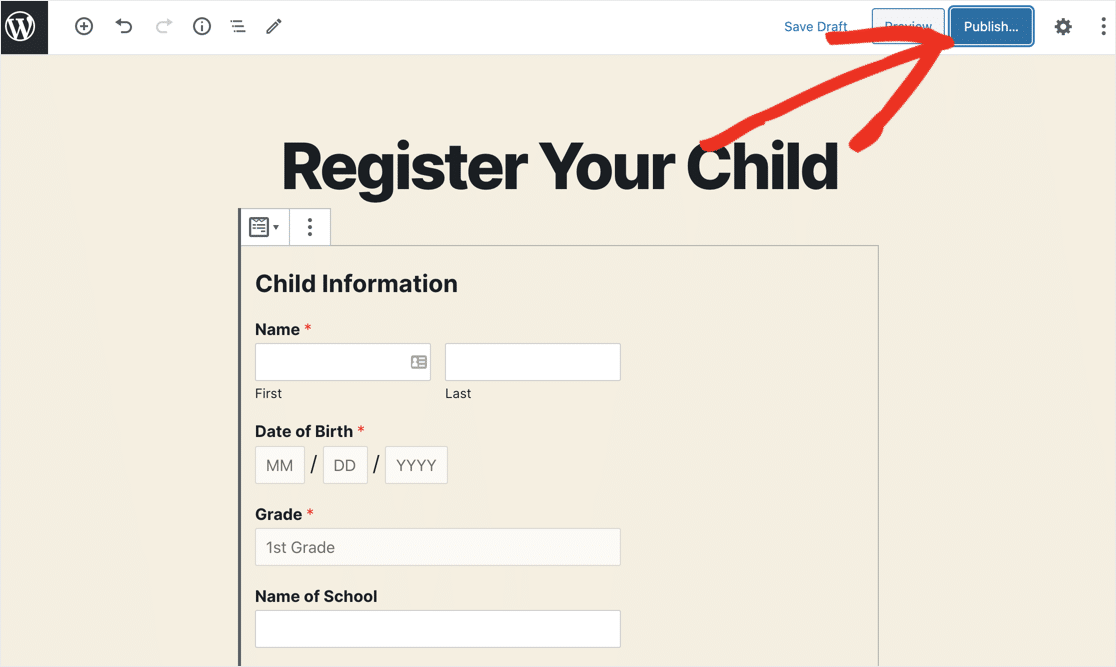
Now click the blue Publish or Update button to create your page.
Before moving on, we need to send at least 1 test entry through the form. This will give Zapier some data to work with in the next step.
Here’s what ours looks like:
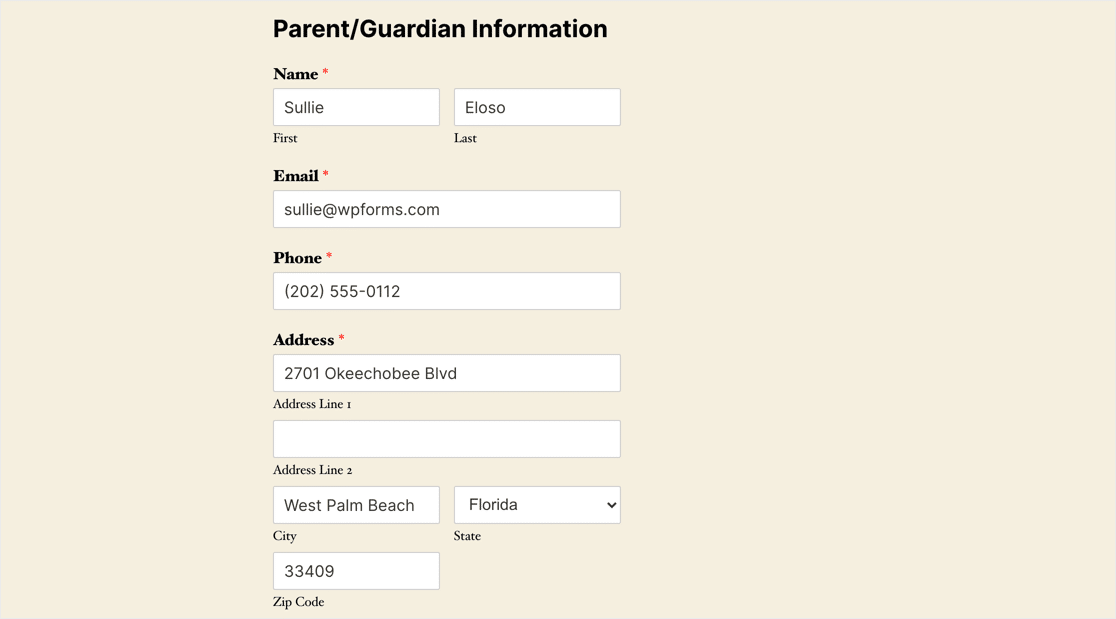
Now you’re ready to start working in Zapier.
Step 4: Connect WPForms to Zapier
Zapier is a service that lets you connect different tools together without using any code.
To start using Zapier, you’ll need to connect it to your WordPress form.
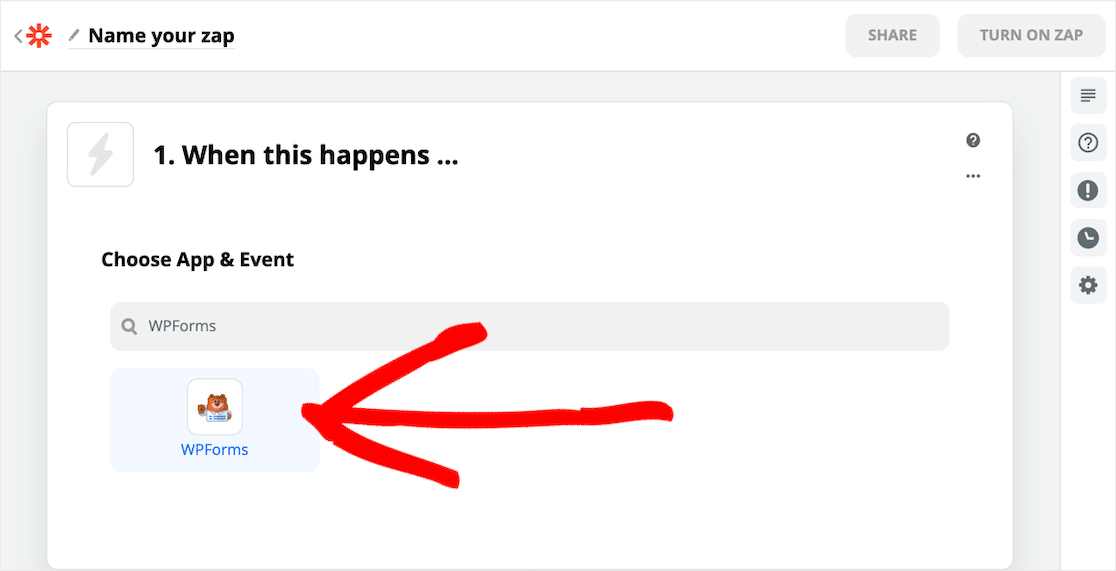
In Zapier, click Make a Zap.
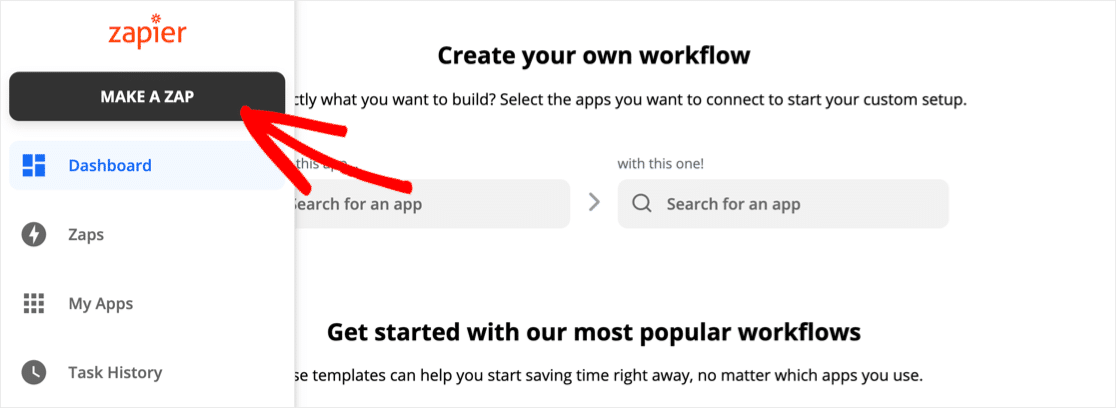
In the screen that opens, search for WPForms and click the icon.
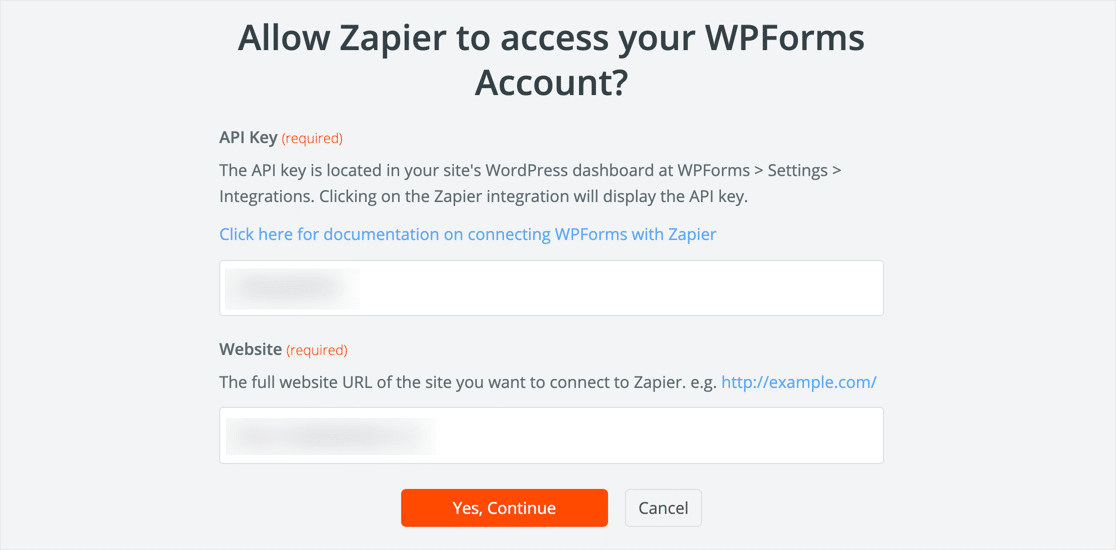
Next, you’ll need to grab your WPForms API key. You’ll find it in the WordPress dashboard under WPForms » Integrations.
Scroll all the way down and click the Zapier row to reveal your key.

Now go back to the Zapier connection window and paste in your key.
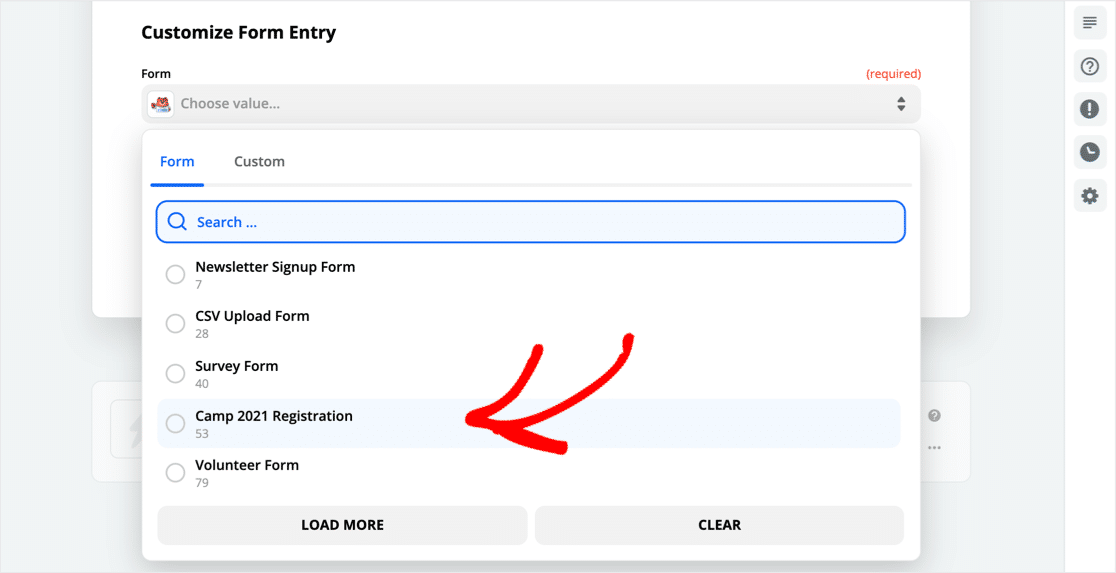
Finally, you just need to select the ManyChat WordPress form you created.
Great! Now WPForms and Zapier are connected.
Go ahead and test the integration and check that your WordPress form fields are pulled through.
Step 5: Connect ManyChat to Zapier
Next up, we need to connect your Zapier account to ManyChat.
In the Choose App and Event search field, search for ManyChat and click the icon.
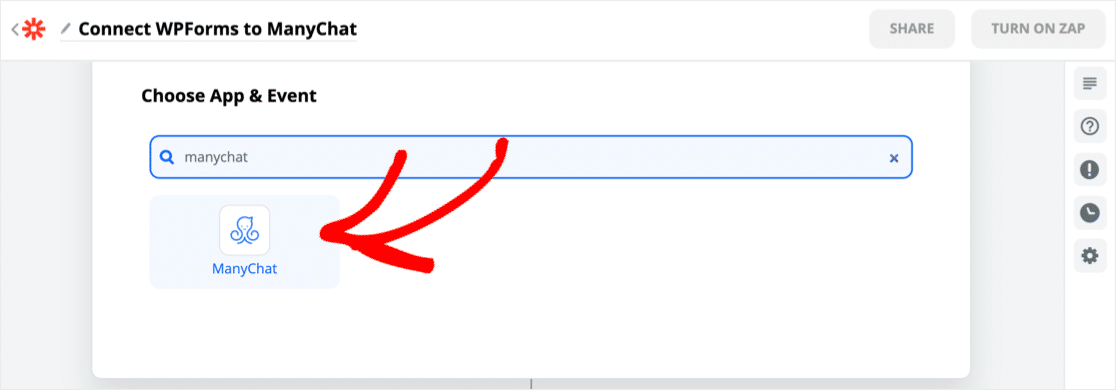
For the next step, log in to your ManyChat account. Then click Connect next to the Facebook Page you’re using for this Sequence.
Great! You’re all set. You can now test your ManyChat integration and start adding people to your Sequences from WordPress.
Create Your ManyChat WordPress Form Now
Final Thoughts on ManyChat WordPress Integration
And that’s it! Now you know how to add Subscribers to a ManyChat Sequence from any form on your website.
ManyChat offers Growth Tools to help you get Subscribers. You’ll also find lots of ideas in this article on Facebook Messenger marketing.
Ready to build your ManyChat WordPress form? Get started today with the best WordPress form builder plugin. WPForms Pro includes a free ManyChat integration with Zapier and offers a 14-day money-back guarantee.
If this article helped you out, please follow us on Facebook and Twitter for more free WordPress tutorials and guides.
The post How to Make a ManyChat WordPress Integration (The Easy Way) appeared first on WPForms.
source https://wpforms.com/manychat-wordpress/

