
Do you want to sell digital downloads on WordPress? Selling digital products is a great way to monetize your website and get extra passive income.
In this article, we’ll show you the easy way to sell downloads on WordPress. You can start selling your downloads today without writing a single line of code.
Create Your WordPress Download Form Now
How Do I Sell Downloadable Files on WordPress?
The easiest way to sell downloadable files is by using the WPForms plugin.
WPForms is the best form builder for WordPress. It lets you add a payment field to any form on your site and instantly send out download links via email.
Selling downloads is a little different from selling physical products. You don’t need a full eCommerce platform. And offering instant downloads is a great way to increase form conversions and FOMO.
You can easily use a digital download form to sell digital goods like:
- Ebooks and courses
- Video, music, or art
- Printables
- Tickets
- Video streams
- Software or WordPress plugins
- And more!
In this tutorial, we’ll show you the easiest and fastest way to take payments for downloads. You don’t have to make your visitors go through a full checkout, so it’s easy for customers too.
Let’s look at the steps we need to work through to get your download form up and running.
How to Sell Downloads on WordPress
Here’s a list of steps in this tutorial. Use the links to jump to the section you want to read.
- Install the WPForms Plugin
- Set Up Your Payment Provider
- Create Your WordPress Download Form
- Customize Your Download Form Settings
- Add Your Digital Download Links
- Publish Your Download Form in WordPress
Let’s start by installing the plugin.
Step 1: Install the WPForms Plugin
The first thing you’ll need to do is install and activate the WPForms WordPress plugin. WPForms makes it easy to sell digital products. And you can set it up a lot faster than WooCommerce.
If you’re not sure how to install the plugin, see this step by step guide on how to install a plugin in WordPress.
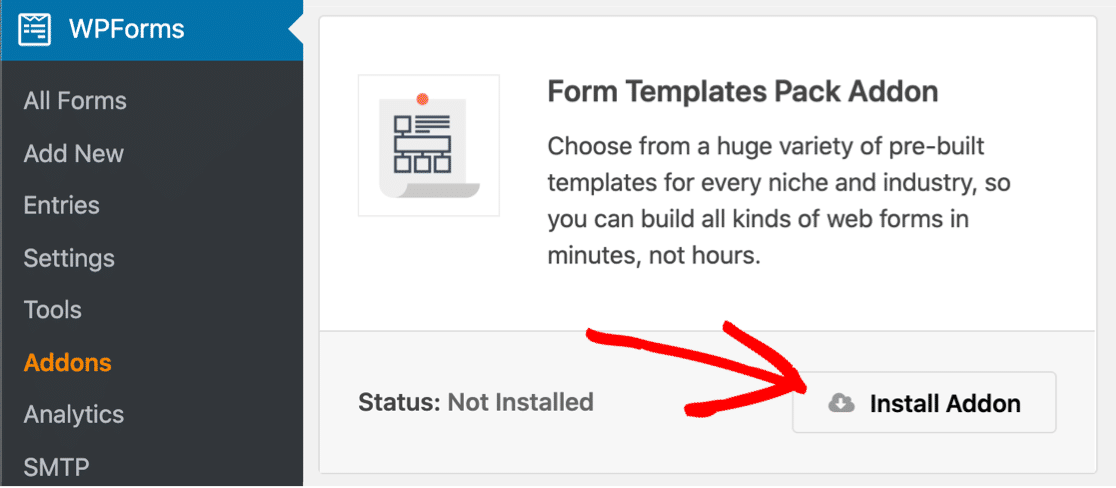
To make it easy to get started, let’s also install the form templates pack addon. It’s a bundle of 100+ ready-made form templates that you can easily customize. We’re going to use one later in the tutorial.
If you want to install the templates, go ahead and click WPForms » Addons in the WordPress sidebar.
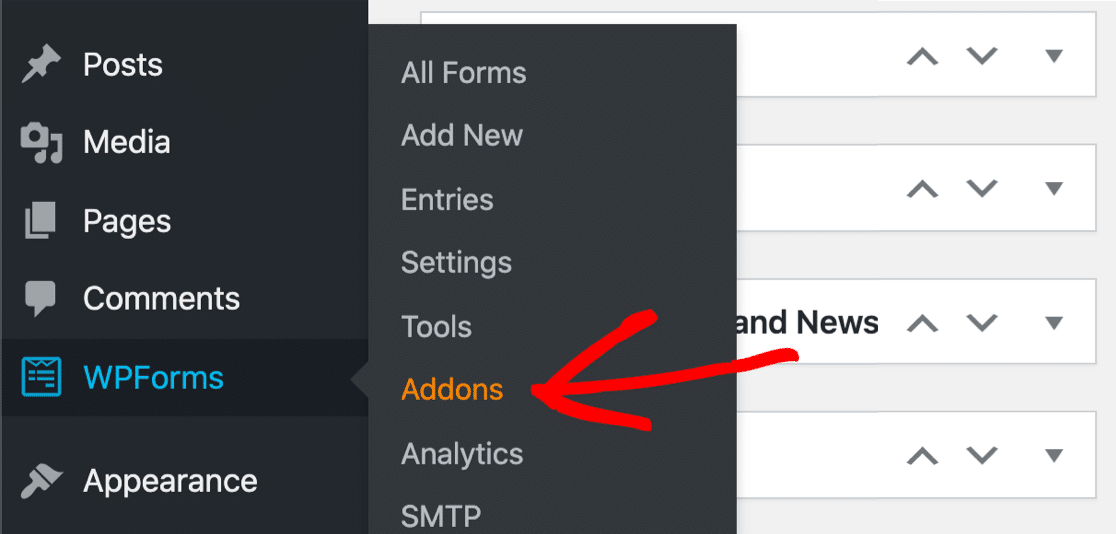
Find the form templates pack and click Install Addon.
While we’re here, we can also install the payment provider addon. In this example, we’ll scroll down a little and install the addon for Stripe.
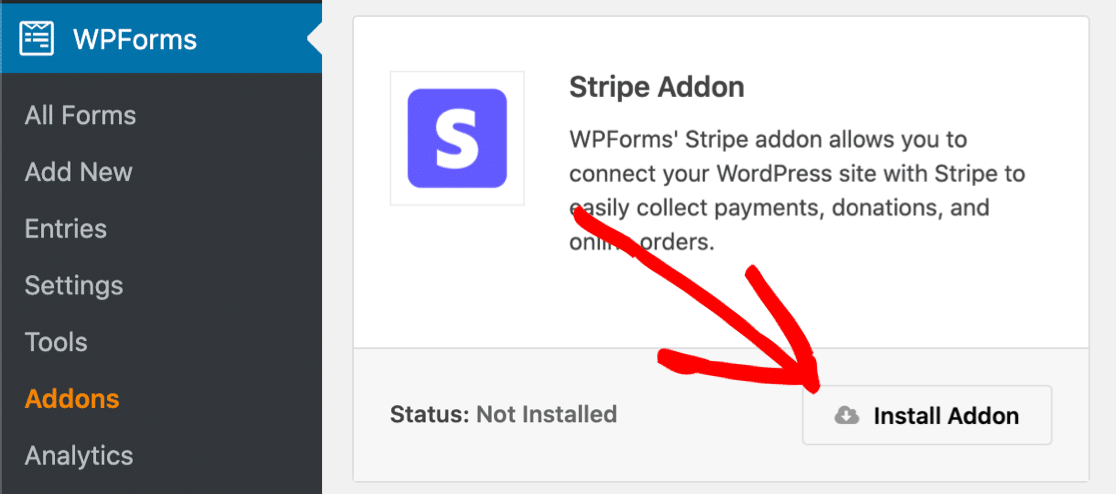
WPForms also lets you take payments with PayPal or Authorize.Net. If you want to use one of those payment methods, install the addon for your chosen payment gateways before moving on.
Step 2: Set Up Your Payment Provider
Before we start making the form, we need to check that WPForms has the right currency set up.
To do that, open up WPForms » Settings.
Now click the Payments tab at the top.
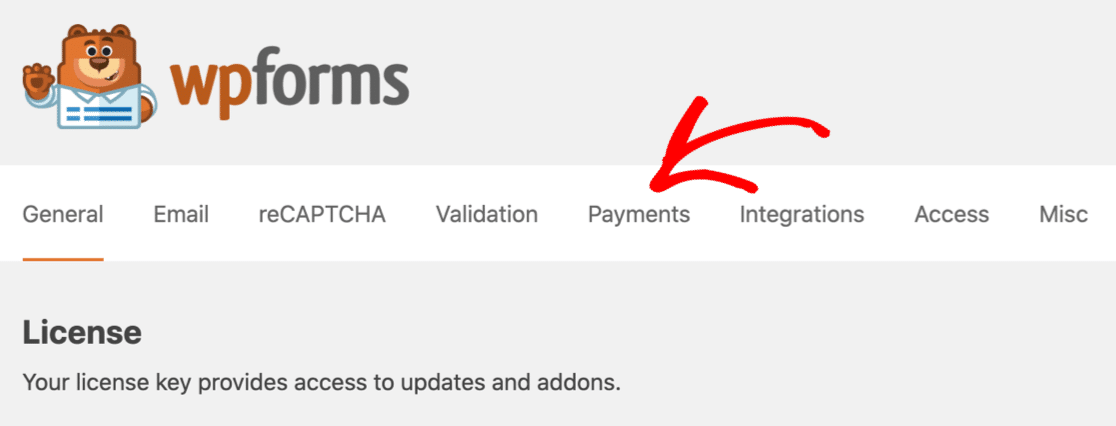
This screen lets you easily customize the currency for your payment form.
Just underneath the currency field, you’ll also see the connection settings for your payment addon. Use these to connect the payment gateway you want to use.
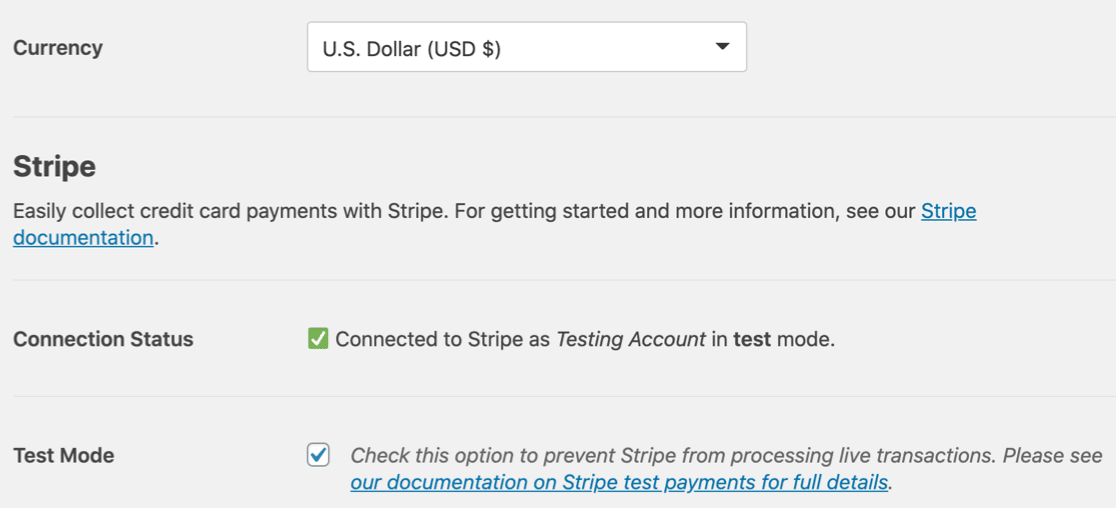
Did you notice that we’re using Stripe Test Mode? This will let us test all of the functionality on our form without making real payments. You can turn on PayPal test mode if you choose to use PayPal here.
Save your settings when everything’s set up the way you want it. Let’s start making the form next.
Step 3: Create Your WordPress Download Form
In this step, we’ll make a form from a template and customize it to sell ebooks. We don’t need a checkout page because we’ll have the items and payment fields on 1 form.
And in the email notification, we’ll link to the digital files that the visitor’s purchased.
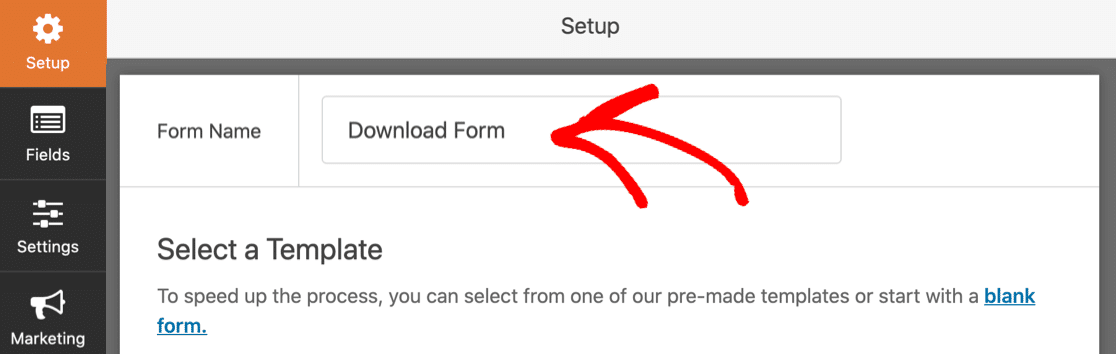
To start, click WPForms » Add New. You’ll see the form builder open in a fullscreen window.
Type in a name for your new form at the top.
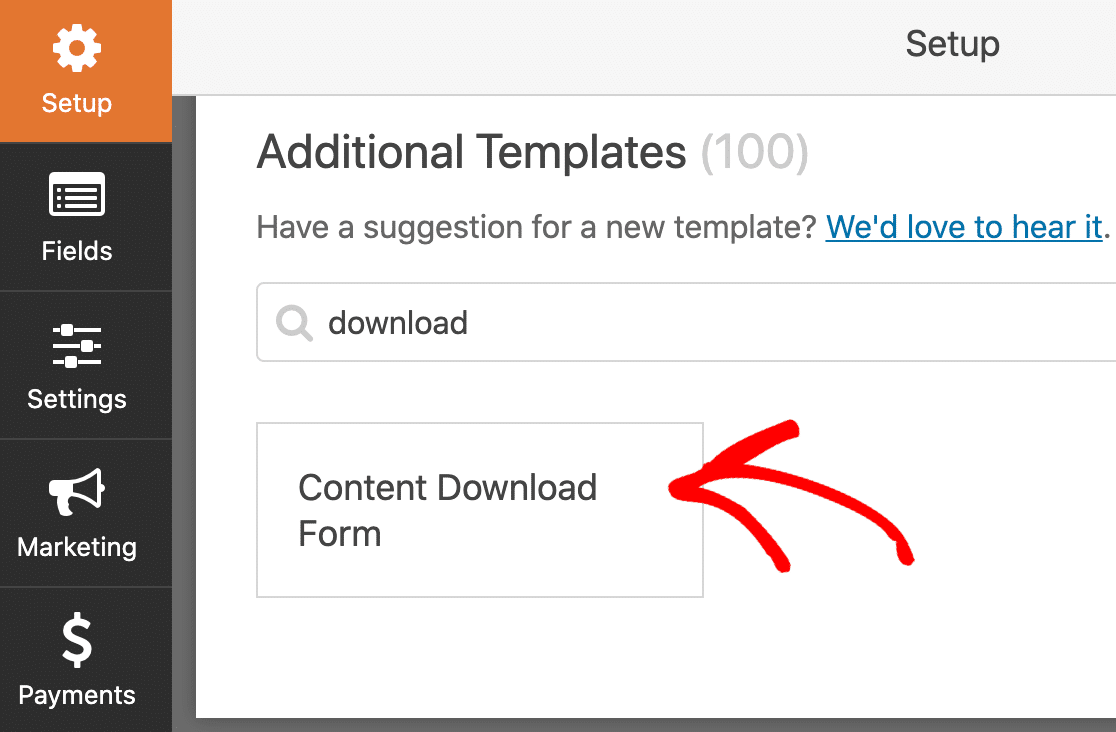
Next, scroll all the way down to the Additional Templates section.
Let’s search for ‘download’. Then click on the content download form template to open it up.
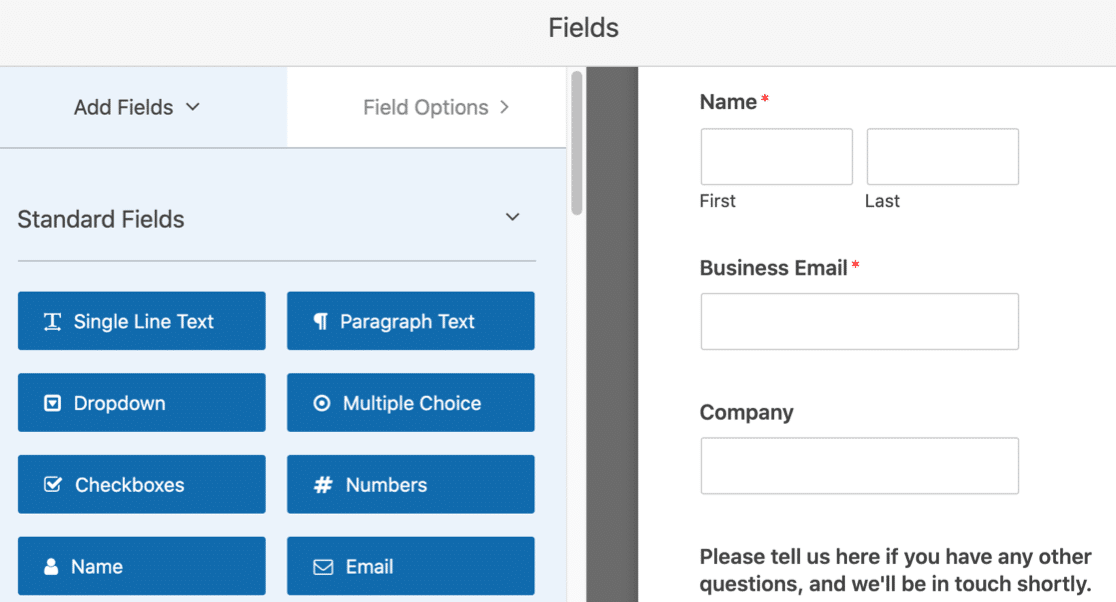
Great! Now we can start to customize your form.
This template has 4 fields to get you started:
- Name
- Business Email
- Company
- A field for questions or comments.
You can see them on the right hand side.
Did you know that you should have no more than 3 fields on your form to improve form conversions?
Depending on what you sell, it could be tricky to have so few. But let’s try to make the form as short as possible.
First, let’s remove the Name field. We’re going to click the trash can here to delete it.
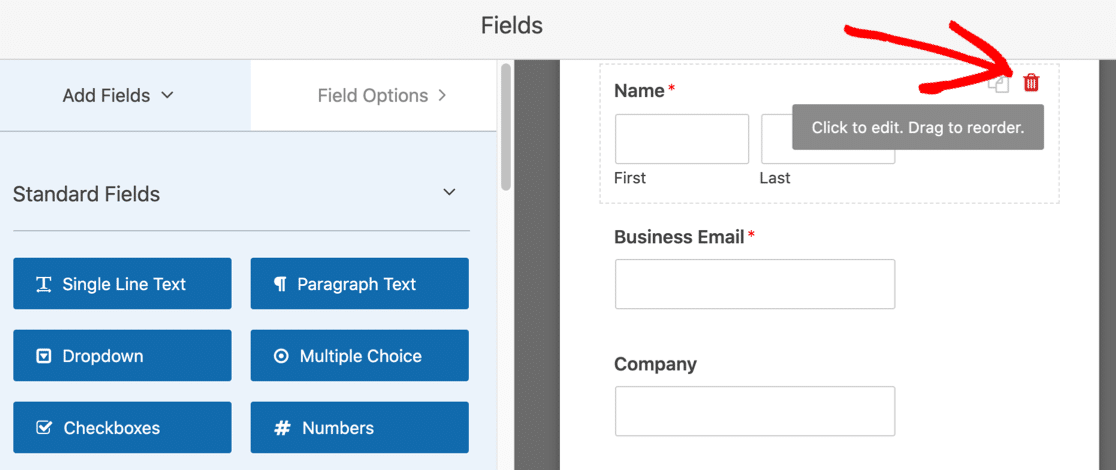
If you wanted to collect visitor details for an email marketing list service like Mailchimp, you might want to keep the Name field.
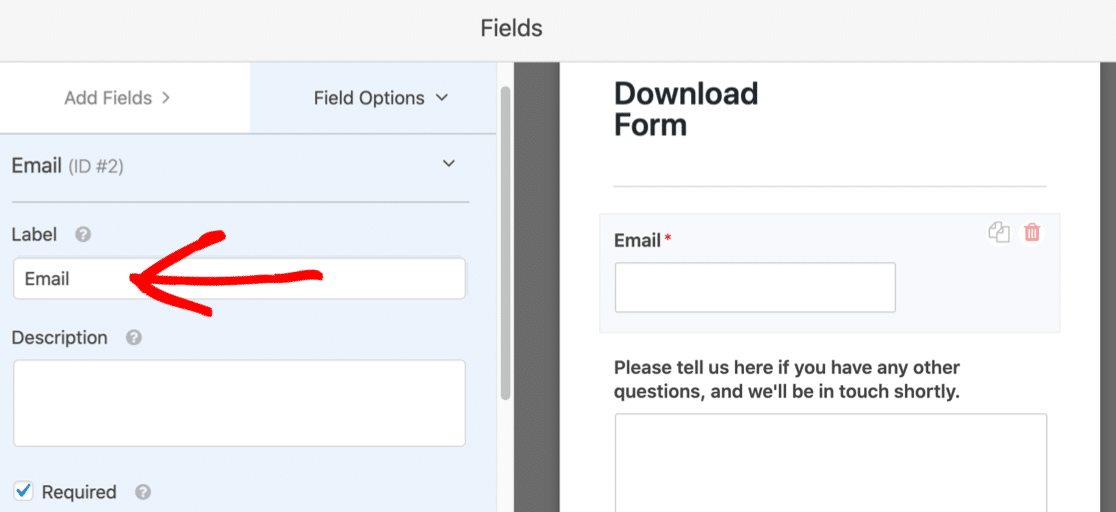
Next, we’ll change the label on the email field. Click once on the field to open up the settings, then remove the word ‘Business’ from the label.
Add Files and Prices to the Form
Next, let’s add the items we want to sell. We’re going to add a dropdown items field and sell 2 different downloads.
Scroll all the way down to the Payment Fields section.
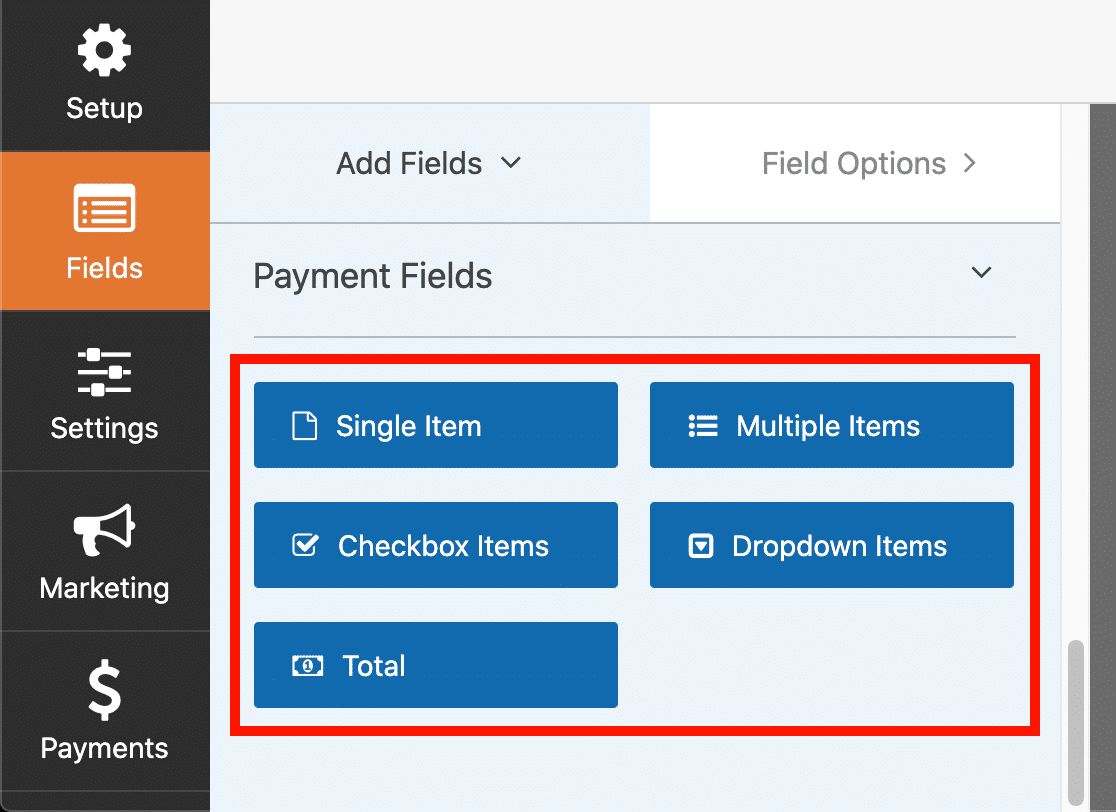
Drag a Dropdown Items field from the left hand panel over to the right. Then click on the dropdown field to edit it.
You can see here that we changed the label for the field already.
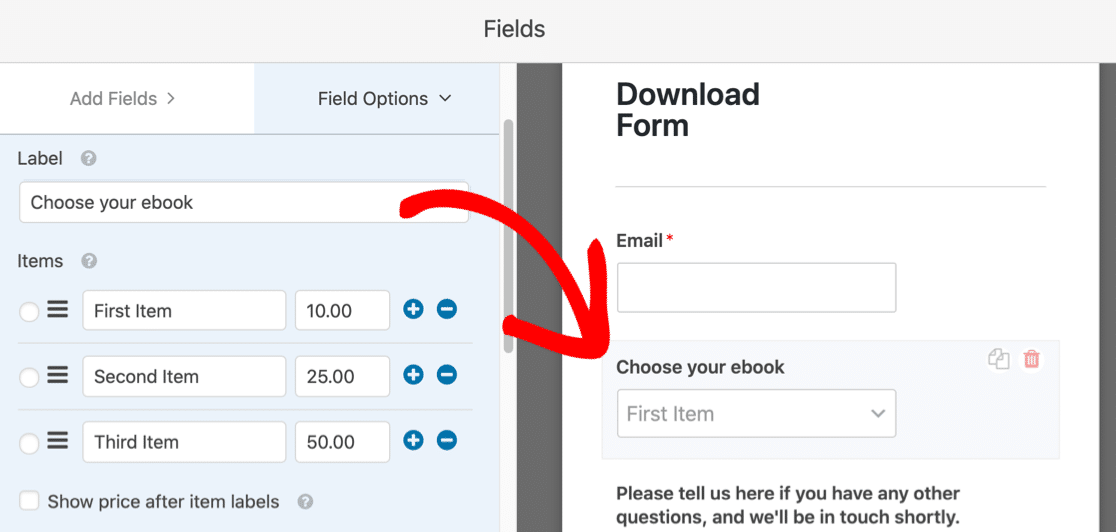
On the left, you can also see 3 answer choices. These are created by default, so let’s customize them now.
On each line, type in the name of the download that you want to sell.
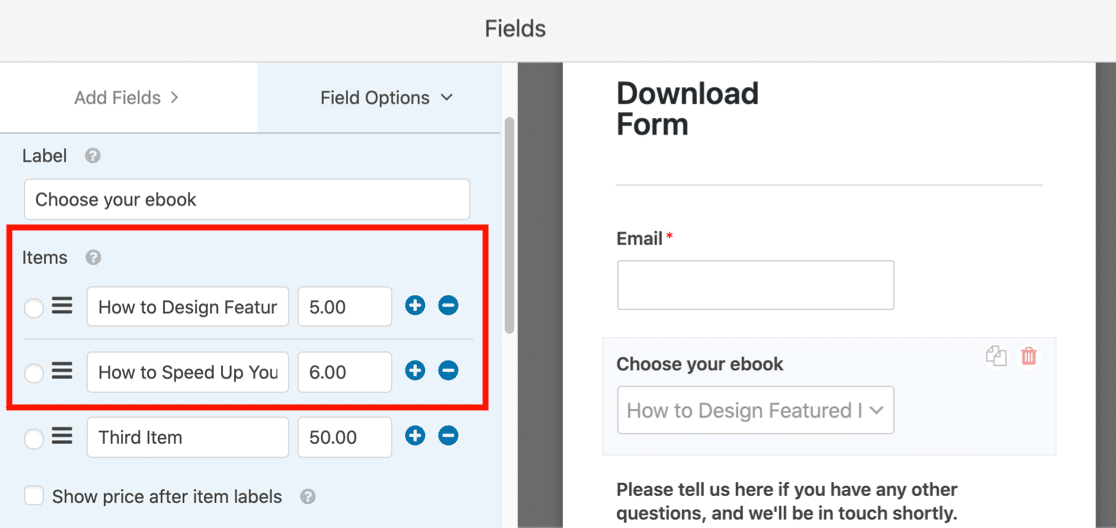
We’ve also edited the price for each item. You can click the minus icon to remove lines, and the plus icon to add more.
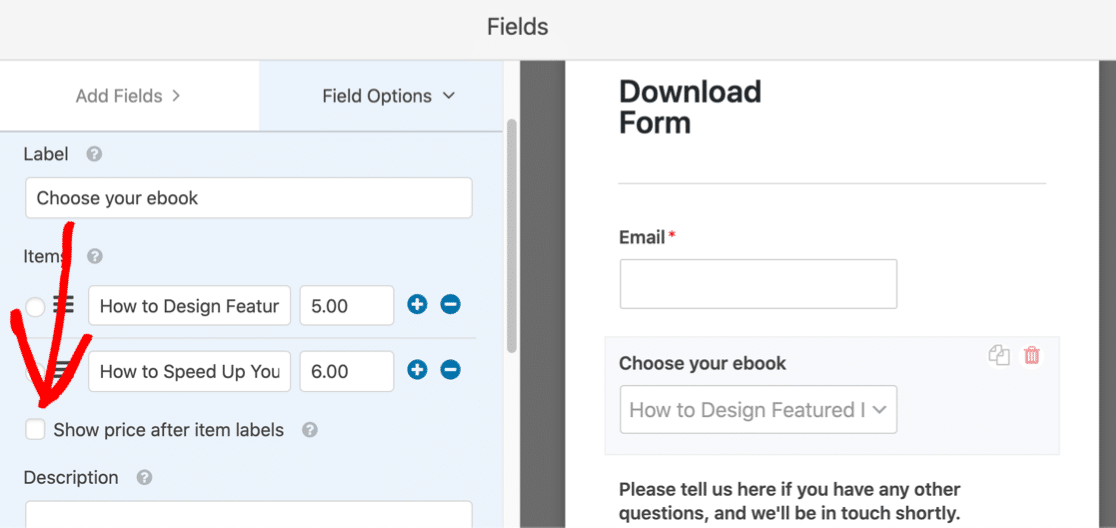
We’re also going to check the Show price after item labels checkbox here. This will automatically show the pricing in the dropdown.
This makes it easy for your customer to see how much they’ll pay.
On this form, we don’t need to add a Total field because the visitor can only buy 1 item at a time.
The last field we need is the Stripe credit card field. Let’s drag that onto the form now.
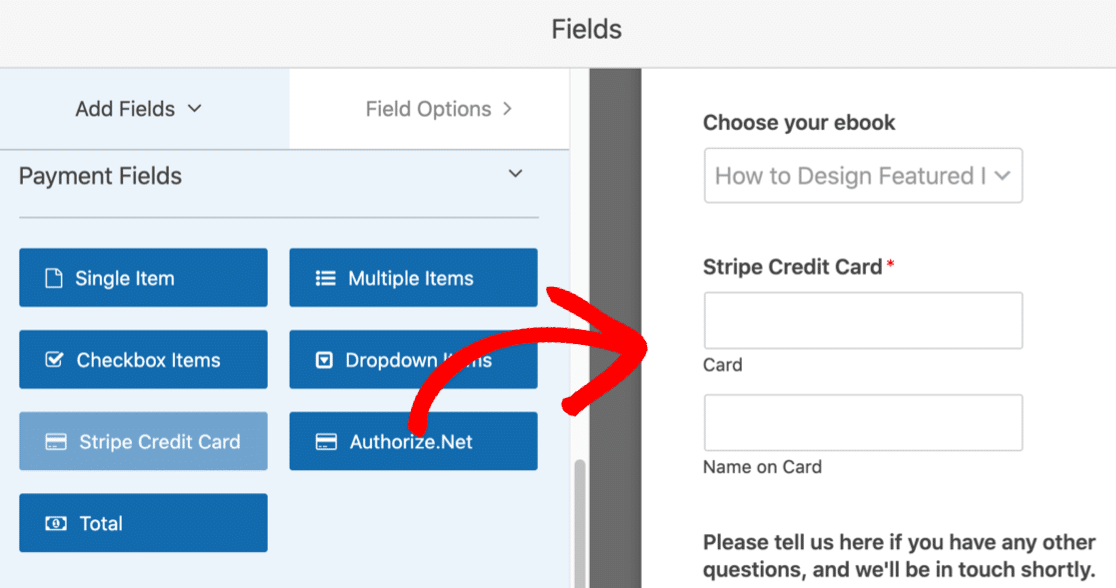
The credit card field works out of the box, so you don’t need to edit anything here. But if you do want to change the label or description, you can click on it.

OK, that’s the form set up and ready to sell downloads on WordPress!
Next, we need to set up the download links.
Step 4: Customize Your Download Form Settings
In this step, we’re going to edit the form settings and turn payments on. You can have different payment settings for every form in your online store.
On the left hand side of the form builder window, click Settings.
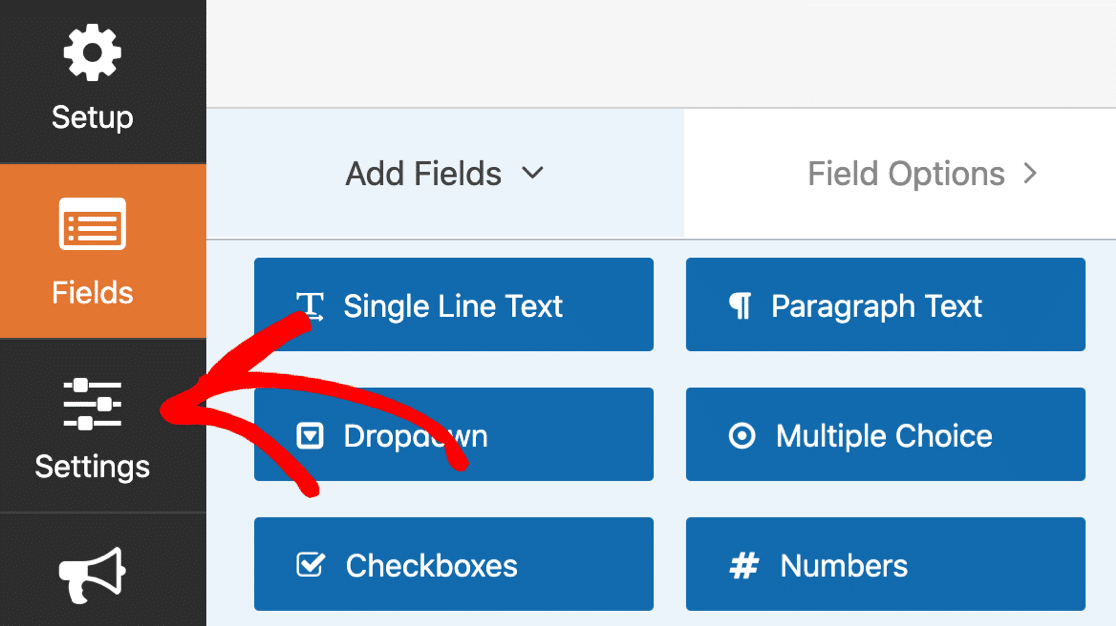
The General settings page for the form will open up.
If you’re using a Stripe payment field, tick Enable AJAX form submission.

We need AJAX form submission for the Stripe field to work.
You can also change more settings here:
- Form Name — Change the name of your form here if you’d like.
- Form Description — Give your form a description.
- Submit Button Text — Customize the copy on the submit button.
- Spam Prevention — Sell downloads on WordPress without being spammed.
- GDPR Enhancements — Disable the storing of entry information and user details, such as IP addresses and user-agent info. Check out our step-by-step instructions on how to add a GDPR agreement field to your form.
All set? Click Save.
Next, let’s set up the way Stripe works on this form.
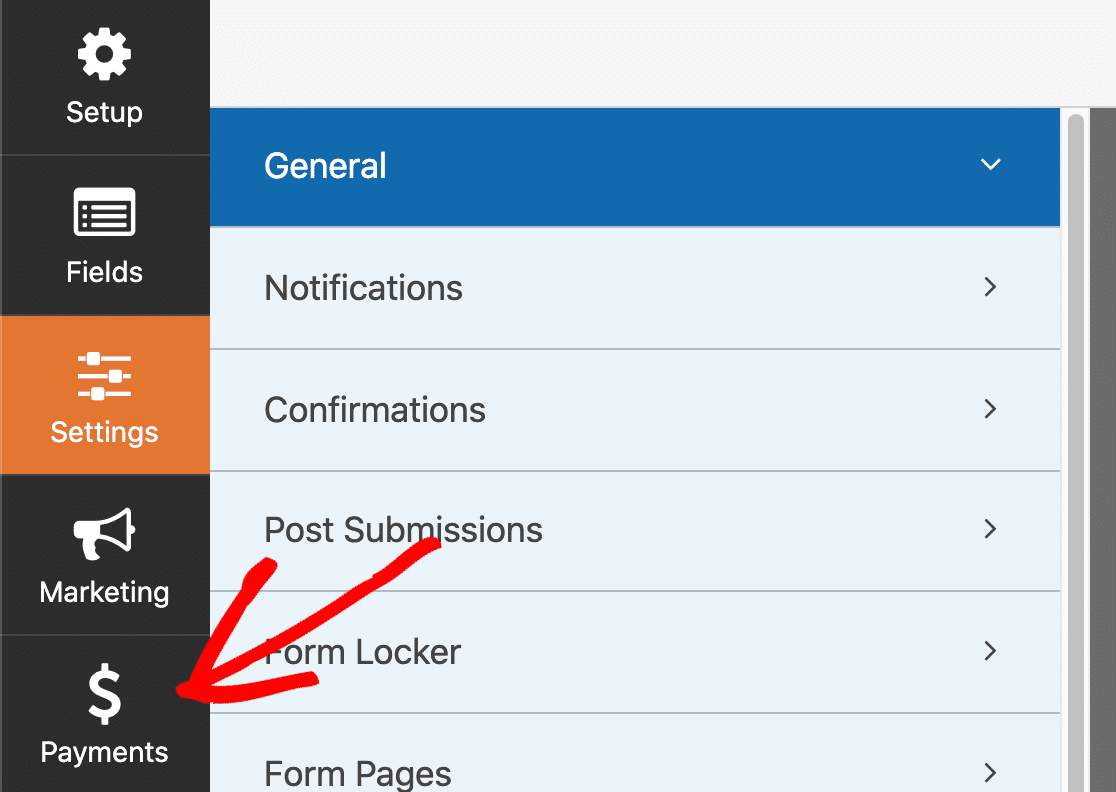
On the left hand side of the form builder, click Payments.
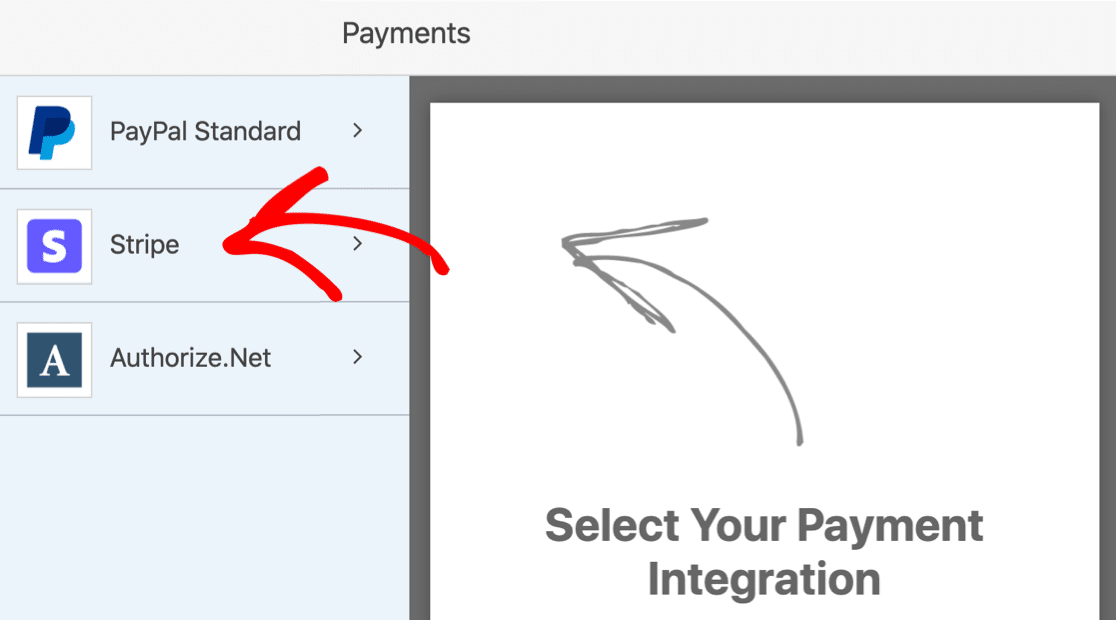
And now let’s click Stripe.
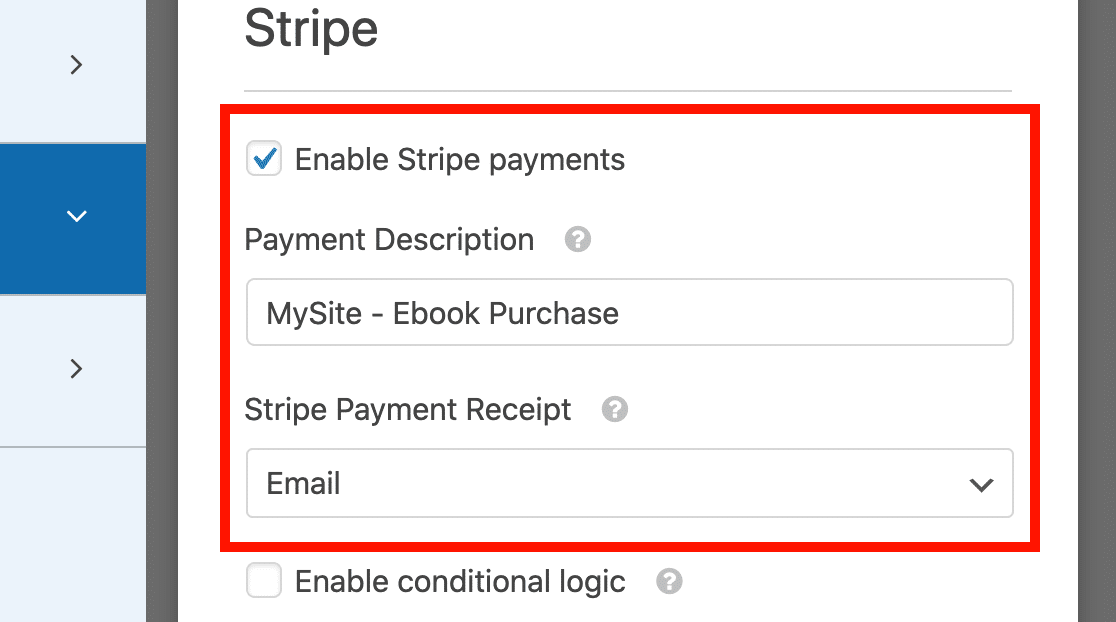
You’ll want to tick the Enable Stripe payments checkbox here to turn on payments for your form.
You can also customize:
- Payment Description: This text will appear on your customer’s credit card statement.
- Stripe Payment Receipt: Choose where to send the payment receipt for the purchase. You’ll normally want to choose Email here so that the receipt goes to the customer’s email address.
Click Save at the top to save all of these settings.
OK, now we’re ready to add our file download links.
Step 5: Add Your Digital Download Links
When someone pays for a download, we’re going to email them a link so they can instantly grab their file.
We can use conditional logic to send different emails depending on the item that was purchased.
This makes it easy to send the right links without using a full shopping cart.
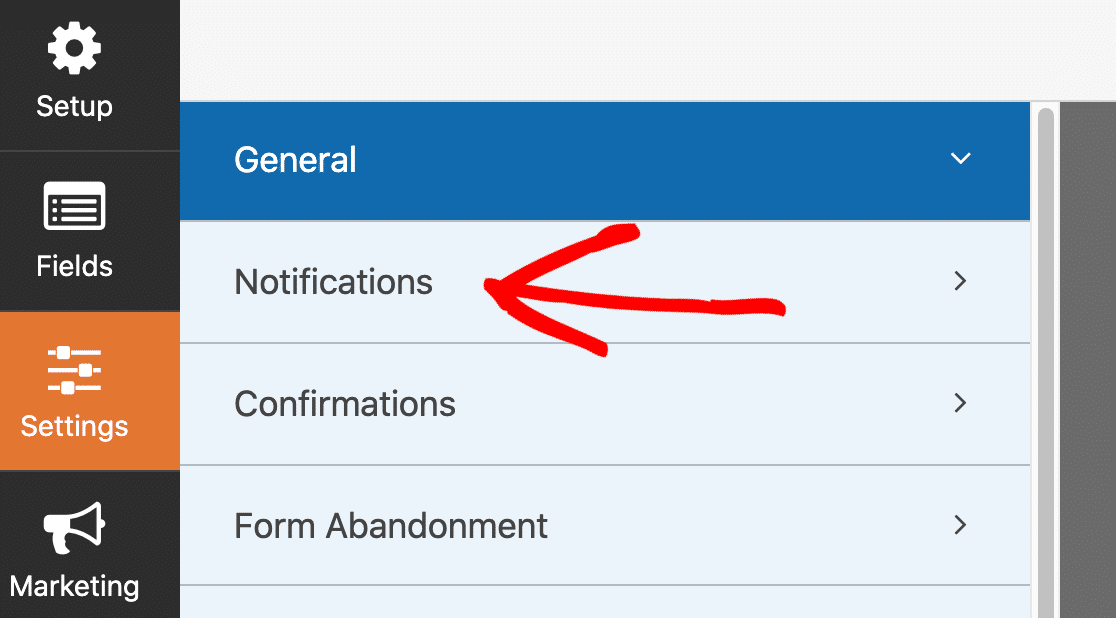
On the left, click Settings to back to the general form settings.
Then click Notifications in the list.
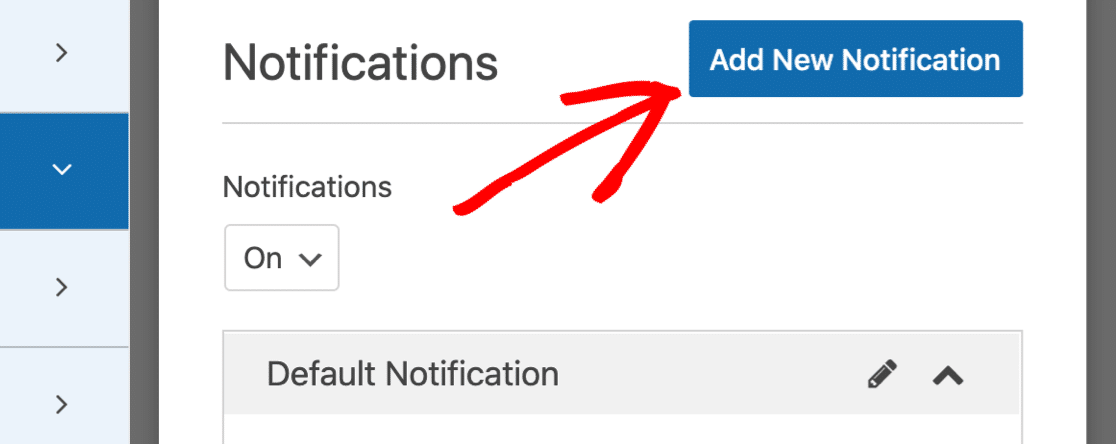
WPForms automatically creates 1 notification here. This one will email you to let you know the form has been submitted.
For our download form, we need to add 2 more notifications: 1 for the first file download, and a different one for the second file download. Each notification will have a different download link.
Adding Your First File Download Email
Start by clicking on the Add New Notification button in the Notifications section.
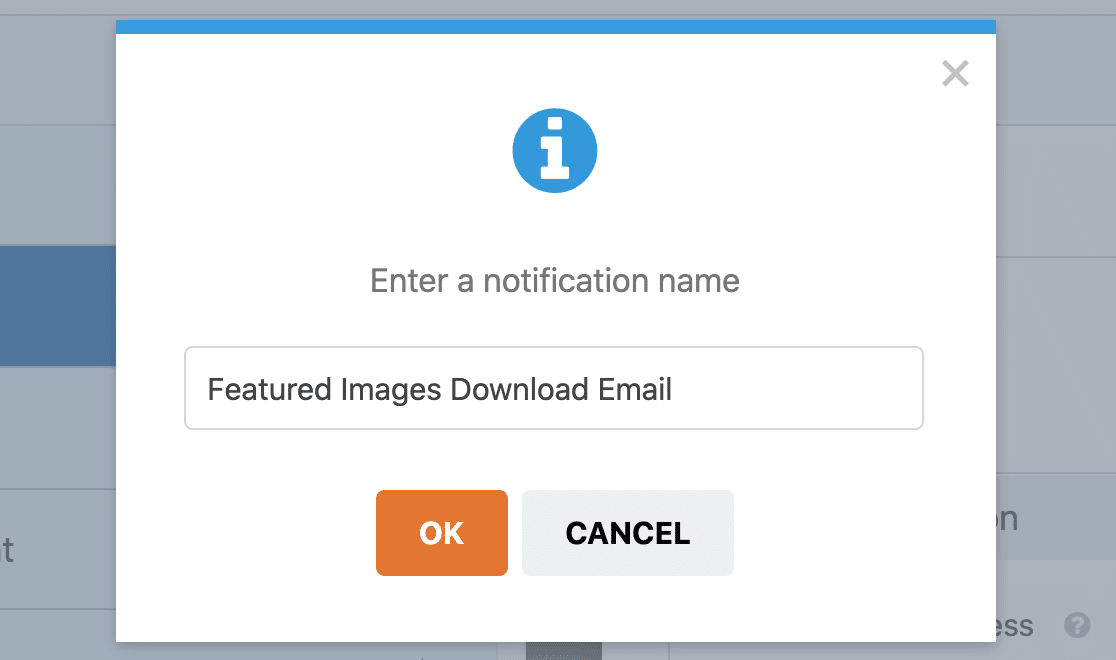
Type in a name for your first notification. You’ll want to type in a name that matches the file so it’s easy to identify later.
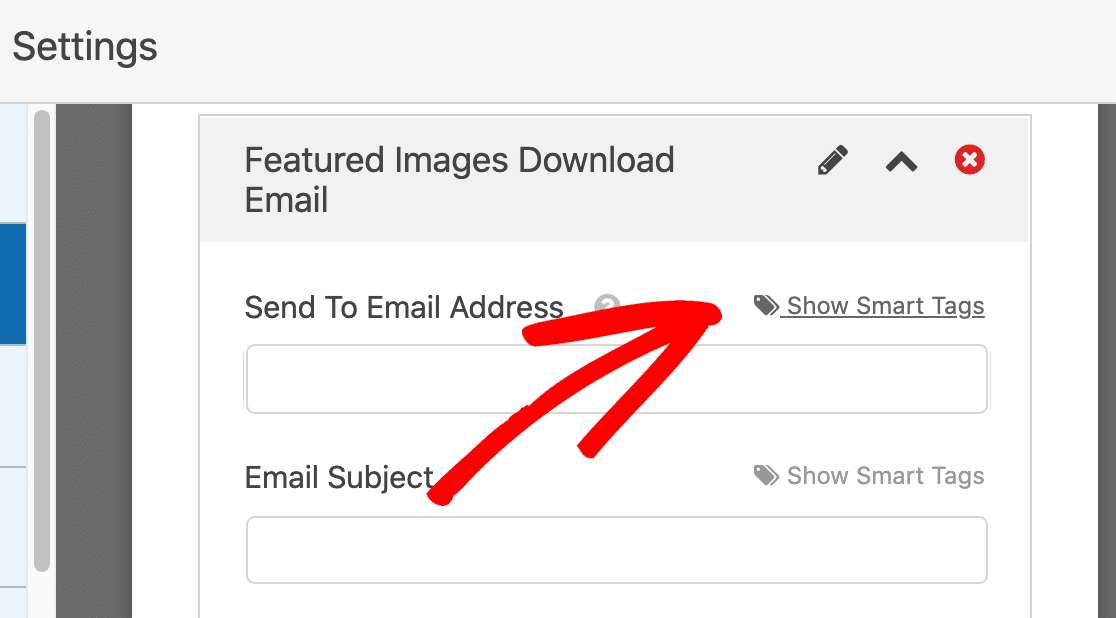
Now we have a new notification ready to customize. You’ll see that it’s added right at the top of the Notifications window.
We want this email to go to the person who bought the download. So delete {admin_email} from the Send to Email Address, then click Show Smart Tags.
And now, let’s select Email from the available fields.
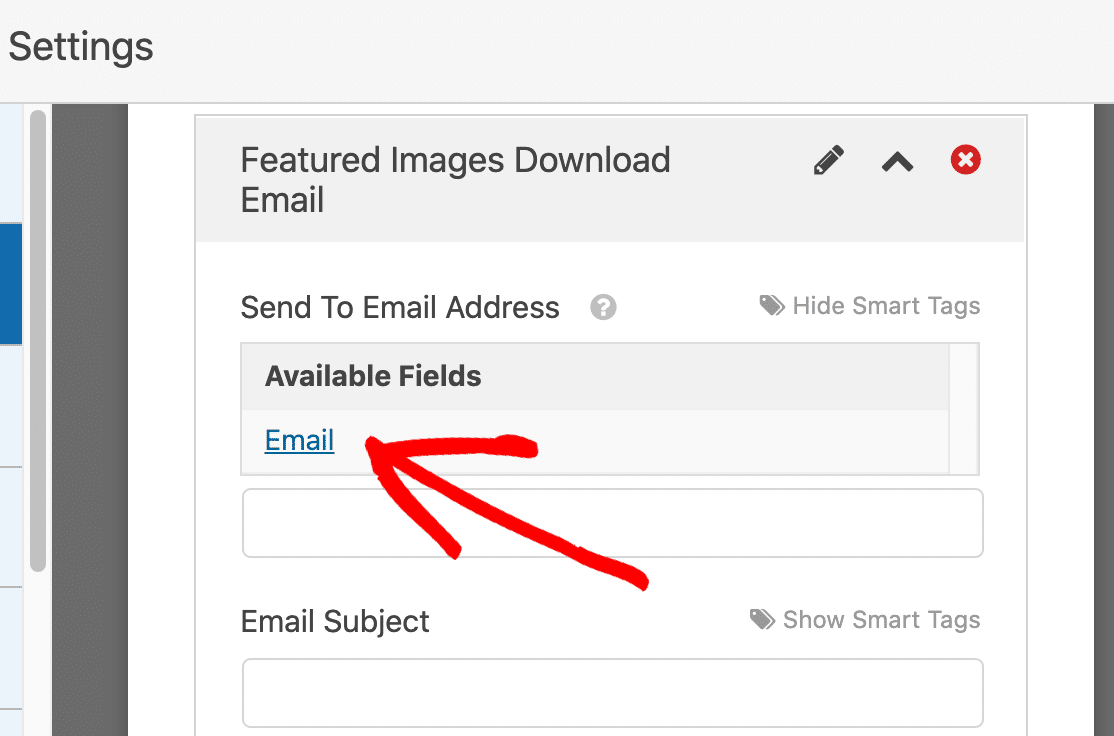
Now the email notification will be sent to the email that was typed in on the download form.
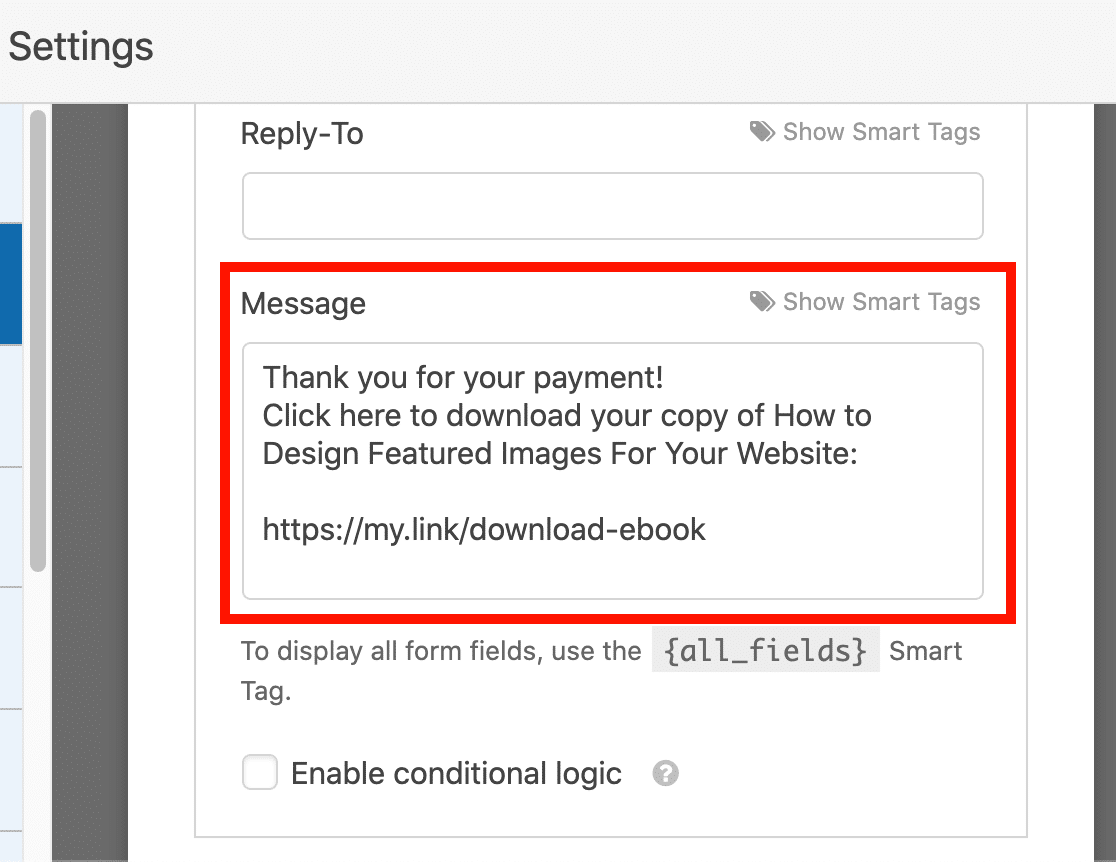
Next, scroll down to the Message section and enter the message you’d like your customer to see when they receive the email from you.
We’re going to delete the {all_fields} smart tag and replace it with a link to the file.
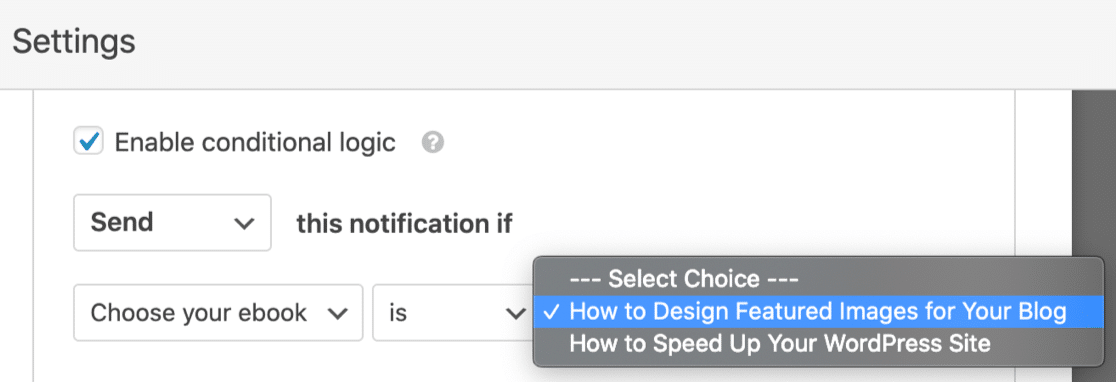
Did you notice the Enable conditional logic checkbox? This will let us control which customers receive this notification email.
Let’s check the checkbox. Then, we need to tell WPForms to send this email if they bought the first ebook, but not the second one. So we can use the conditional logic fields underneath to do that.
Here’s how it looks:
That’s it! Click Save to save the notification.
Adding Your Second File Download Email
To add your second email, retrace your steps. Create a second notification email just like we did before.
Remember the 2 important changes you need to make here:
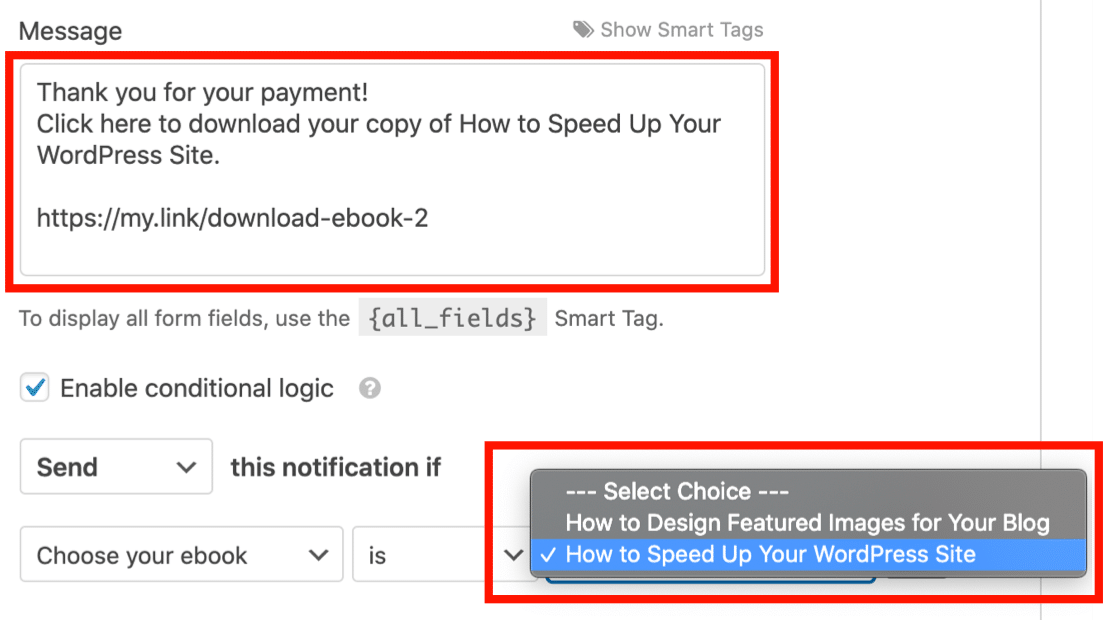
- Add the link to the second file in the email message.
- When you create the conditional logic, make sure that this email will be sent to people who picked the second file in the dropdown.
Here’s what our second notification looks like.
That’s it! Now the customer will automatically be sent the right download link to the file they paid for.
Be sure to click Save to save your form so far. Now let’s publish it on your website.
Step 6: Publish Your Download Form in WordPress
After you’ve created your digital download order form, you need to add it to your WordPress website.
WPForms allows you to add your forms to many locations on your website, including your blog posts, pages, and sidebar widgets.
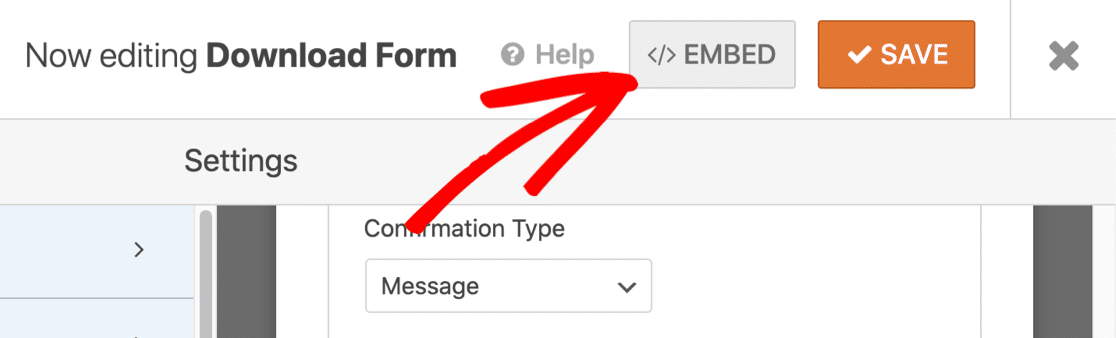
You can use a shortcode, but it’s a lot easier to use the Embed wizard.
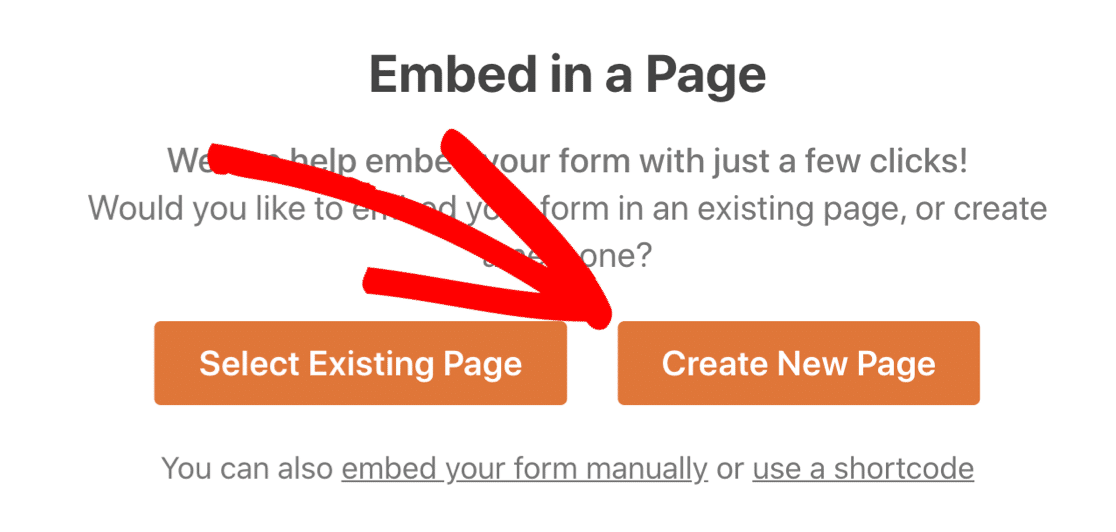
At the top of the form builder window, click the Embed button to get started.
When the popup window opens, click Create New Page.
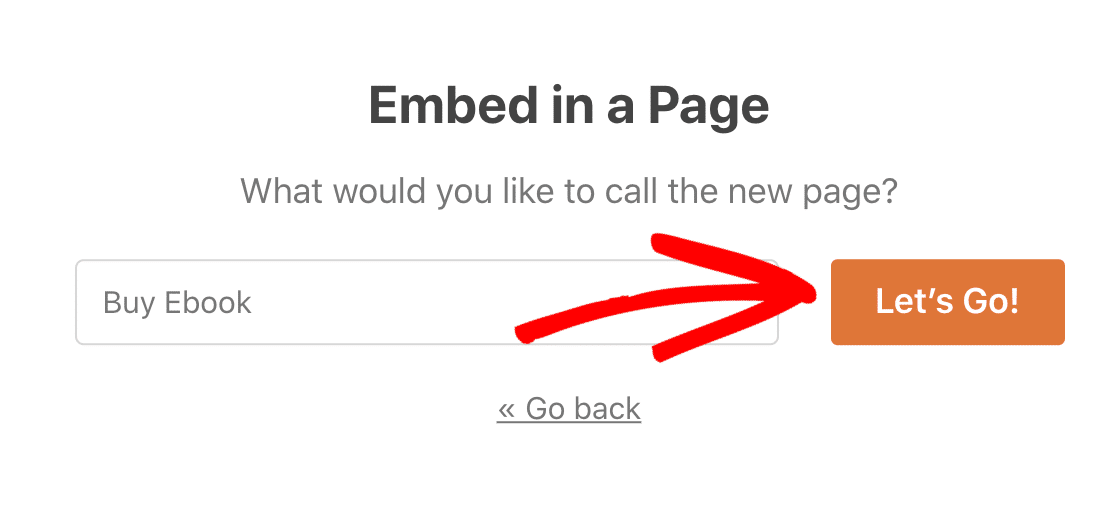
And then type in a name for the page. When you’re happy with it, click Let’s Go.
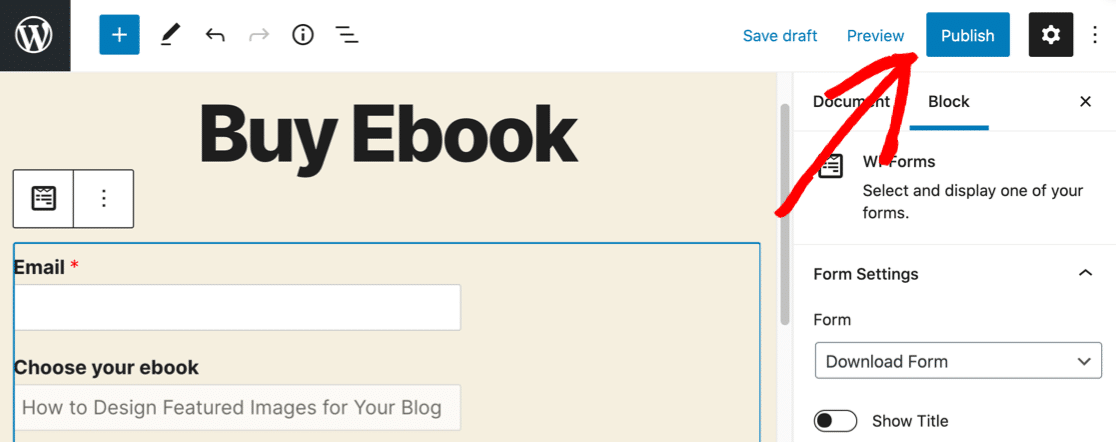
Check that everything looks good, and add content or blocks here if you need to. You can also set up your SEO for the page.
When the page is ready to publish, click Publish at the top.
And that’s it! You can go ahead and sell digital downloads on your WordPress site and take payments right away.
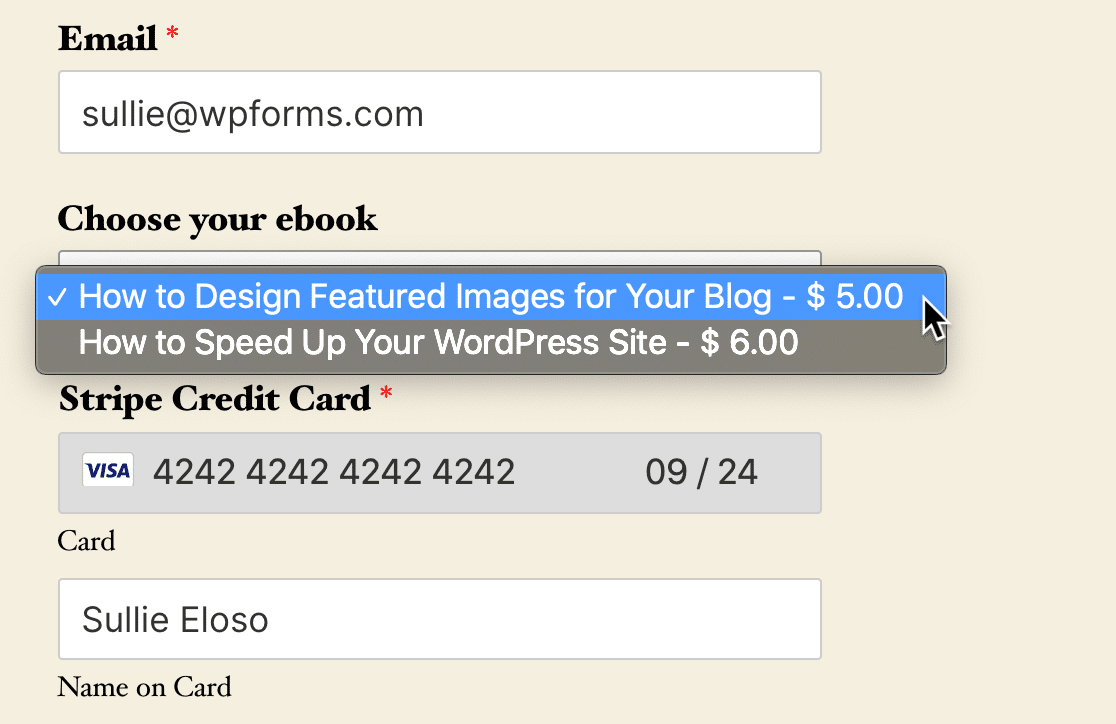
Your form might look a little different, depending on your WordPress theme.
It’s a good idea to make a test purchase for both items before you start to advertise your new page. Don’t forget to turn off test mode when you go live!
Create Your WordPress Download Form Now
Next Up: Customize Your Download Form
Did you know that you can use images on your forms? WPForms lets you embed images using HTML, or use images as answer choices.
Check out this guide to adding images to your forms. You can easily add a picture of each digital download instead of just using text. That way, your customers can sell downloads on WordPress using images of your products.
Ready to build your form? Get started today with the easiest WordPress form builder plugin. WPForms Pro includes a free download form template and offers a 14-day money-back guarantee.
If this article helped you out, please follow us on Facebook and Twitter for more free WordPress tutorials and guides.
The post How to Sell Downloads on WordPress Easily (2020) appeared first on WPForms.
source https://wpforms.com/the-simplest-way-to-sell-digital-products-on-your-wordpress-site/

