
Do you want to make an online model release form? Using an online form will make it easy to get consent from your models before a shoot.
In this tutorial, we’ll make an online model release form in WordPress. We’ll also show you how to comply with the GDPR when collecting personal information on your form.
Create Your Online Model Release Form Now
What Is a Model Release Form?
A model release form is similar to a consent form. Photographers use model release forms to get permission to publish photographs they’re going to take.
It’s good practice to get your models to fill out the form before the day of the shoot. Having an online form can really help with that because you can share the link any time.
In a model release form, you’ll normally want to include:
- The model’s name and contact details
- Date and time of the shoot – You should aim to get waivers signed before the photos are taken so that the model has a chance to review the terms and consent.
- How the photos can be used – The model should be given the option to consent to commercial usage, or public display. And it’s recommended to use checkboxes for this so that they have the opportunity to opt in or out of different use cases.
- Where the photos can be published – This will allow the model to pick the countries where the photos can be used.
- Compensation – The model should usually receive something in return for signing the waiver. This could be payment, free prints, refreshments, or simply the experience of being on the shoot.
- A signature field – When we make our online model release form, we’ll add an e-signature field so that the model can sign the form without printing it out.
Publishing this form online makes your workflow a lot easier. You can collect all of your waivers in WordPress and store the entries in the backend. That way, you don’t have to carry a bunch of pens and paper to every photo shoot.
A model release form is a legal document. We can’t give you a full template for the contents of your terms and conditions, so we recommend that you check with legal counsel in your country to find out exactly what you need to include on your form.
How to Make an Online Model Release Form in WordPress
We’re going to make our online model release form in WordPress. Use these links to quickly jump to the section you need.
- Install the WPForms Plugin
- Create Your Online Model Release Form
- Customize Your Model Release Form
- Configure Your Release Form Notifications
- Configure Your Release Form Confirmations
- Publish Your Online Model Release Form
We’ll start by installing the plugin.
Step 1: Install the WPForms Plugin
To start, install and activate the WPForms plugin. If you need help with this, check out this beginner’s guide to installing a WordPress plugin.
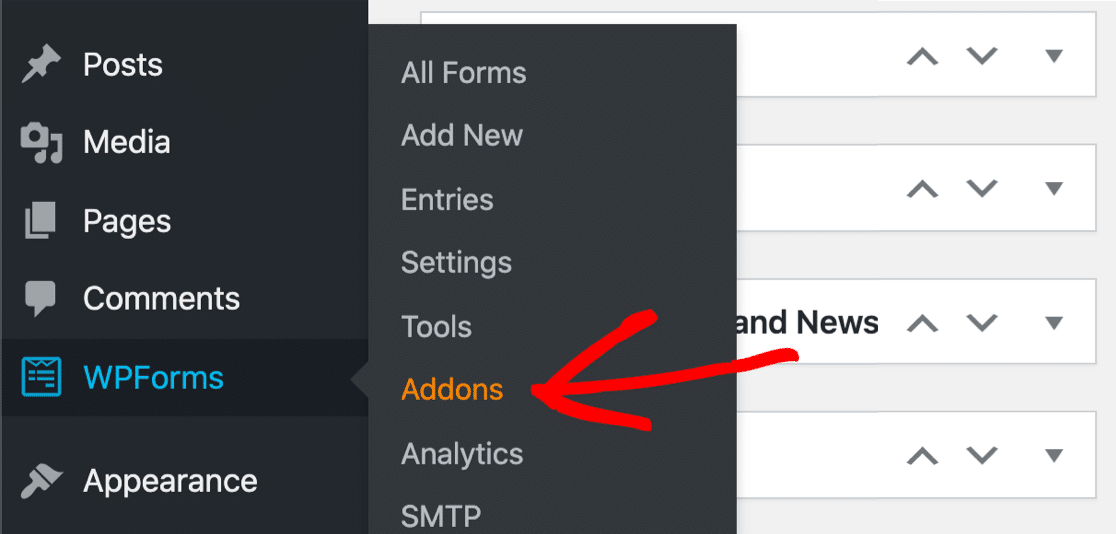
Next up, we’ll install 2 addons. We can do this quickly from the plugin’s Addons page.
From the sidebar, click WPForms » Addons.
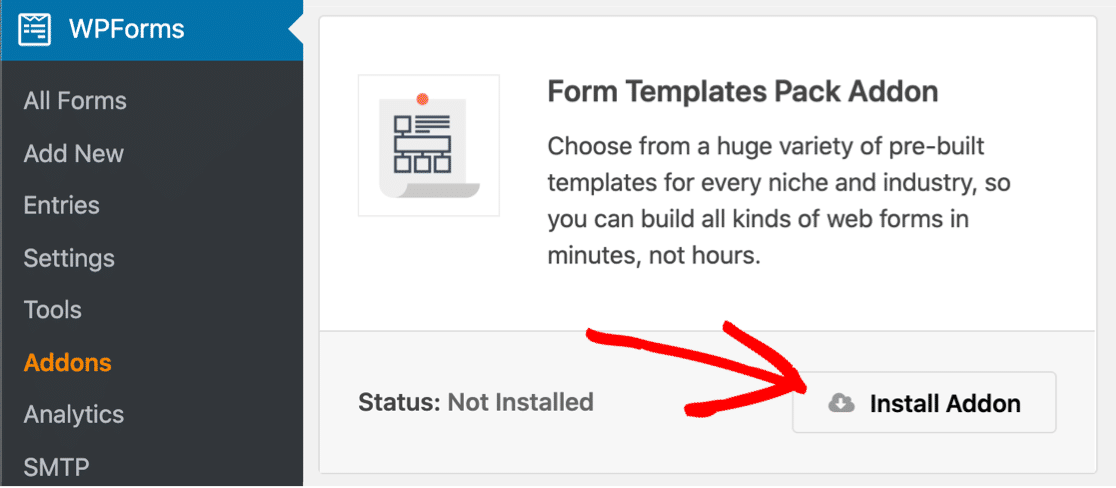
First, let’s install the Form Templates Pack addon.
The templates pack has 100+ form templates that you can edit, copy, and customize. It includes a video release form that we can tweak for our model release waiver.
Starting from a template is easier and faster than making a form completely from scratch.
Go ahead and find the form templates pack in the list, then click Install Addon.
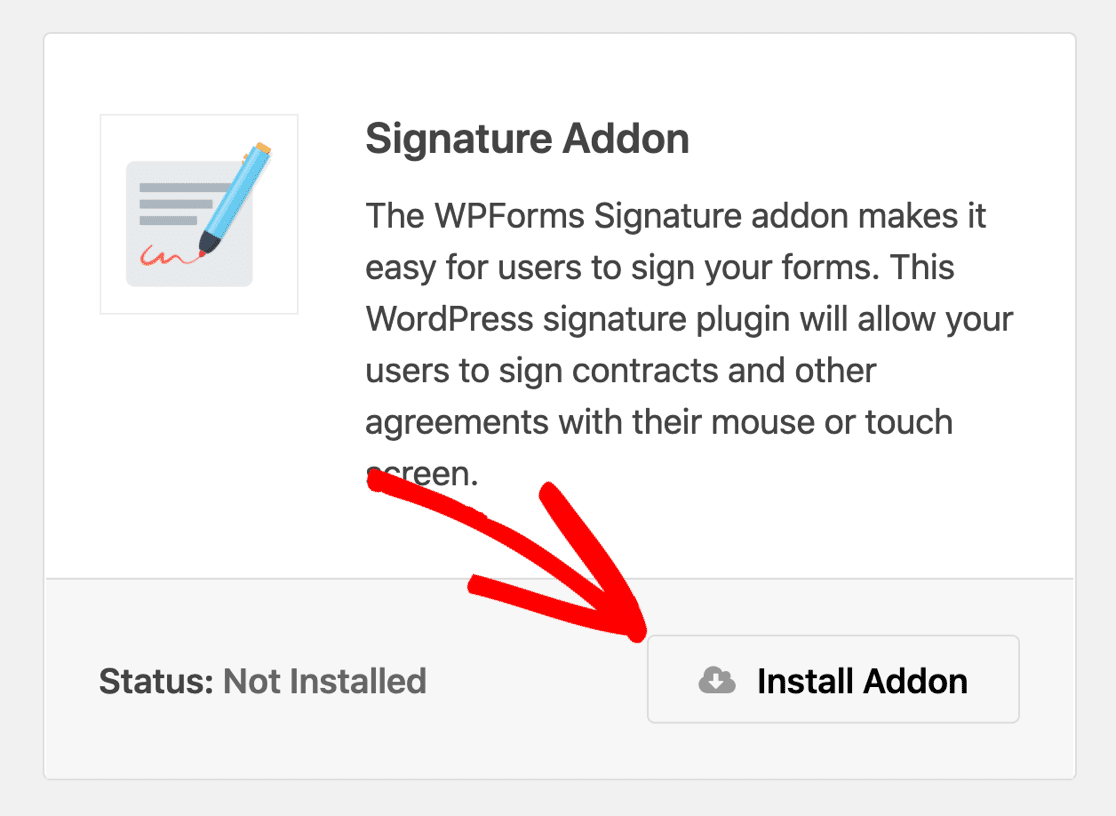
Finally, let’s install the Signature addon. This will let us easily get a digital signature on our form, which means we don’t have to print out each one and ask the model to sign it.
Scroll down a little until you find the signature addon, then click Install Addon here.
We’re all set! Now let’s open up a template to create your form.
Step 2: Create Your Online Model Release Form
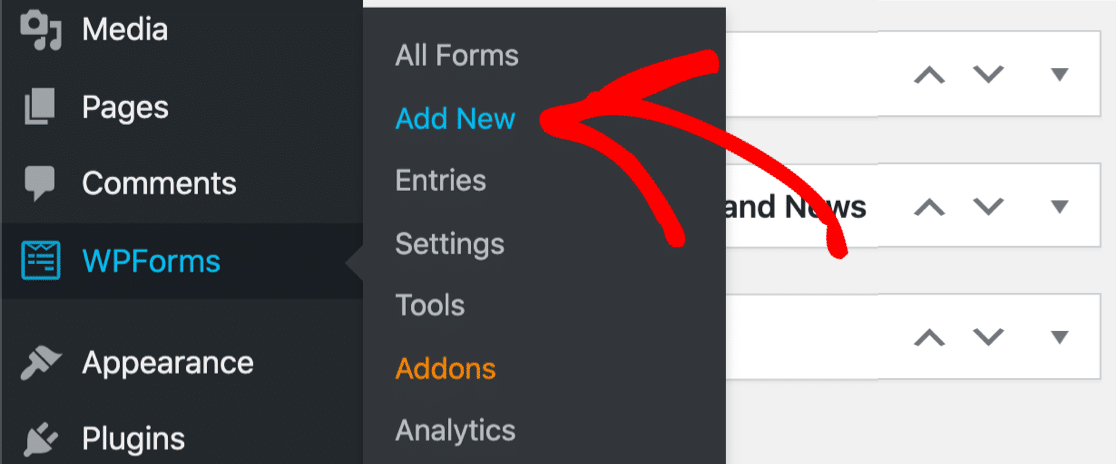
Now we’re ready to make the online model release form. We’re going to start out with the video release form template.
Start in the WordPress dashboard. From the menu on the left, click WPForms » Add New.
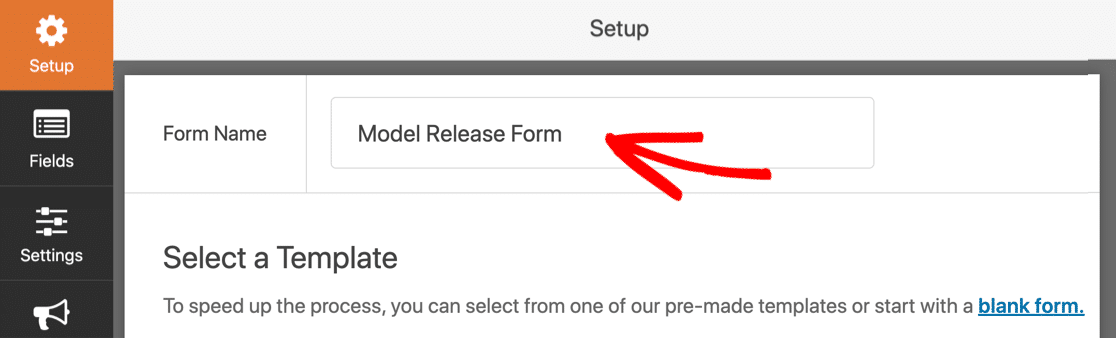
Next, type in a name for your form at the top.
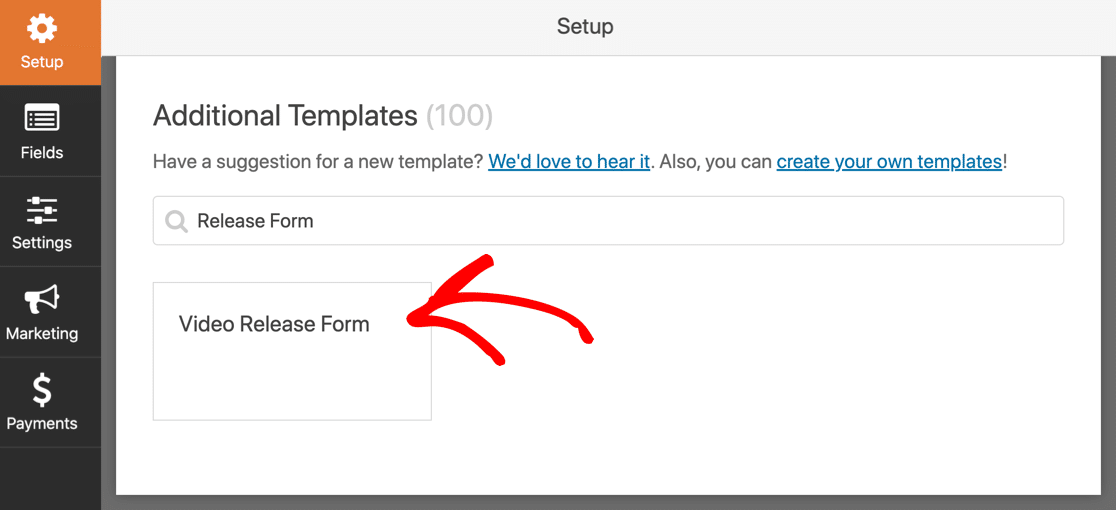
Now scroll all the way down to the Additional Templates section. Go ahead and search for ‘release form’ and click on the video release form template.
This template is similar to an online model release form. We’re just going to tweak the fields and make it suitable for a photo shoot.
Step 3: Customize Your Online Model Release Form
In this step, we’re going to add some extra fields and change the wording on the form.
At the end of the last step, we opened up the form template. You can see the fields on the left and the form preview on the right.
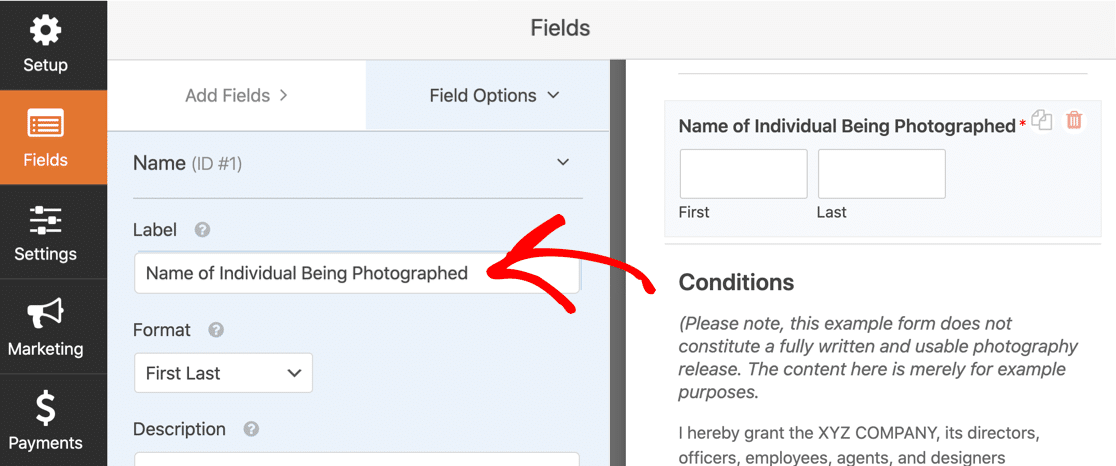
First, let’s edit the label on the Name field. Click on it once to open the settings on the left.
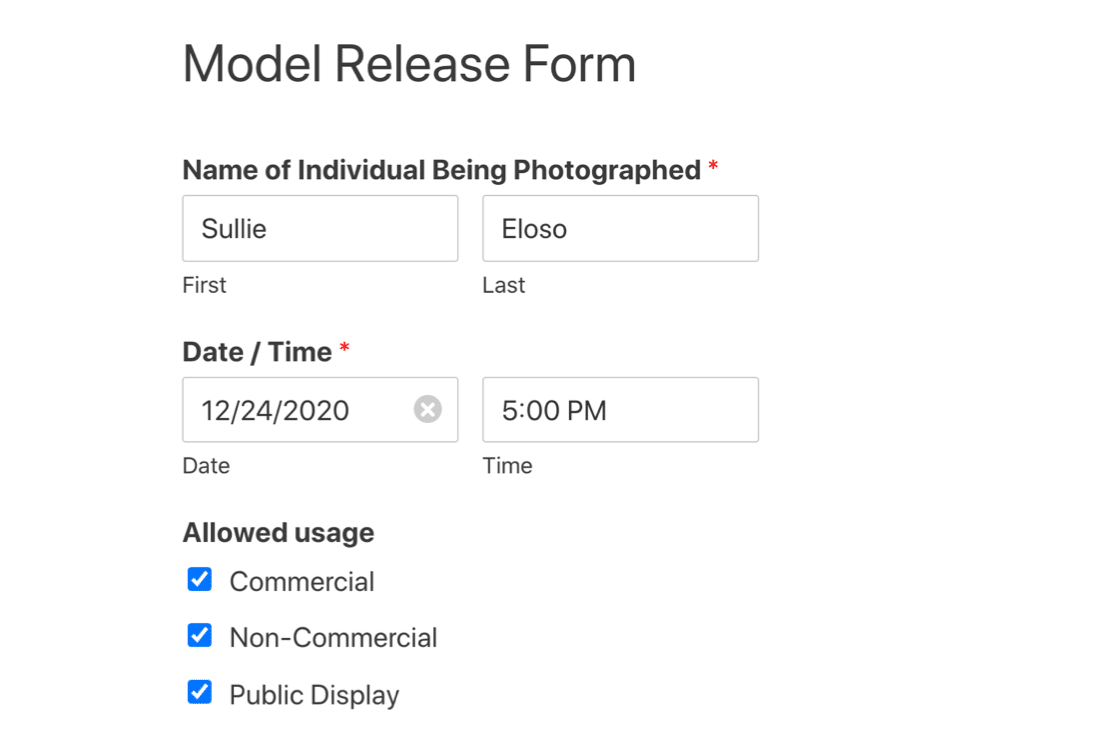
We’ll change this to Name of Individual Being Photographed. That way, we can use this form for children, since their legal guardian can fill in the child’s name.
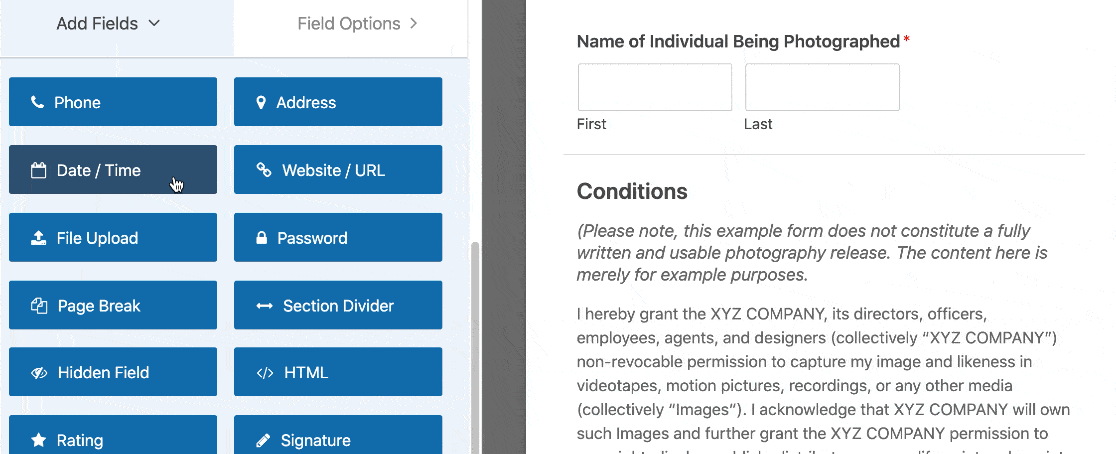
Next, we’ll add a date and time field for the date of the shoot.
Start by dragging a Date/ Time field from the left hand panel to the right hand panel. Click once on the field to open the settings on the left.
It’s a good idea to tick Required so that the model has to fill in this field.
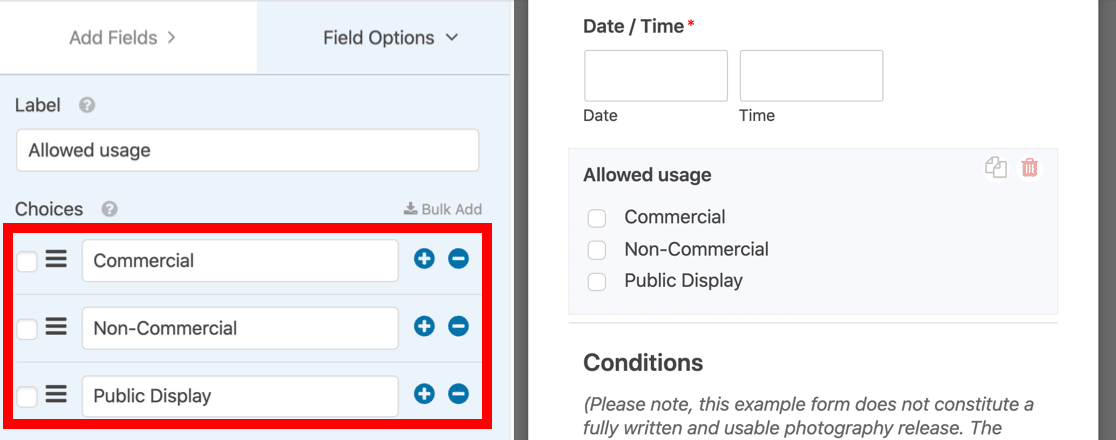
Now let’s add a checkbox field for the allowed usage of the photographs from the shoot. We can edit the answer choices so that the model can tick the ones they want to allow.
In this example, we’ve added options for:
- Commercial purposes
- Non-commercial usage
- Public display
You can add more answer choices by clicking the plus icon at the end of any line.
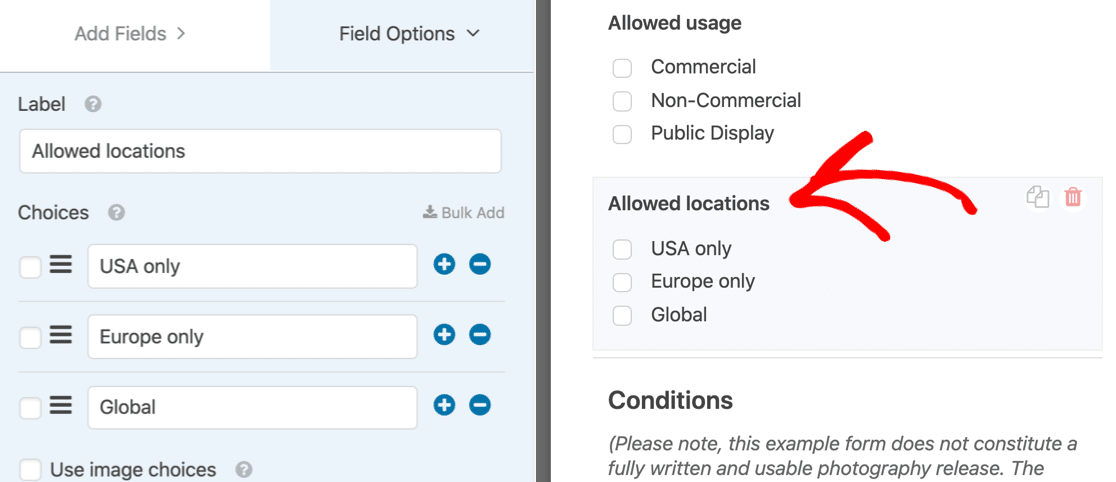
We need one more field for publishing locations. Let’s repeat the process again. Add a new checkbox field and add your answer choices underneath.
This field is called Allowed locations.
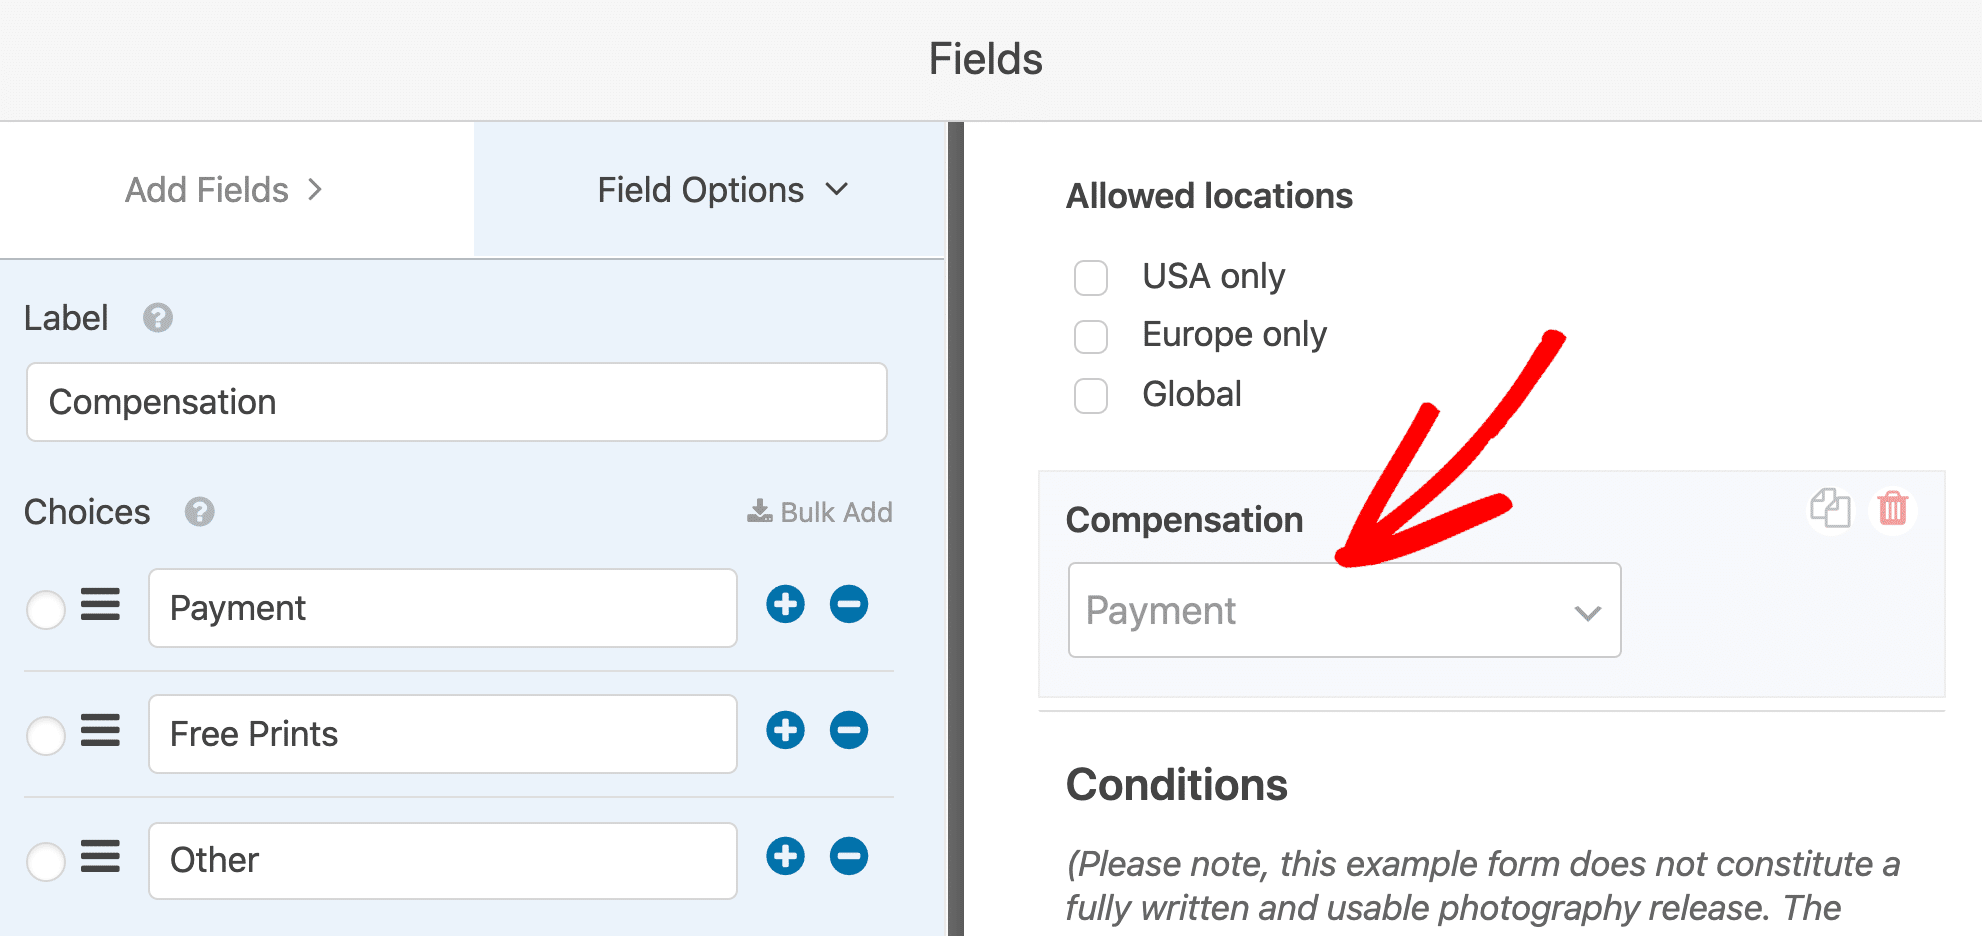
Now we’re going to add a dropdown for the model to select the compensation they’ve agreed. We’re going to add 3 choices again:
- Payment
- Free prints
- Other
A dropdown makes sense here. It means the person filling in the form can only make 1 choice. If you wanted them to be able to select multiple items, you could add a multi-select dropdown to your form.
What happens if your model selects Other? Let’s add another field so they can type in the compensation you’ve agreed.
Adding a Field With Conditional Logic
In this section, we’re going to add a field that only shows up if the model selects ‘Other’ in the dropdown.
To start, drag a single line text field onto your form and label it ‘Agreed Compensation’.
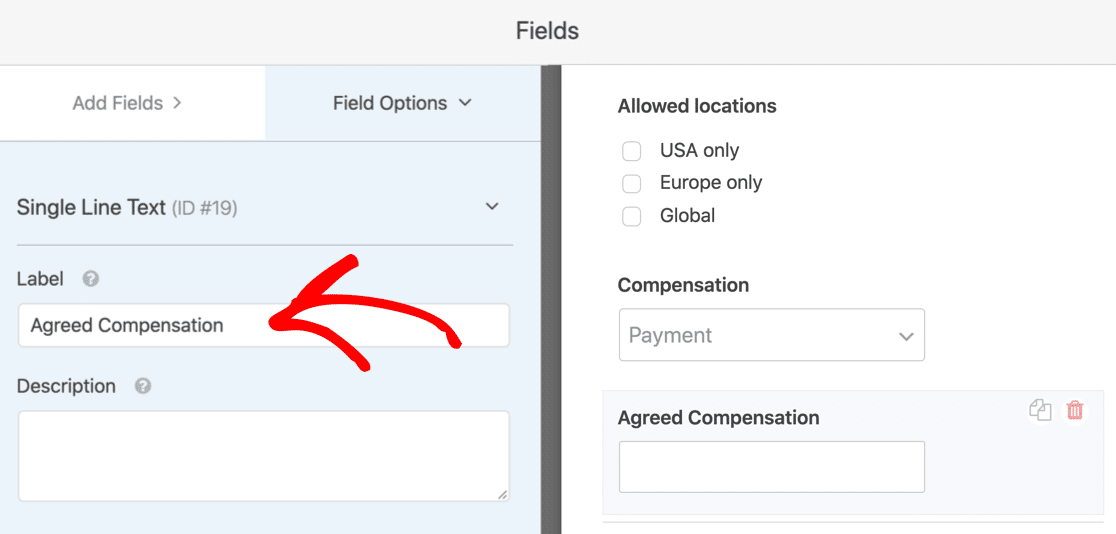
If this field shows up all the time, it could make the form confusing. Let’s use conditional logic to hide it.
To set up the conditional logic, click once on the Agreed Compensation field. It’ll open up the settings on the left.
Then scroll down and expand Conditionals.
Click the checkbox to enable conditional logic, then use the dropdowns to choose when you want the field to appear.
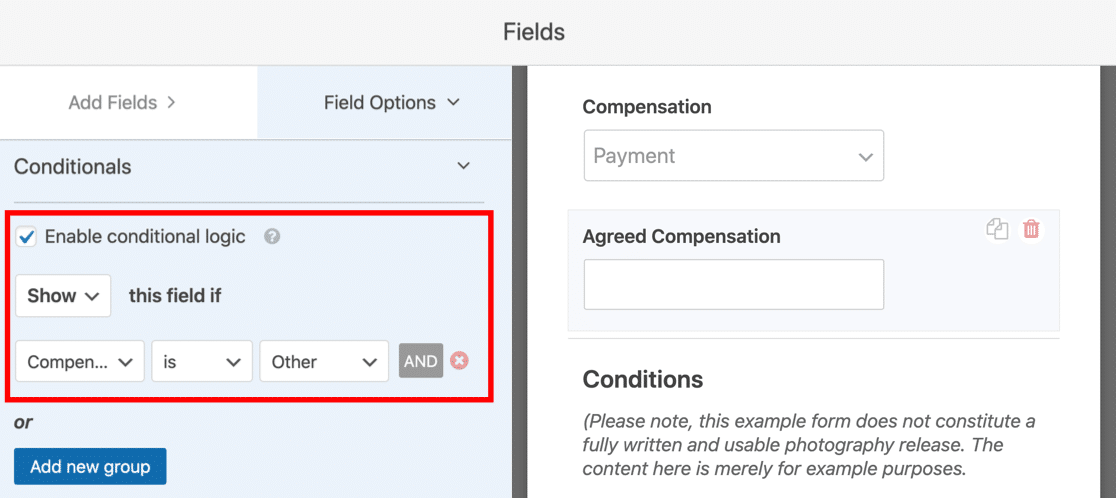
In this example, we set up the field to Show if the Compensation field answer is Other.
Now we can move on to the terms. You’ll notice that we have a Section Divider field with some sample terms and conditions for the release form. You’ll want to delete these and replace them with your own legal text.
Finally, let’s drag a signature field onto the form. You’ll definitely want to check the Required box on this field so that the form can’t be submitted without an e-signature.
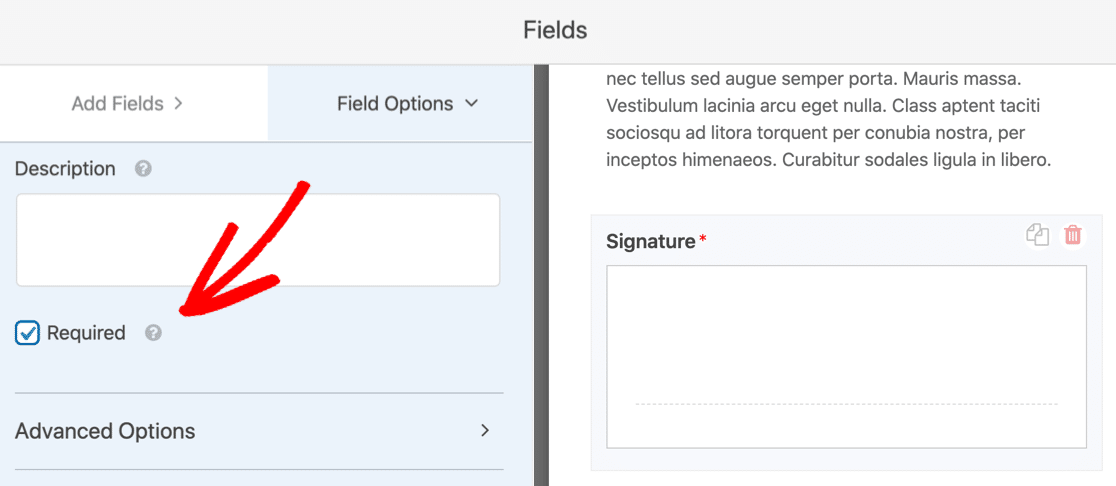
Great! Now your models can e-sign by drawing their signature in the box.
If you have models from the UK or the European Union, you’ll also want to add a GDPR agreement so that they give consent for you to save their personal data. To find out how to turn on GDPR features, check out this guide to adding a GDPR agreement to your forms.
Phew! That’s it. You made it to the end of this section, and the form is complete!
Click Save at the top to save your work so far.
Step 4: Configure Release Form Notifications
Now it’s time to review the notification settings on your online model release form. This is where we can customize the emails that will be sent when it’s submitted.
To start, click Settings.
And now click Notifications.
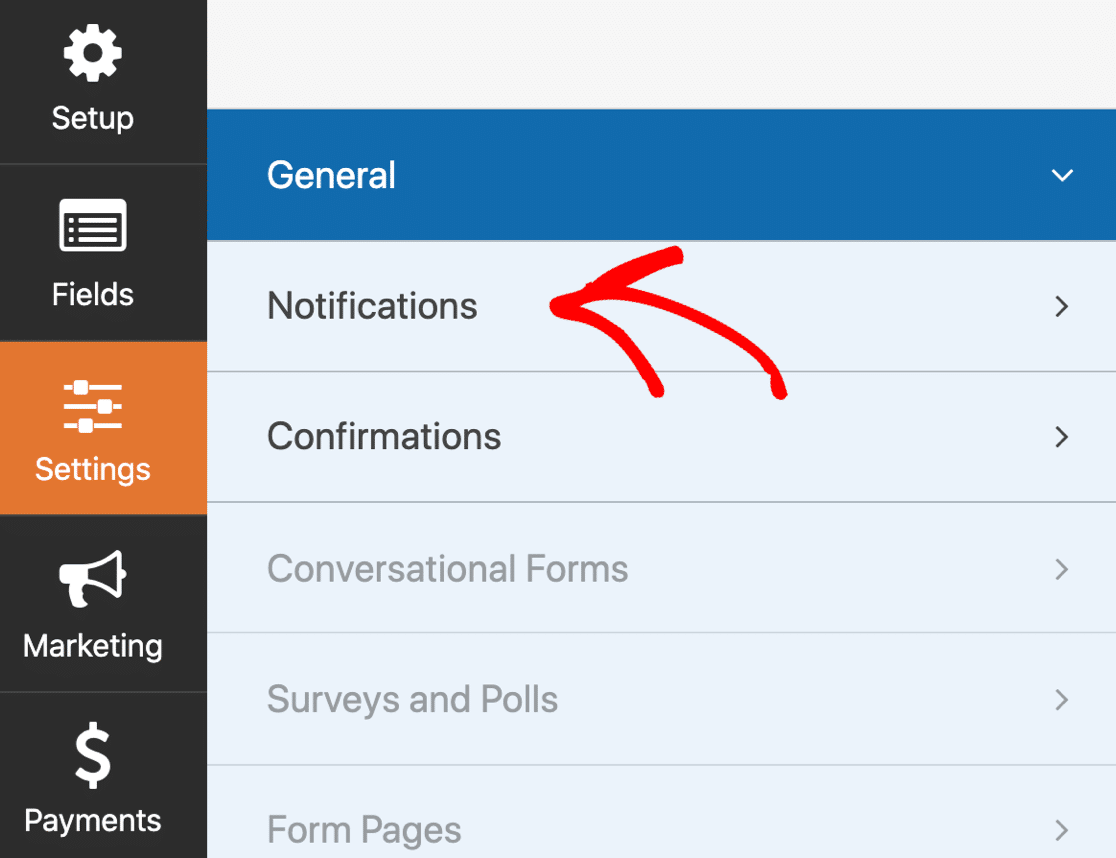
On the right, you’ll see the default notification that WPForms will send out. Here, you can change:
- Email recipient – This is the email address that the notification will be sent to when the form is submitted.
- Subject line – You can change the subject line if you want to.
- Email message – This field lets you customize the contents of the message.
If you want another email to be sent, you can click Add New Notification at the top.
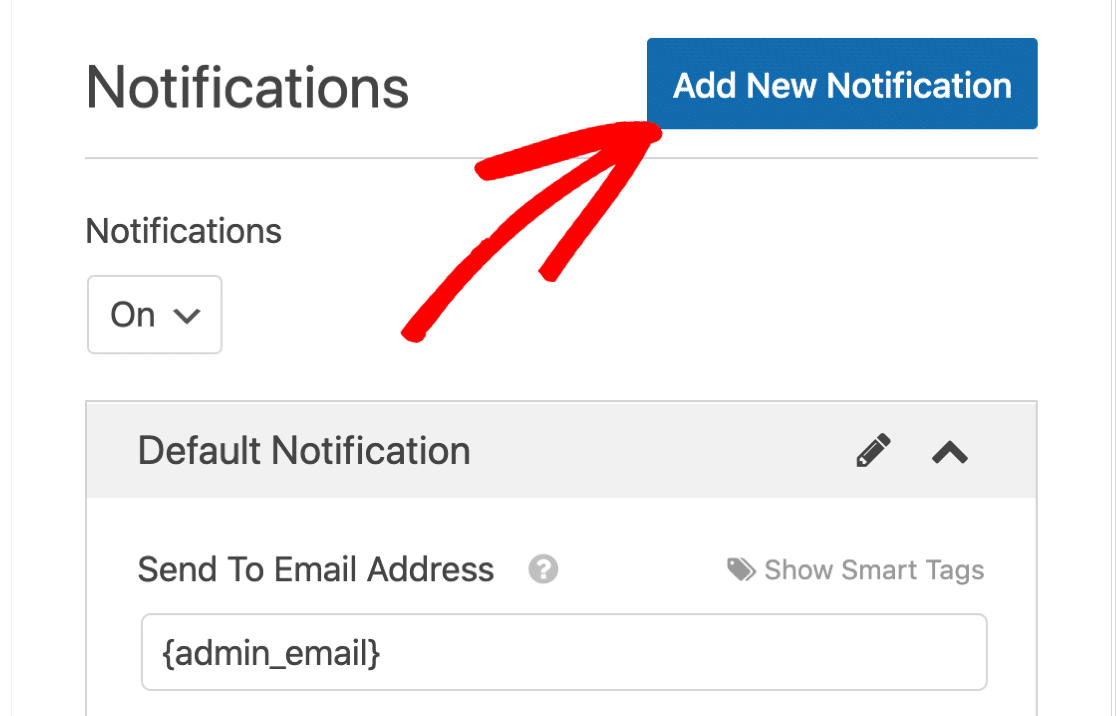
When you’re happy with your settings, click Save at the top of the form builder.
Step 5: Configure Your Release Form Confirmations
We’re almost there! The last thing we need to check is the form confirmation.
On the left, click Confirmations to open up the settings.
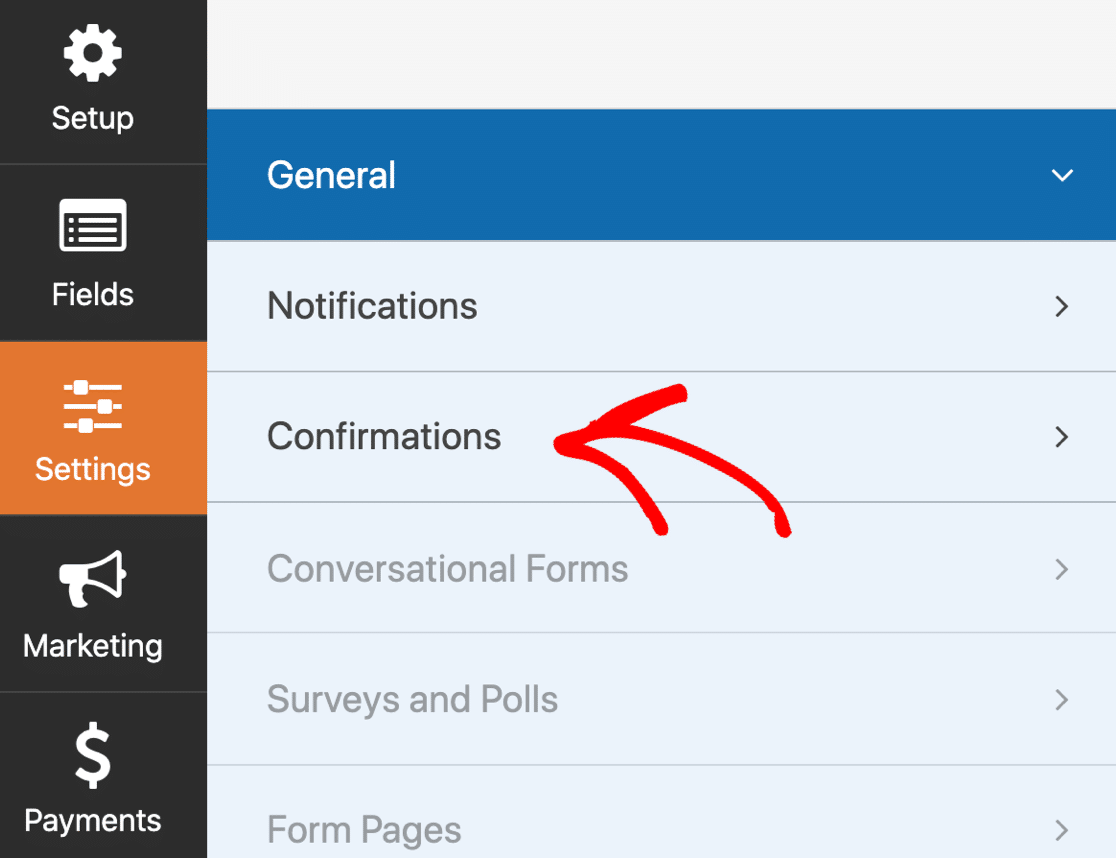
These settings will determine what happens when the form is submitted.
By default, WPForms will show a confirmation message on screen.
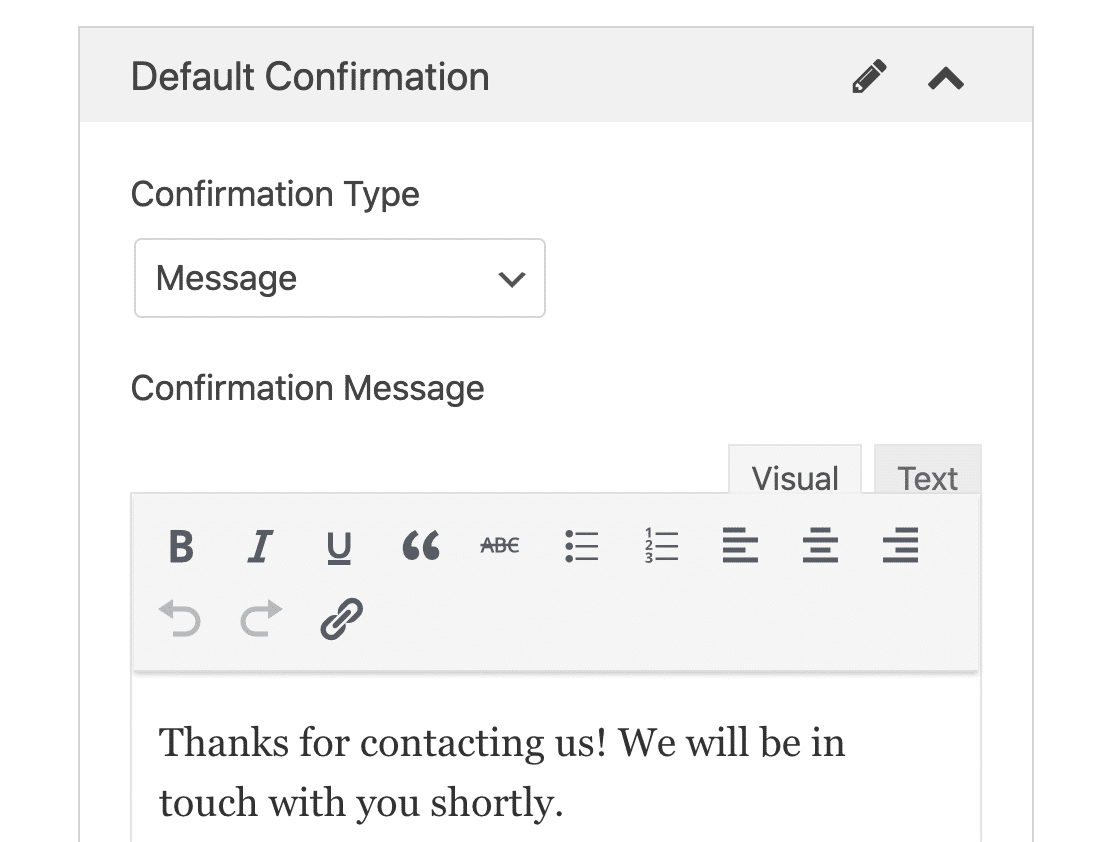
If you’d rather redirect your visitor somewhere else, click the Confirmation Type dropdown and change the confirmation to Redirect.
All set? Click Save.
And we’re done!
It’s time to go live. In the next step, we’ll publish your online release form and start accepting entries.
Step 5: Publish Your Online Model Release Form
Now your form is done, it’s time to publish it on your website. You can publish your form anywhere in WordPress, including:
- On a post or page
- In the sidebar
- In the footer.
For this particular form, it makes sense to create a new page.
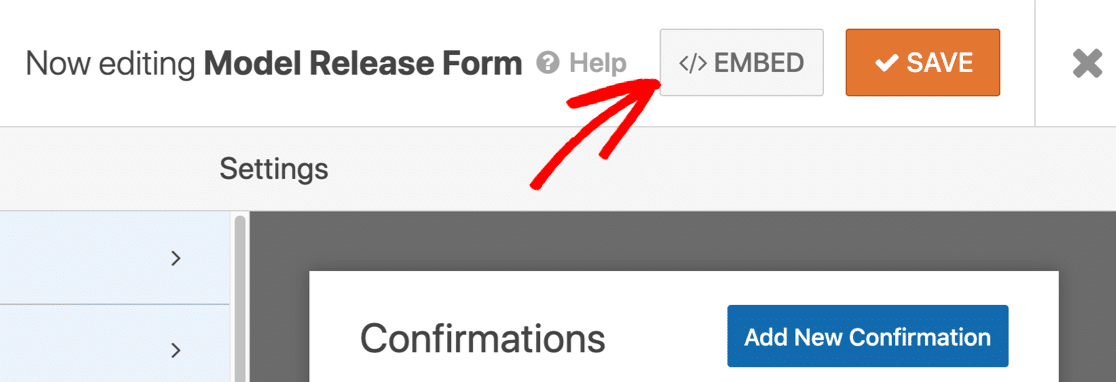
You can use a shortcode, but the Embed wizard is even easier, so we’ll do it that way.
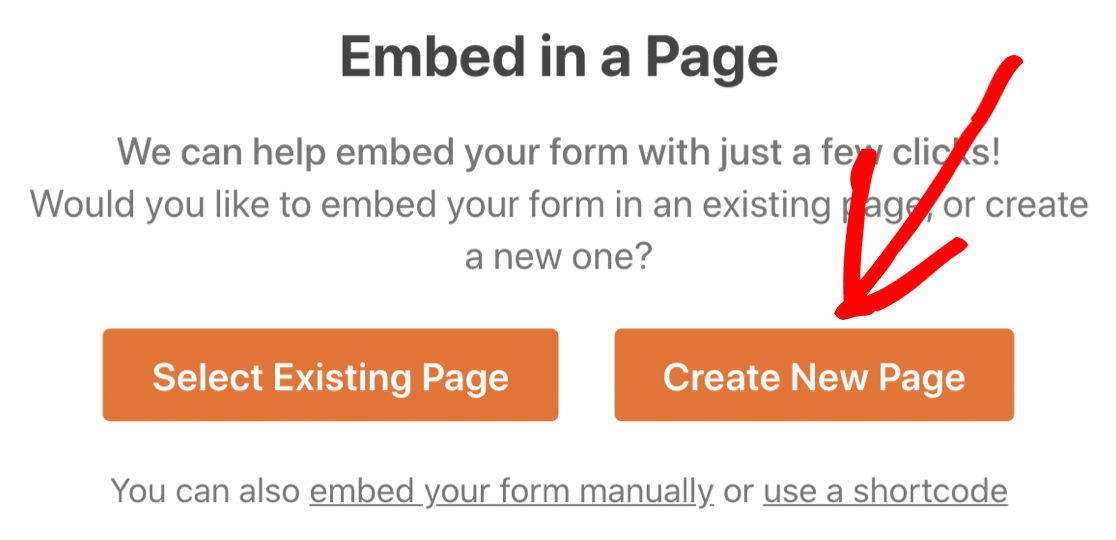
First, click Embed at the top of the form builder.
In the popup, click Create New Page…
And finally, type in a name for your form and click Let’s Go.
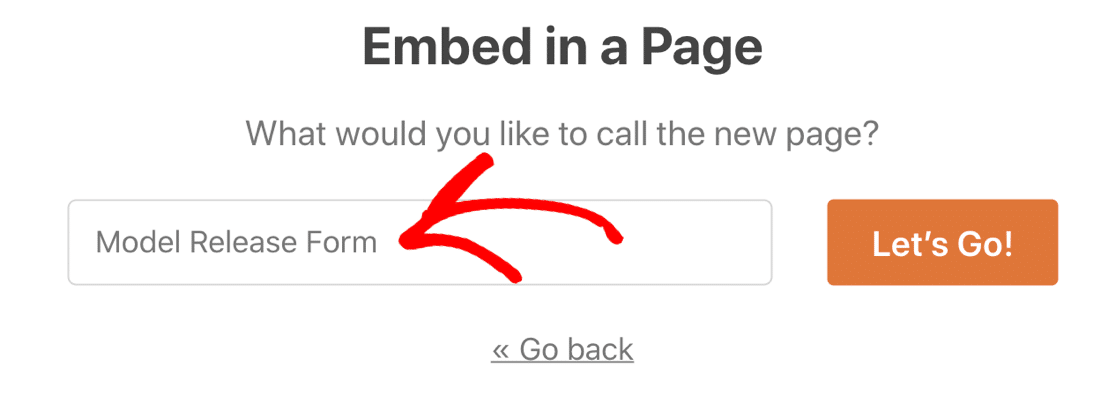
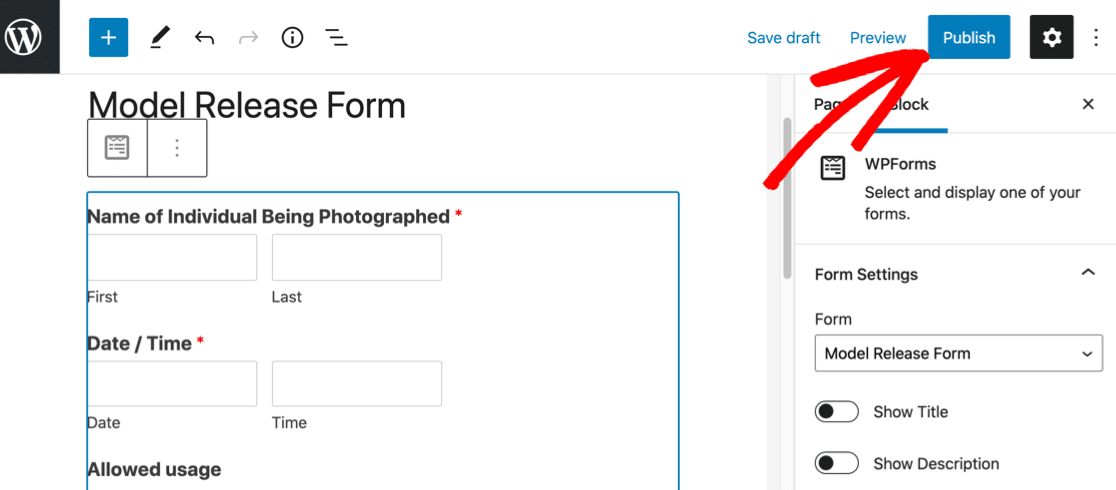
WPForms will automatically make a new page and embed your form into it. If you want, you can edit the page to add more details about your photography business.
All done? Now click Publish to go live!
Now your models can easily fill out your form and sign it online.
All of your form entries will be saved in the WordPress database. You can easily export your form entries to a CSV file if you need to.
And to make it easy to view your entries, the CSV export will automatically include a link to the e-signature for each entry.
Create Your Online Model Release Form Now
Next Step: Make Your Release Form Available Offline
If you have a patchy WiFi connection in your studio, WPForms can help make sure you don’t lose form submissions.
Using the offline forms addon, WPForms will save the entry if the connection drops out. That way, the person filling it out can submit it when their device reconnects. It really helps to avoid losing form submissions when your connection is spotty.
Ready to build your form? Get started today with the easiest WordPress form builder plugin. WPForms Pro includes a release form template and offers a 14-day money-back guarantee.
If this article helped you out, please follow us on Facebook and Twitter for more free WordPress tutorials and guides.
The post How to Make an Online Model Release Form in WordPress (2020) appeared first on WPForms.
source https://wpforms.com/online-model-release-form/
