
Do you want to make a SendFox WordPress form? SendFox lets you make basic HTML forms, but making your own custom form lets you get a lot more information about your subscribers.
In this article, we’ll show you the best way to create your own custom SendFox WordPress form. You can easily embed it anywhere in WordPress without writing any code.
Create Your WordPress SendFox Form Now
What’s the Best Contact Form Plugin for WordPress?
We’ve compared a lot of different form builders. And we’re confident that WPForms is the easiest and most powerful WordPress form builder plugin on the market.
WPForms has a drag and drop interface that makes it easy to create any type of WordPress form. You can easily connect forms to email marketing services, CRMs, and more.
WPForms is the perfect tool to make SendFox forms because you can:
- Add custom fields easily
- Embed your form without writing code
- Integrate any WordPress form with SendFox
- Make custom landing pages for your SendFox forms
- Take payments from new SendFox subscribers
- And more.
You can also all of your form entries in the WordPress dashboard with any paid version of WPForms.
Let’s move on and see how easy it is to make a custom WordPress form for SendFox.
How to Connect WordPress Forms to SendFox
We’re going to show you the easy way to make custom SendFox forms in the steps below.
- Install the WPForms Plugin
- Create Your SendFox WordPress Form
- Customize Your SendFox WordPress Form
- Check Your SendFox Form Settings
- Publish and Test Your SendFox Subscription Form
- Connect Your WordPress Form to SendFox
- Complete Your SendFox WordPress Integration
First, let’s install the form plugin for WordPress.
Step 1: Install the WPForms Plugin
To start, we’re going to install and activate the WPForms plugin. To follow along with this tutorial, you’ll need the WPForms Pro plan or higher.
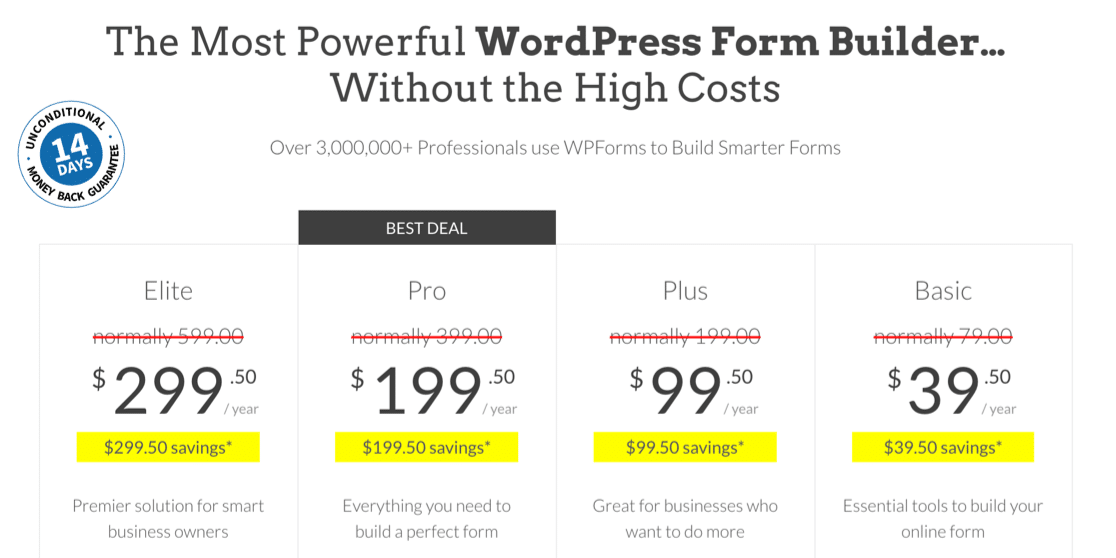
We took this screenshot during a sale. Click here to see if this pricing is still available!
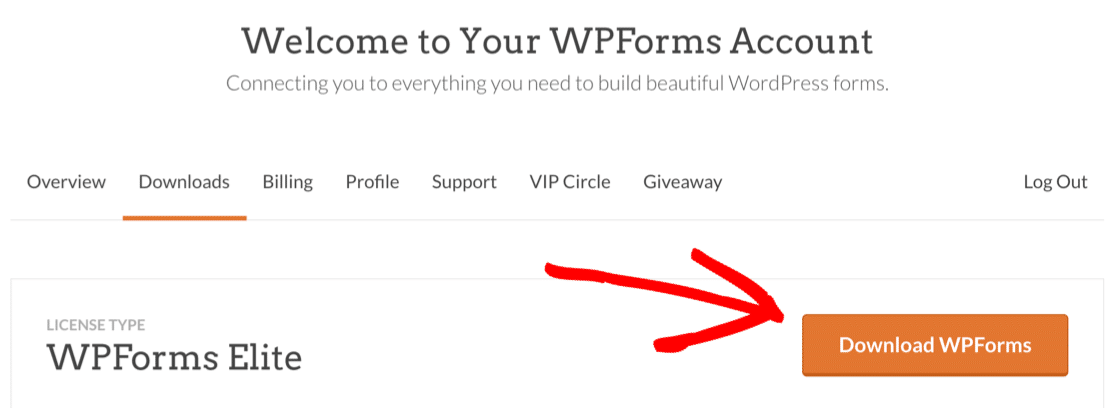
After checking out, download the plugin from the Downloads tab in your WPForms account.
If you need help, check out this guide to installing a plugin in WordPress.
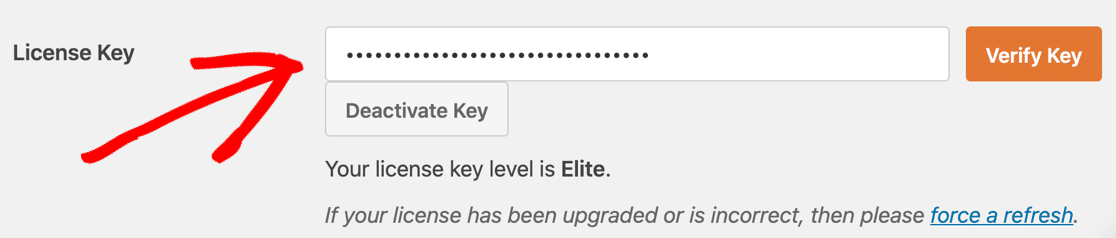
Don’t forget to verify your license key to activate all of the extra features.
Next, let’s activate the Zapier addon. In the WordPress dashboard, hover over the WPForms menu and click Addons.
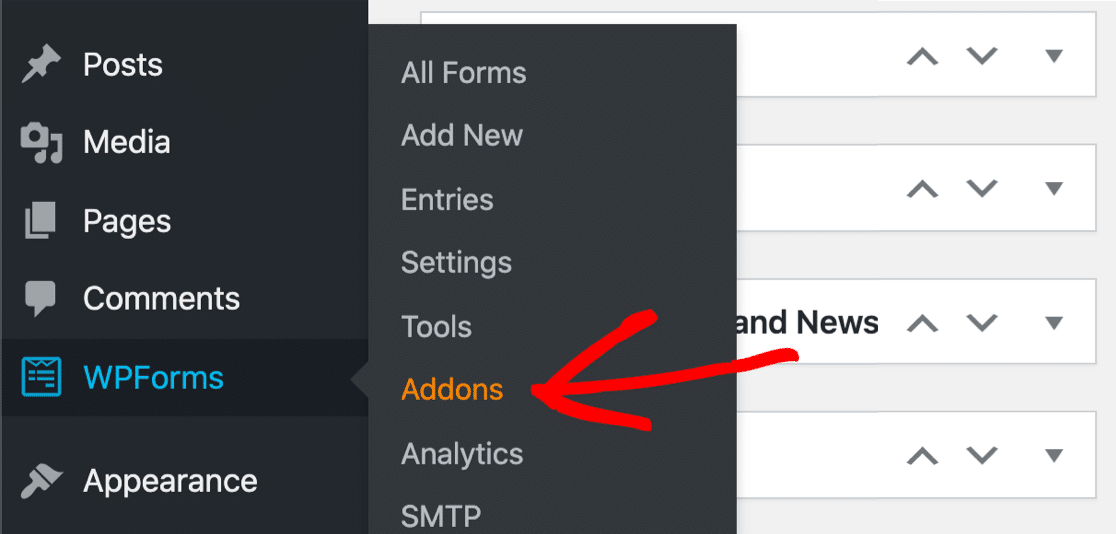
Scroll down and click the Zapier addon to install it.
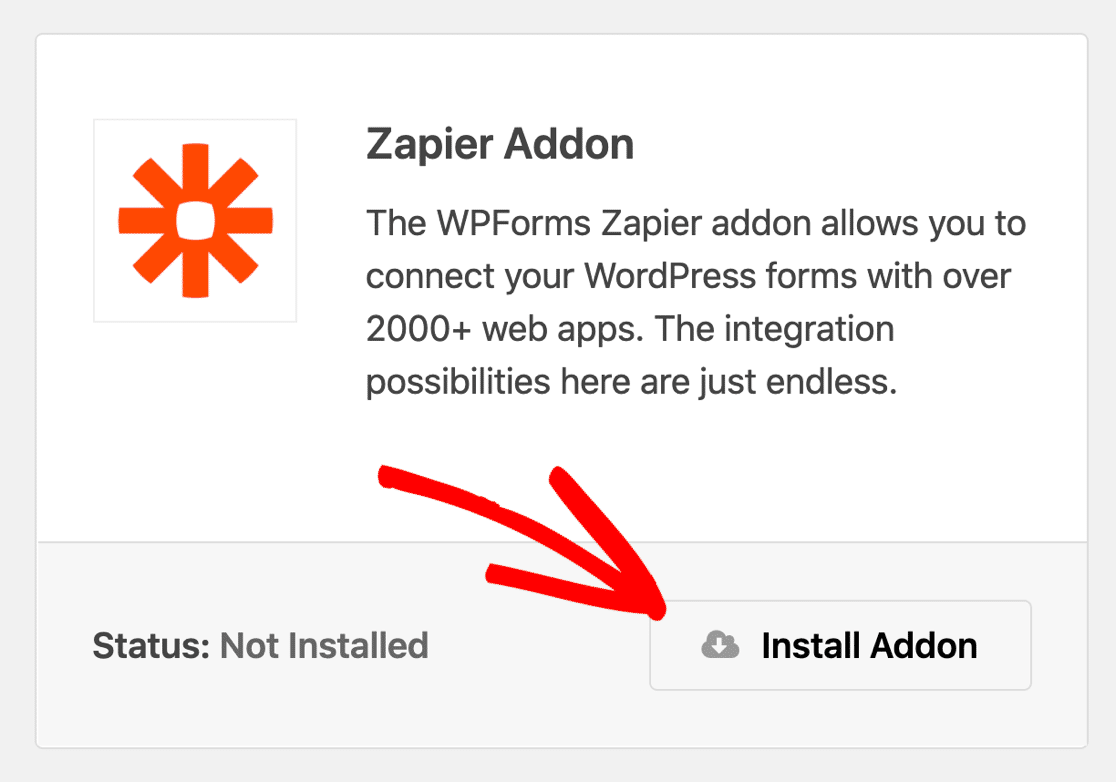
The Zapier addon lets you connect your forms to more than 2,000 apps and services. If you’re interested in creating more integrations, be sure to check out the Uncanny Automator plugin as well.
OK, now we’re ready to build your SendFox form.
Step 2: Create Your SendFox WordPress Form
WPForms Pro comes with 100+ form templates that give you a head start when you’re making forms. You can also make your own templates and duplicate forms you’ve made.
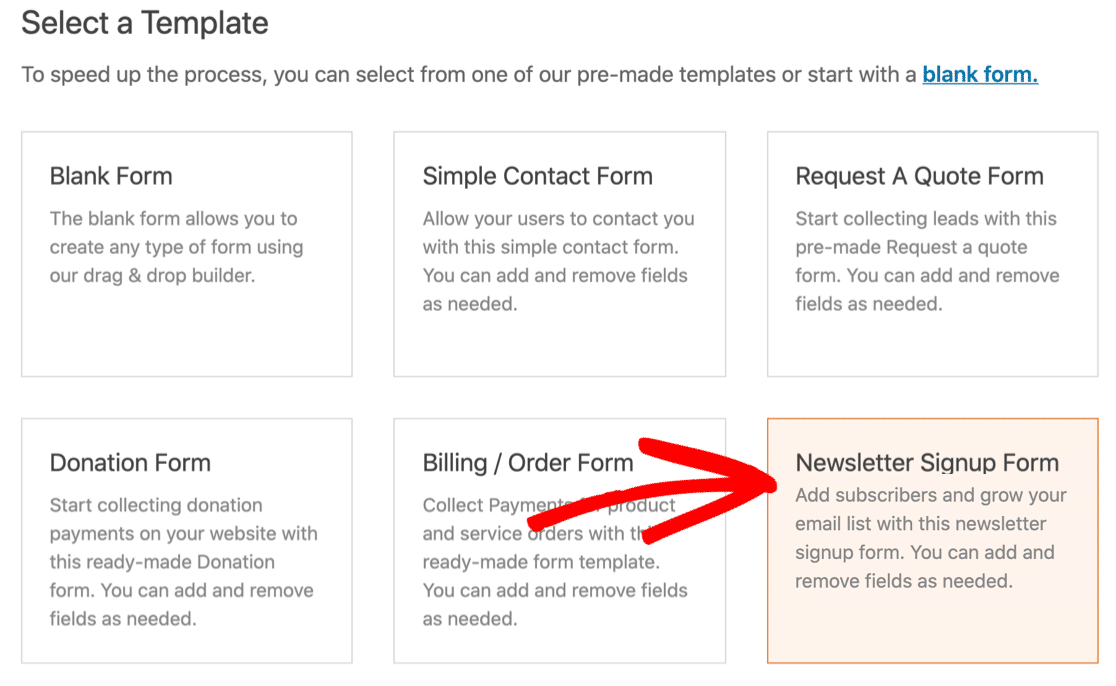
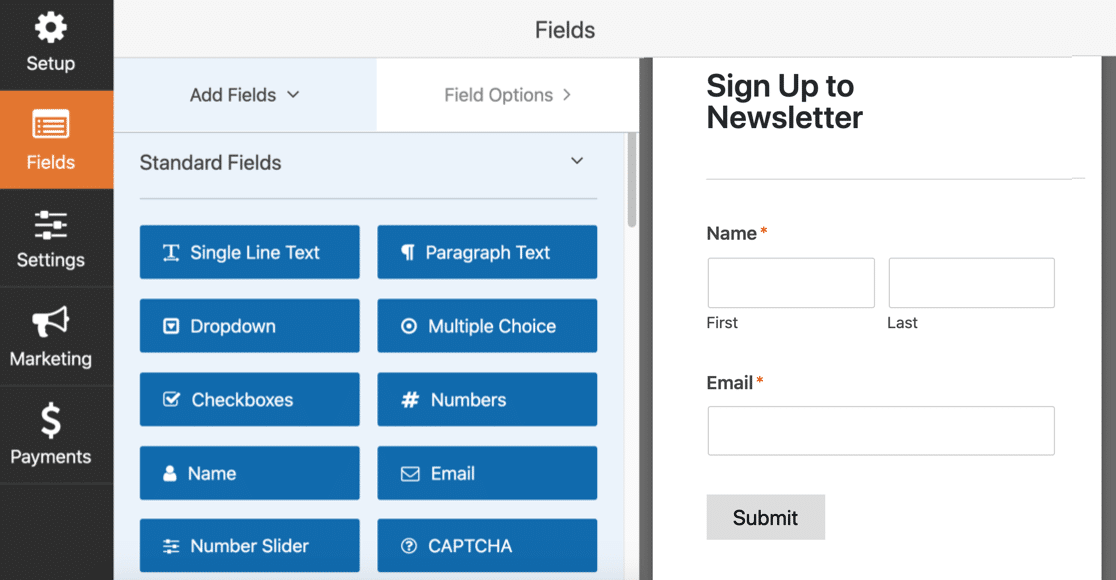
For our SendFox WordPress form, we’re going to use the Newsletter Signup Form template.
To set this up, start by clicking WPForms » Add New in the WordPress sidebar.
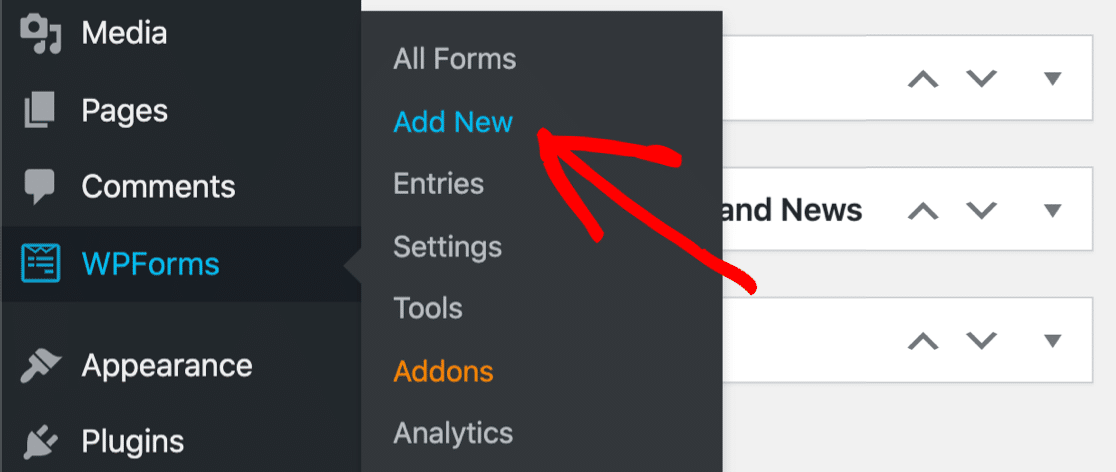
You’ll see the WPForms form builder open up.
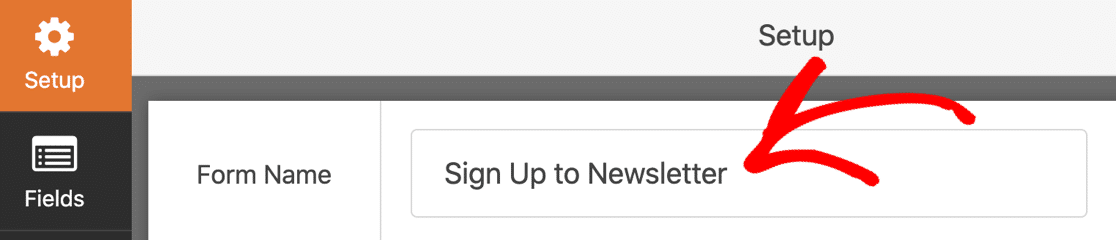
At the top, type a name for your SendFox form in the Form Name field.
Next, you’ll want to scroll down a little. In the templates section, go ahead and click on the Newsletter Signup Form template.
The Newsletter Signup Form template has fields for the subscriber’s name and email address. If you just want to make a simple SendFox WordPress form, you can use this template right out of the box.
Depending on your SendFox settings, you might also want to add a GDPR agreement to your form. And WPForms has tons of options if you want to stop spam form submissions.
Do you want to add custom fields for SendFox subscribers? Keep reading to find out how to add extra fields to your form.
Step 3: Customize Your SendFox WordPress Form
WPForms makes it easy to add your own custom fields to any field you create. To get some inspiration, check out these newsletter signup form tips and examples.
As you work through this section, remember that only the Name and Email fields will be sent to SendFox. You can view all of the other fields in your email responses, or in the form entry area of the WordPress dashboard.
How to Add SendFox Form Custom Fields
SendFox is great for content creators. With WPForms, it’s easy to add custom fields that let you gather more information about subscribers. This can help you understand your subscribers and develop content that’s tailored to their needs and interests.
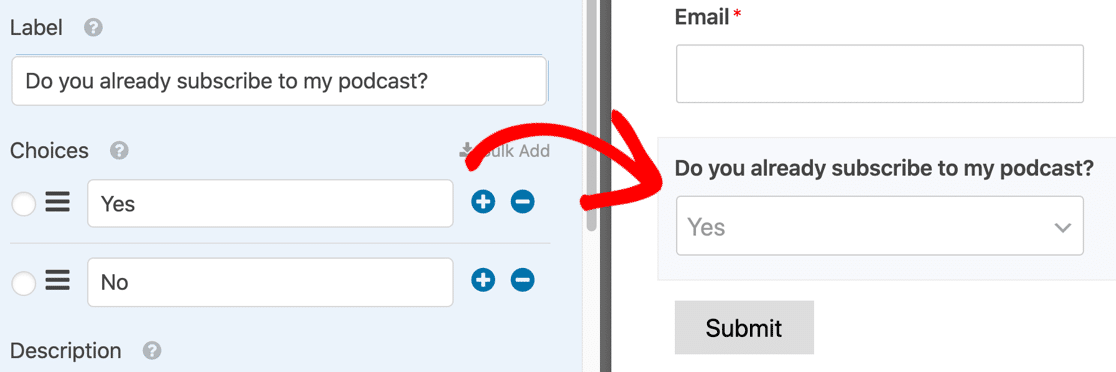
To add a custom field to your form, just drag it from the left hand side onto the form preview on the right. You can quickly edit the settings for any field by clicking on it.
For example, we can ask the subscriber if they already subscribed to our podcast by adding a dropdown field to the form. On the left, we added 2 answer choices: Yes and No.
You can use custom fields to get details like:
- Age
- Address
- Social media username
- Interests
- And more.
Here’s another cool use for custom fields. You can also have WPForms fill in answer choices automatically from your existing posts or pages.
For example, you could ask your visitor which podcast episode is their favorite. Then you can have WPForms automatically populate the answers from your ‘podcast’ post type in WordPress.
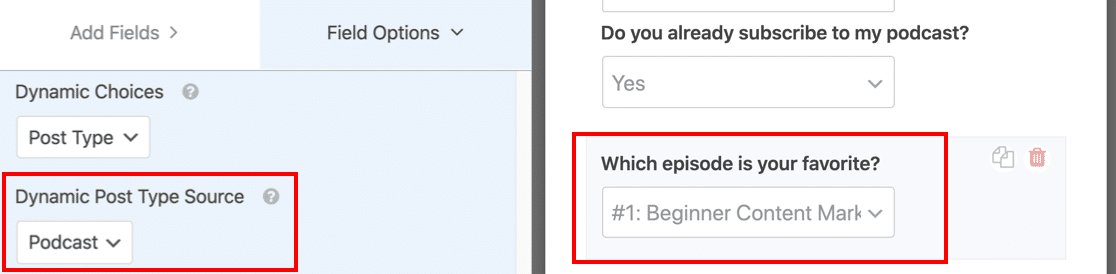
Check out this auto populated fields to learn how to add dynamic field choices.
How to Make a Compact Subscription Form
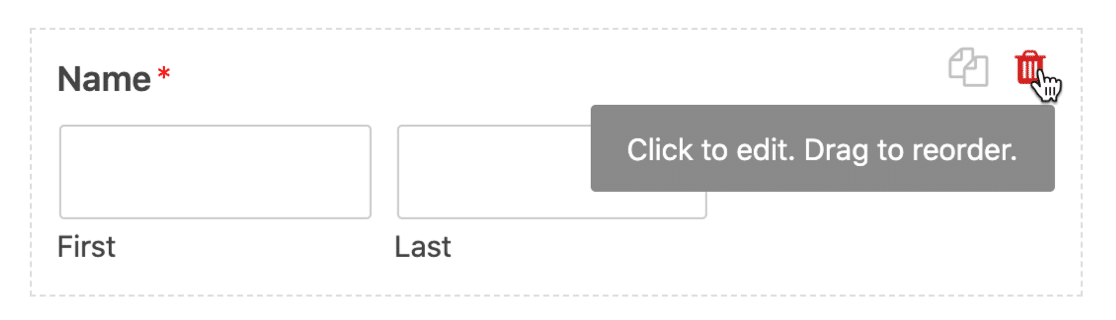
For a subscription form, many creators only want 1 field so that subscribing is as easy and fast as possible.
If you don’t want to collect the subscriber’s name, just hover over the field and click the trash can to delete it.
You can also organize your form using:
- Text paragraphs (HTML field)
- Section dividers
- Page breaks
- Conditional logic.
Here’s another trick. Instead of having the field labels like ‘Name’ above the fields, you can show labels inside the fields. This helps if you want to embed your form in the WordPress sidebar or publish your form in the WordPress footer because it makes the form more compact.
To remove your field labels, click on the Name field. Scroll down to Advanced Options and expand it.
Type in placeholder text for the First Name and Last Name fields. Then click the checkboxes to hide the Field Label and Sub-Labels.
If we do the same thing with the email field, our form preview now looks like this:
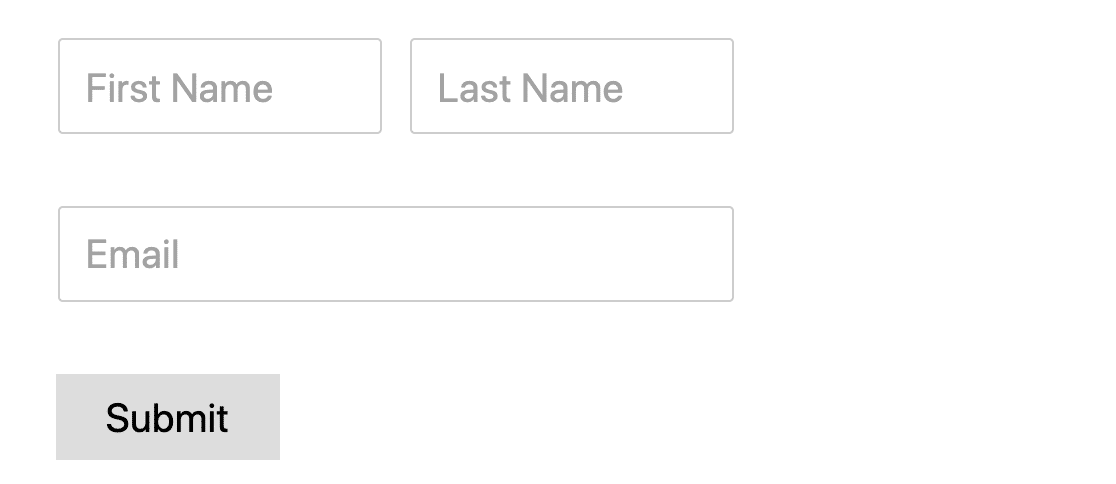
It’s a lot easier to embed in a small space.
Repeat the process for any custom fields on your SendFox form, and then click Save when you’re done.
How to Get More Subscriber Information
WPForms makes it easy to get information about your subscribers without asking any extra questions.
For example, you can:
- Automatically detect your subscriber’s location
- See the visitor’s journey through your site before they subscribed to your newsletter.
For now, let’s Save our SendFox WordPress form so far.
Step 4: Check Your SendFox WordPress Form Settings
Now let’s check that your SendFox form is set up the way you want it.
To start, click the Settings icon on the left hand side.
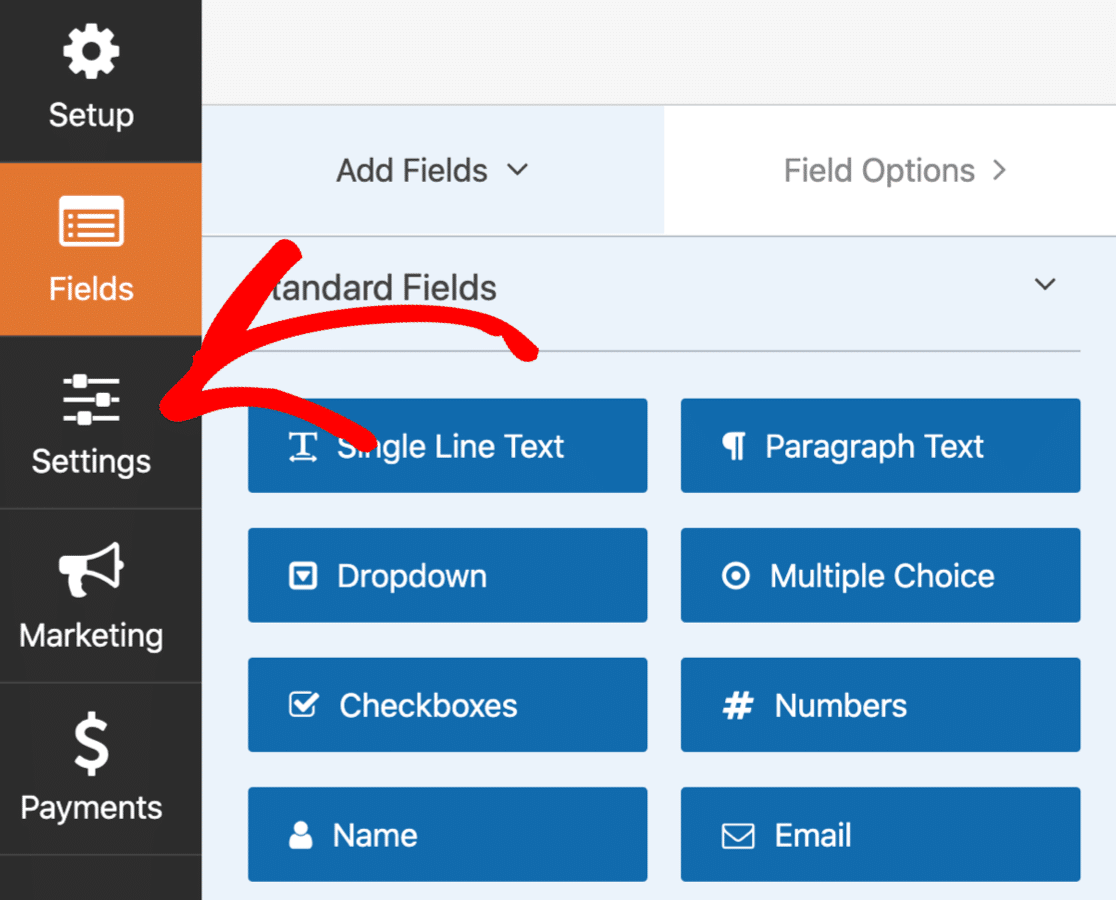
First, let’s check your form Notifications. These settings control the emails that are sent out when your form is submitted.
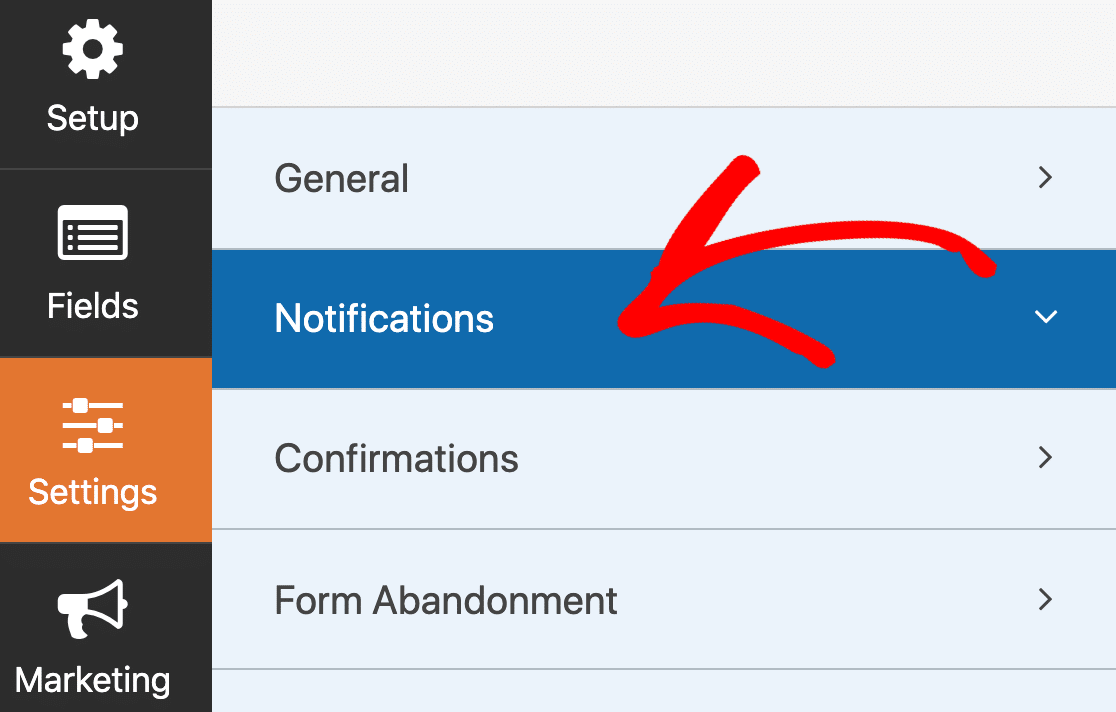
By default, WPForms will automatically send an email notification to the site administrator’s email address when you get a new subscriber. If you have any difficulty receiving
If you don’t want to receive an email for every signup, just turn off the notification using the dropdown.
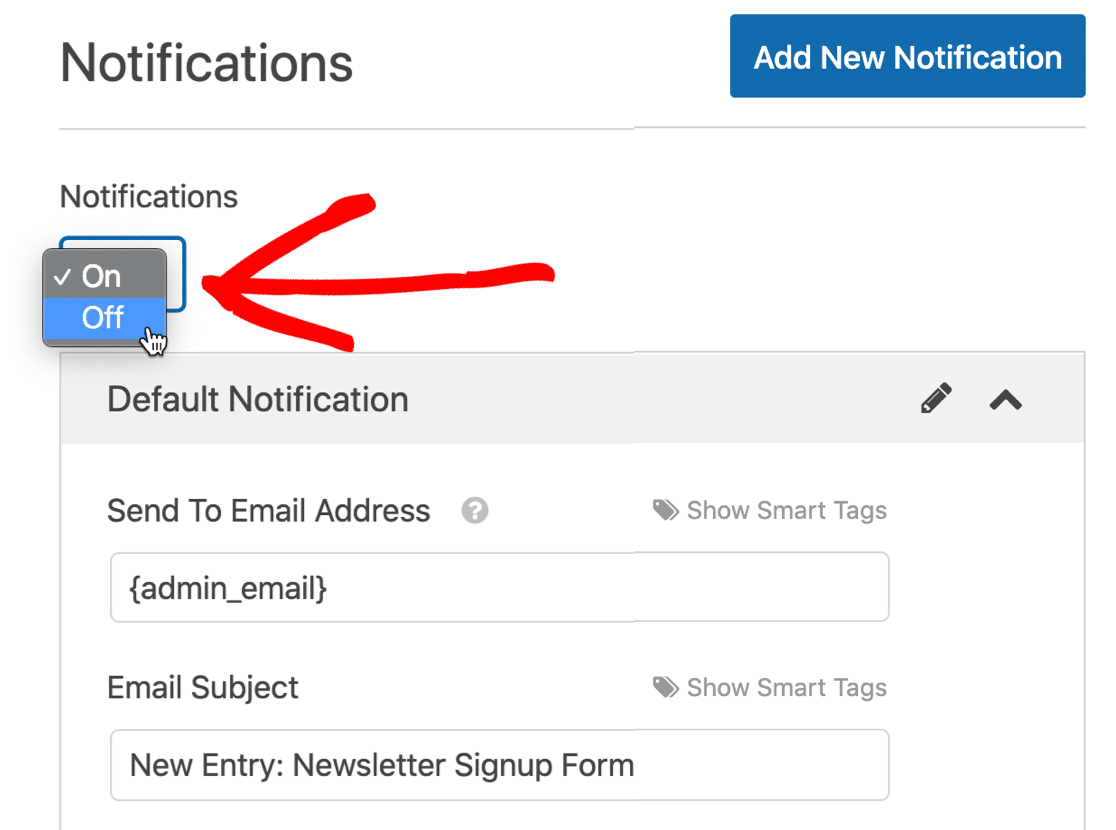
If you want to keep the notification, you can customize the message here. You can also consider installing the WP Mail SMTP plugin to make sure you receive all of your notifications.
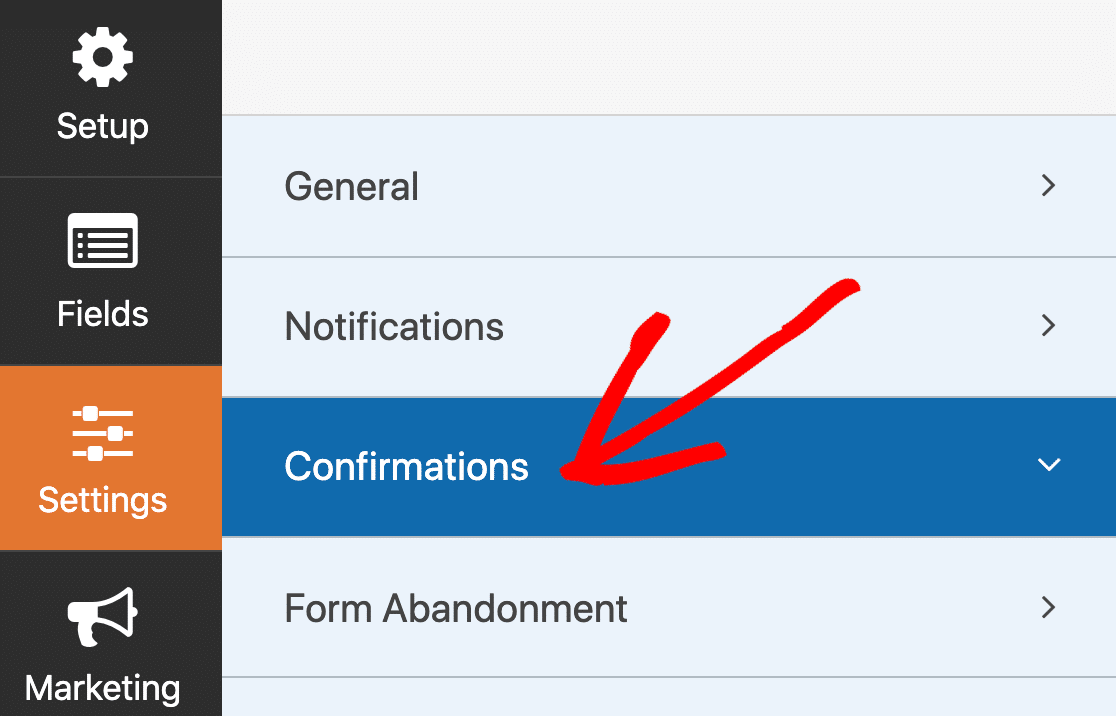
Now let’s hop over to the message visitors will see when they subscribe.
Click Confirmations from the menu to check this.
By default, double optins are turned on for all SendFox accounts (although Empire users can turn them off).
Assuming you have double optins switched on, let’s edit the confirmation message to remind our new subscribers that they need to check their email to complete their subscription.
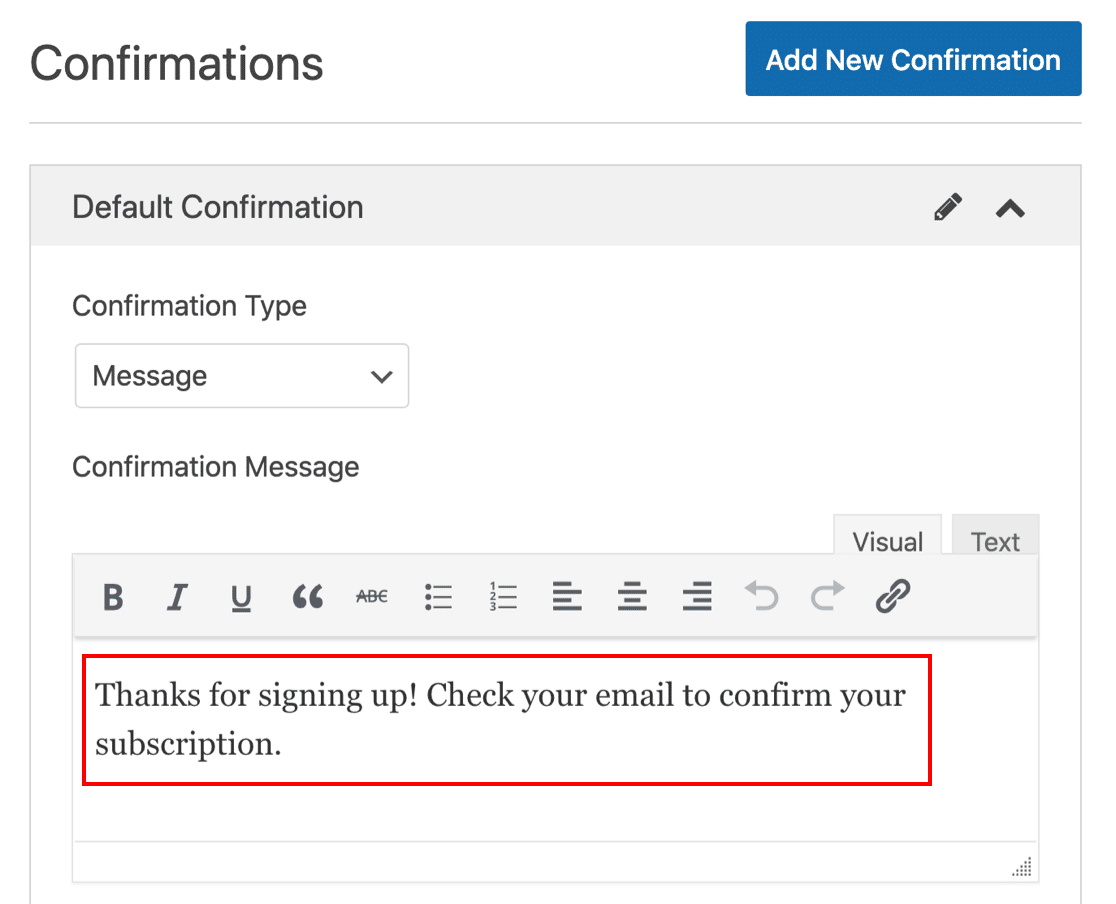
If you want, you can redirect your subscriber to a different page on form submission by changing the Confirmation Type. For now, we’re going to stick with a basic message.
Before we move on, there are a few more options here you might want to explore:
- If you want, you can use the Form Pages addon to quickly create your own custom form landing page for SendFox. This is great if you’ve got custom fields and you want a more advanced form than the default SendFox landing page.
- The Form Locker addon lets you hide your SendFox WordPress form from users who aren’t logged in. This is an awesome way to restrict signups on a membership site.
OK, we’re done working on the form. Let’s click Save.
Step 5: Publish and Test Your SendFox Subscription Form
Now we’re going to publish your form and send a test submission. It’s important to do this before we switch over to Zapier.
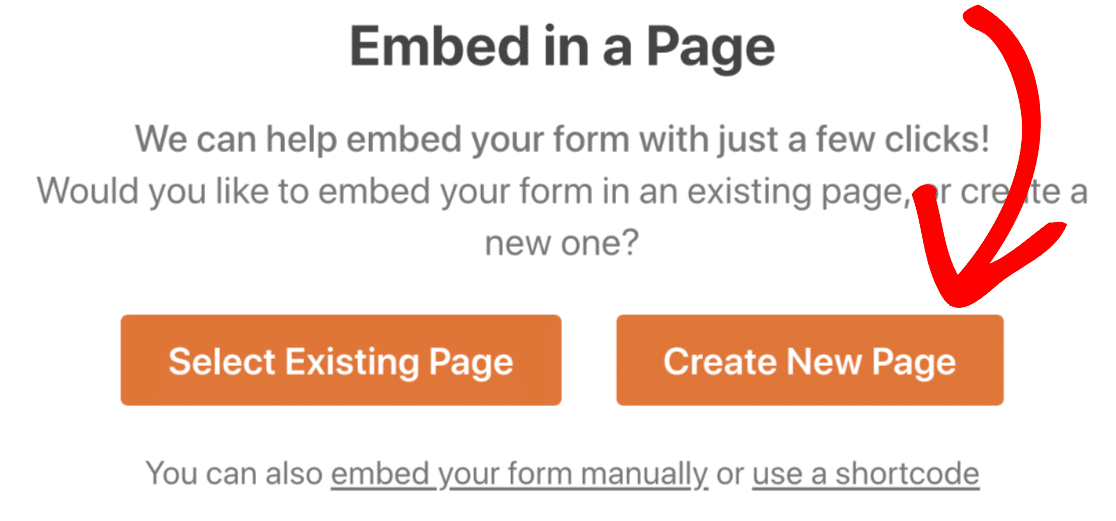
In this example, we’re going to create a new page for the form.
To start, click Embed at the top of the form builder.

In the popup, click Create New Page.
And now let’s name the page. Click the orange button to continue.
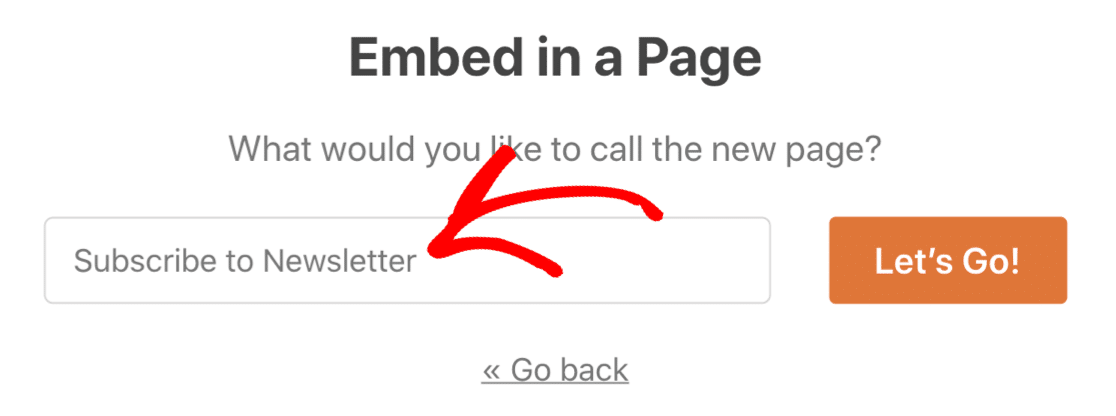
When you’re happy with the page, click Publish.
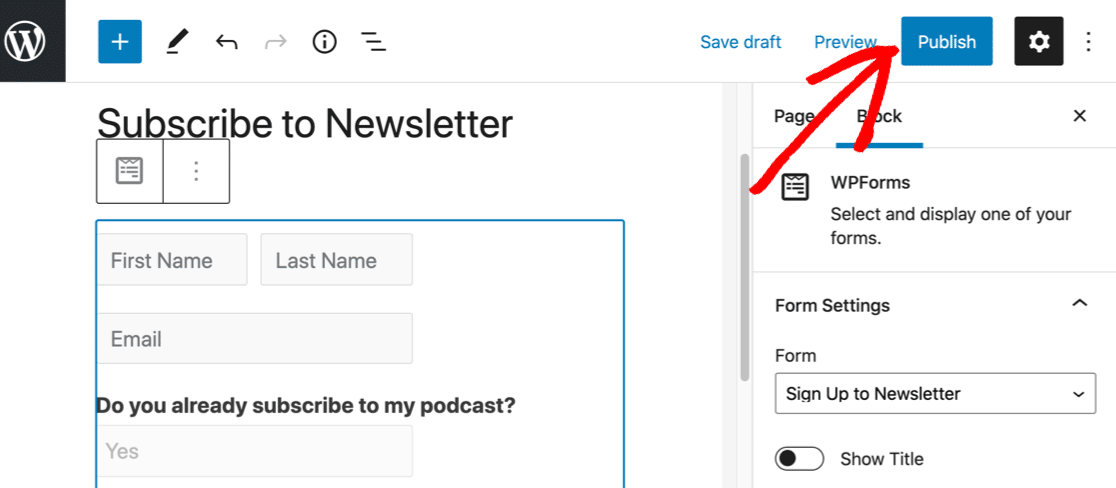
Sometimes you might not want to make a page for your form. Don’t worry: it’s easy to place your form anywhere using a shortcode or the WPForms block in the block editor.
And you can also easily embed your form using Elementor or the WPForms Divi module.
All set? Now let’s add a test entry.
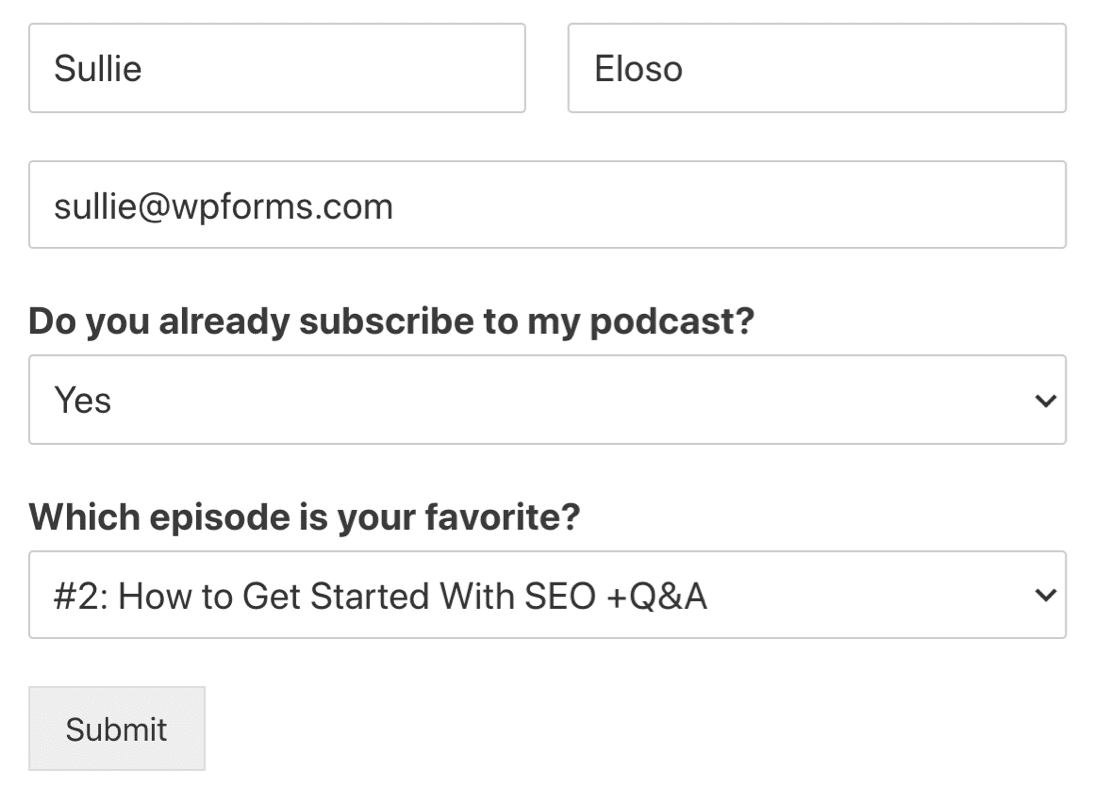
Submit the form when you’re done.
Now we’re ready to set up your connection in Zapier.
Step 6: Connect Your WordPress Form to SendFox
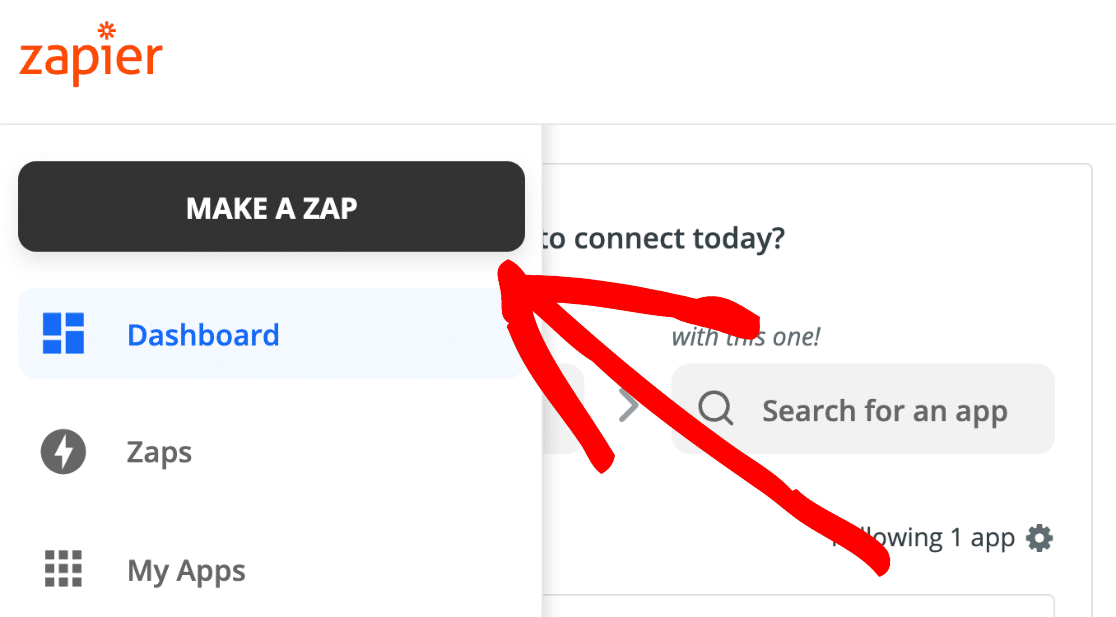
Open up Zapier in a new tab and log in to your account. You’ll want to keep your WordPress dashboard open in another tab so you can easily switch between the 2 sites.
Once you’ve logged in to Zapier, click Make a Zap at the top left.
Under App Event, search for WPForms and click on the icon.
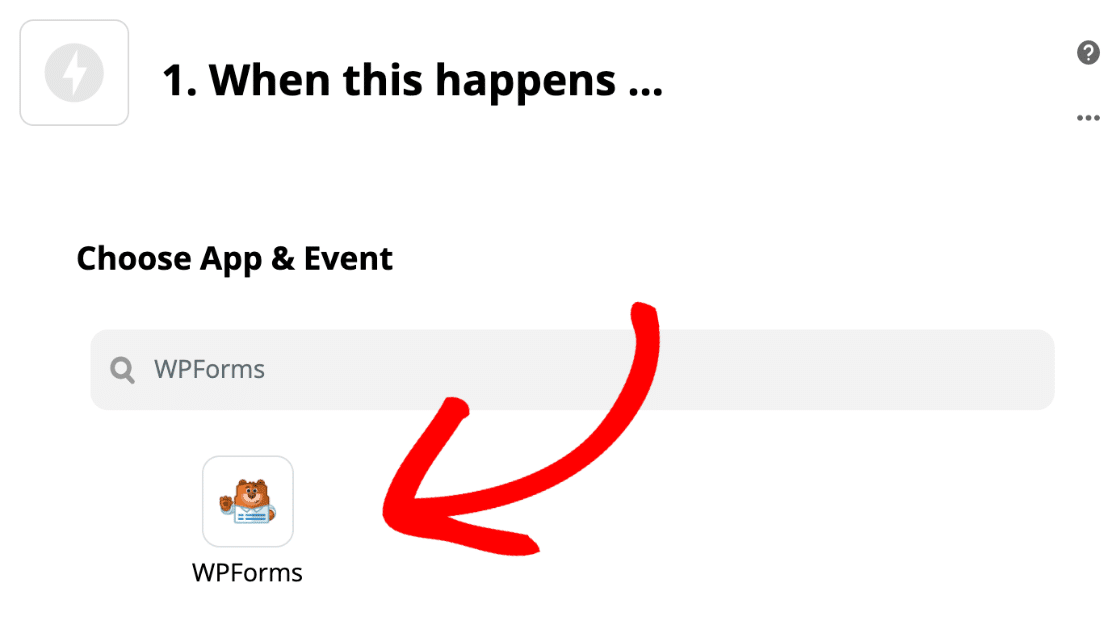
Our Trigger Event will be a New Form Entry, so let’s select that and click Continue.

If this is the first time you’ve used WPForms with Zapier, you’ll be prompted to set up your connection now.
You’ll need to grab your WPForms Zapier API key. Switch back to your WordPress tab and open up your form. On the left, click Marketing.
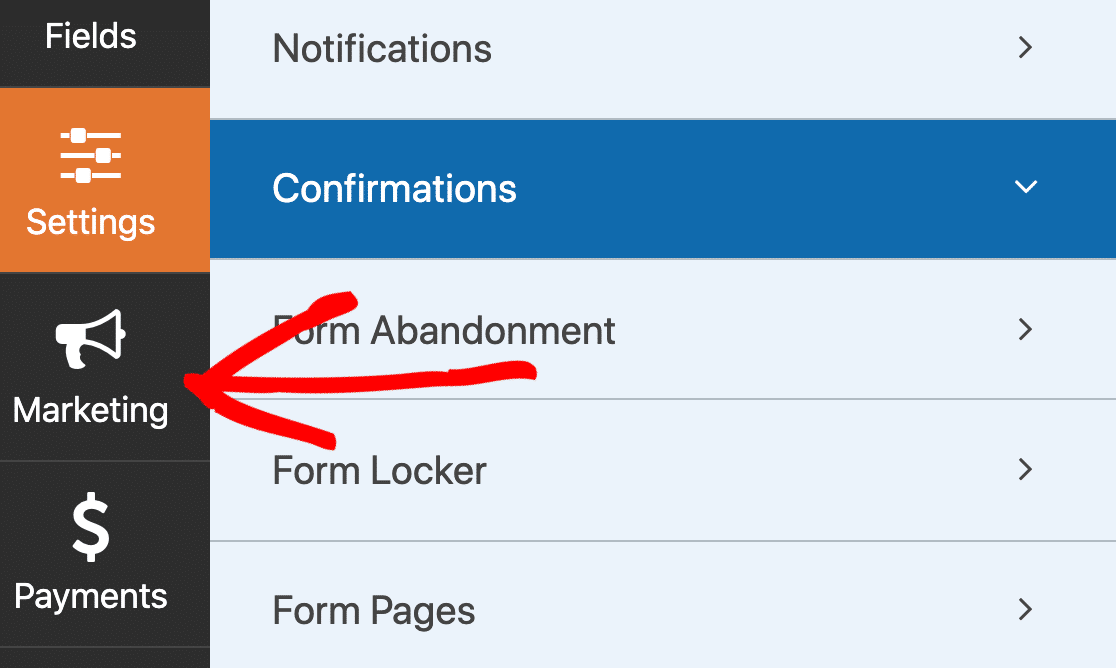
You’ll see a list of email marketing services here, including:
- Constant Contact
- Mailchimp
- ActiveCampaign
Let’s click Zapier to get your API key.

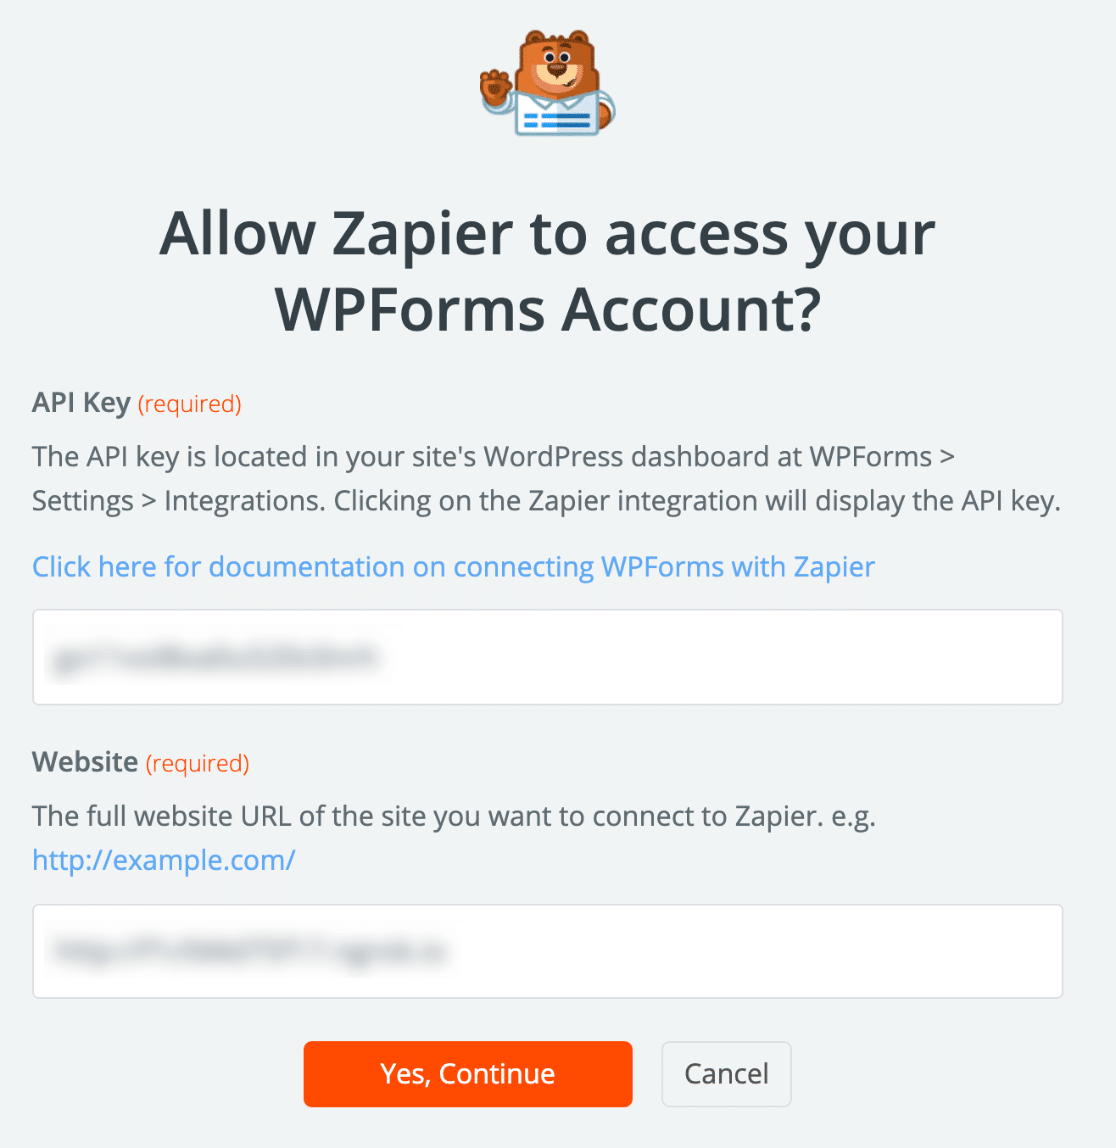
Copy and paste the API key into the Zapier connection window.
You’ll also want to type in the full URL to your site in the second box here.
Zapier will make the connection and show WPForms in the Zap builder.
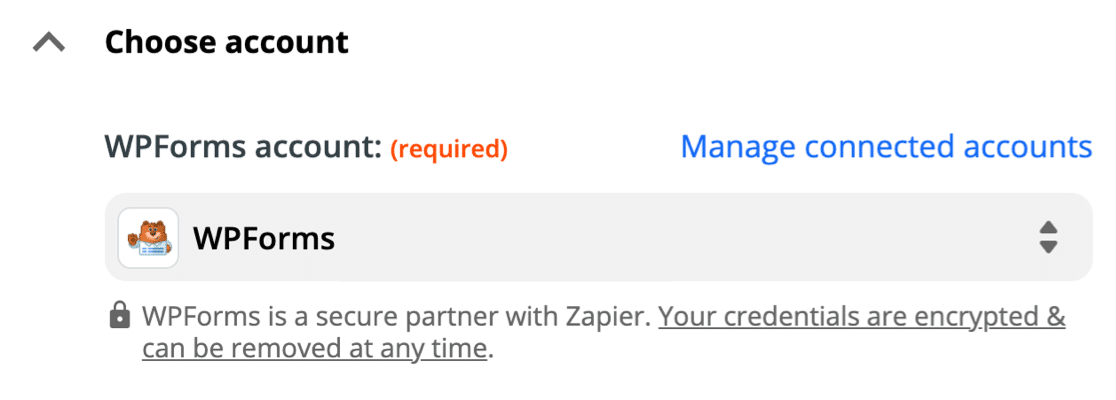
When everything’s connected, click Continue in Zapier to move to the trigger.
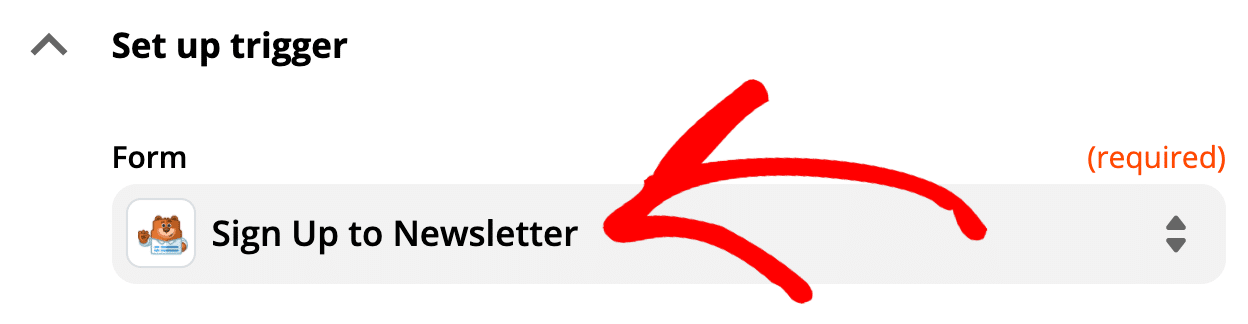
Then pick the SendFox WordPress form you created from the dropdown and click Continue again.
When you click Test Trigger, Zapier will fetch the test entry that we created in the previous step.
Double-check the details to make sure everything’s working.

Now we’re going to tell Zapier where to send the form entry.
Step 7: Complete Your SendFox WordPress Integration
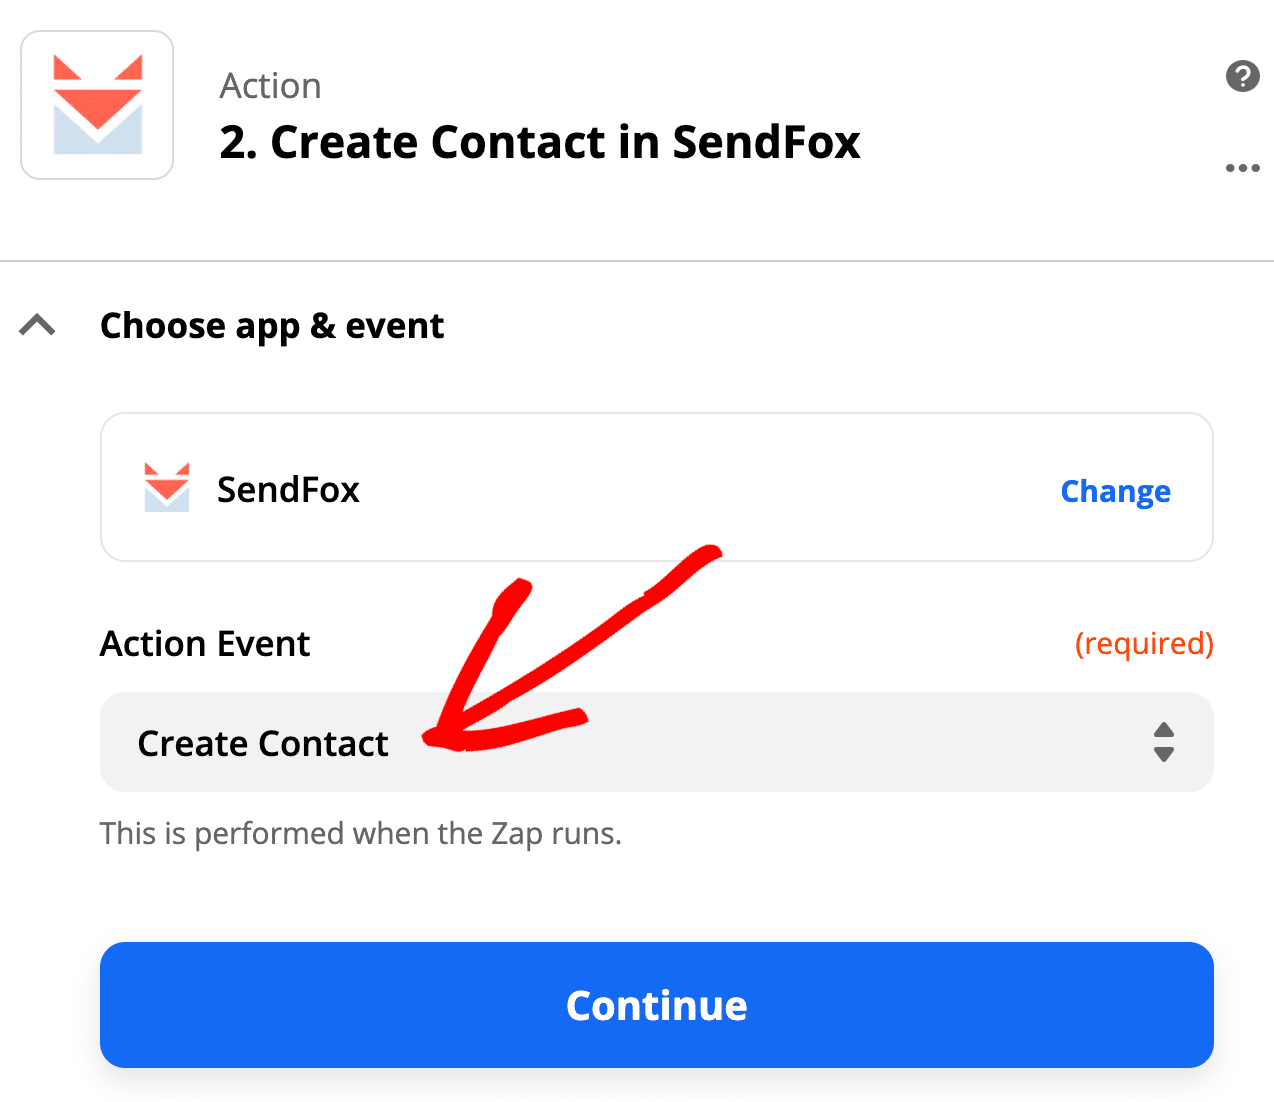
Zapier will ask you to specify the App Event. Search for SendFox here and select it.
In the second dropdown, click Create Contact.
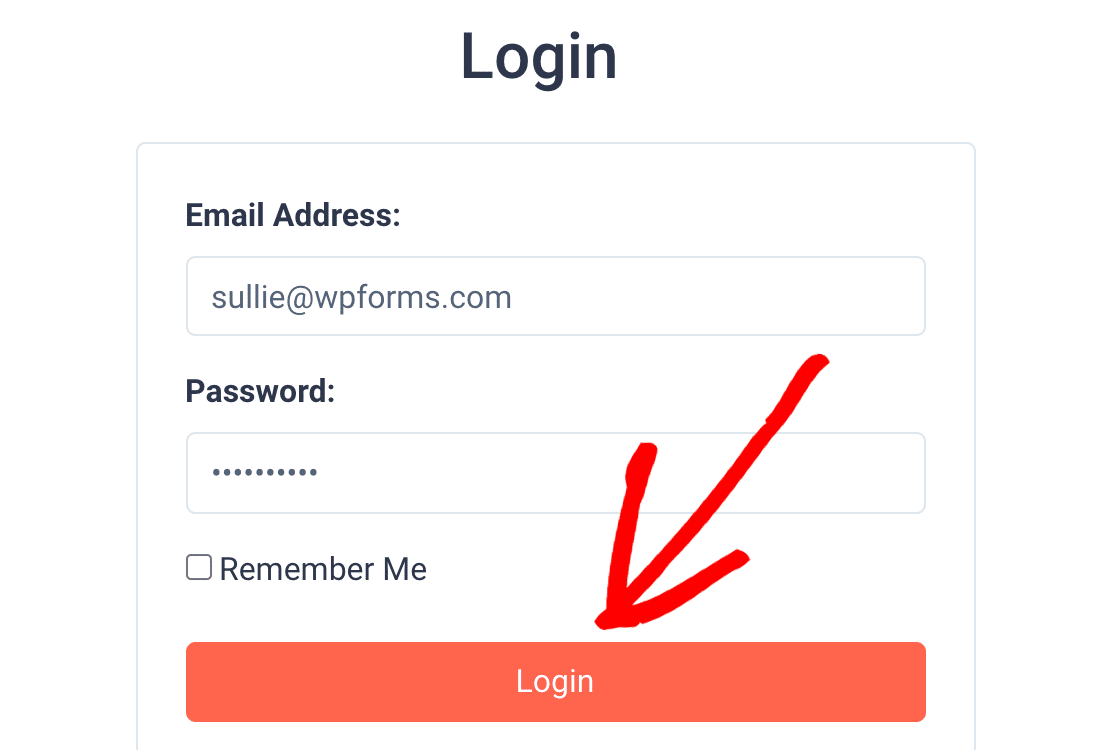
When you click Continue, Zapier will prompt you to log in to your SendFox account to complete the connection.
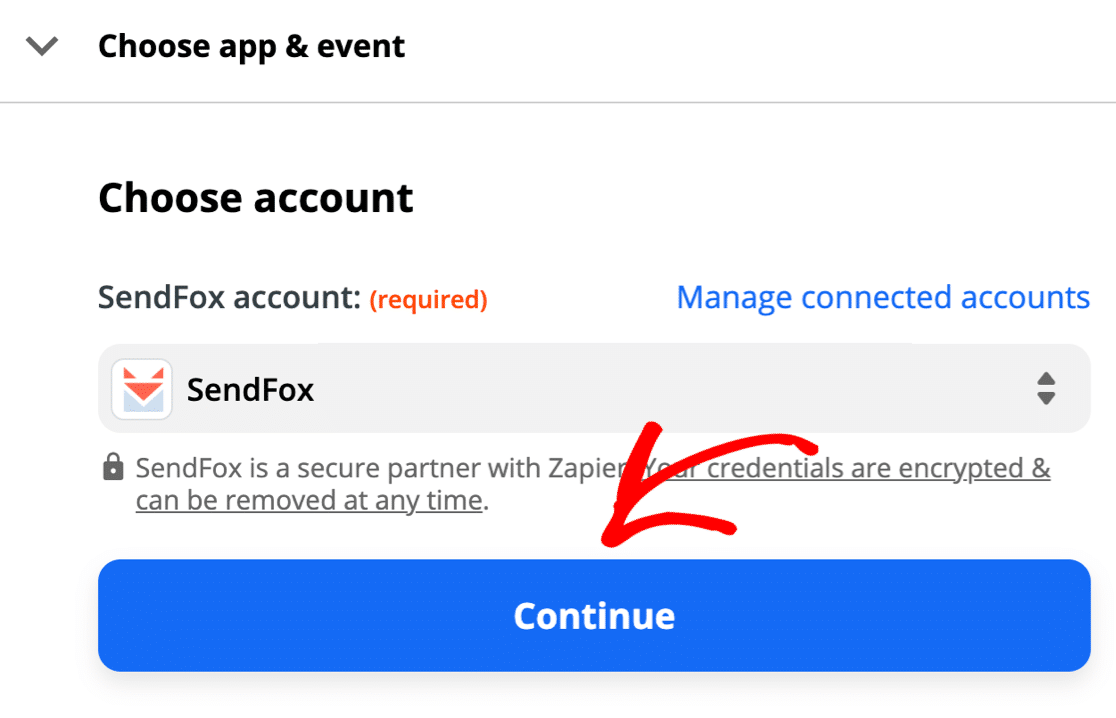
When you see the connection here, you’re all set! Let’s click Continue.
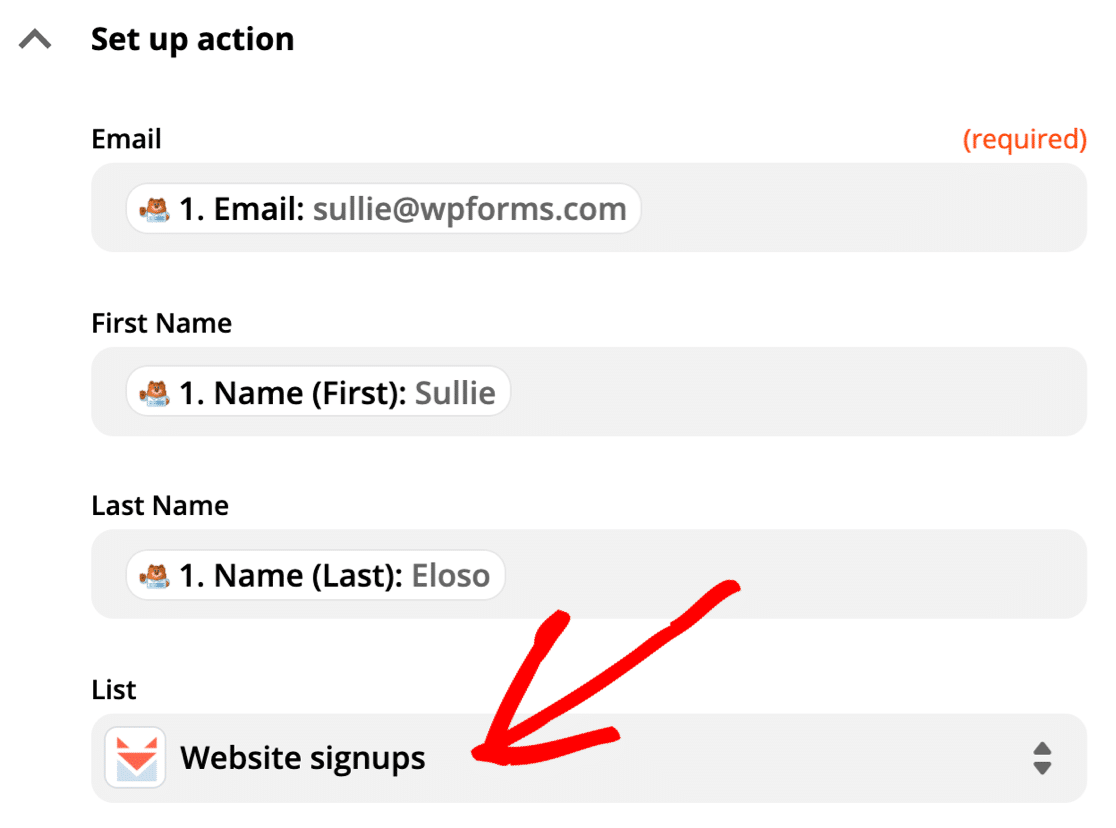
Now it’s time to map the fields from the SendFox WordPress form to your SendFox contact record.
Remember: you can’t use SendFox custom fields here, so you’ll just want to map these 4 fields:
- Email – The subscriber’s email from your form
- First name – The first name field on the form
- Last name – The last name field on the form
- List – Pick the list you want to add them to from your SendFox lists
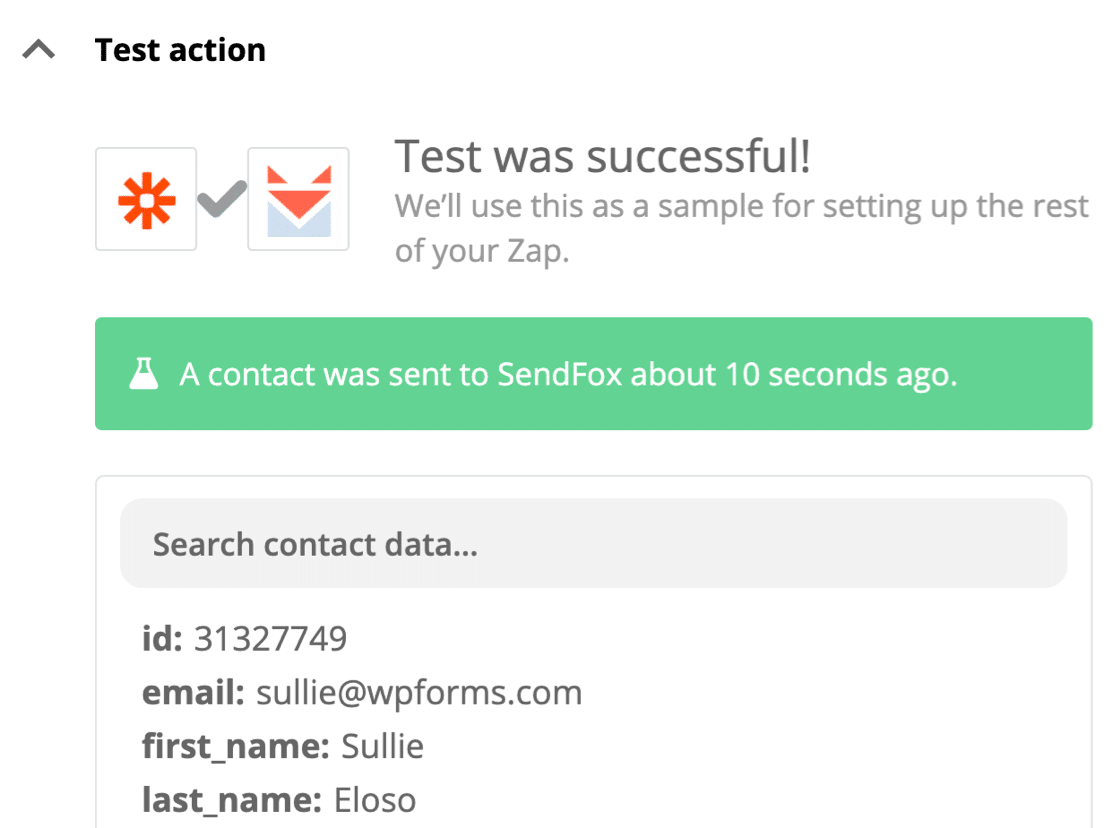
Click Continue again. Then go ahead and test the connection.
If everything worked, you’ll see a success message like this.
Remember what we said about double optins? When you log in to SendFox, you’ll see your new subscriber with the status of New. At this point, the subscriber is on your email list, but their address isn’t fully signed up.
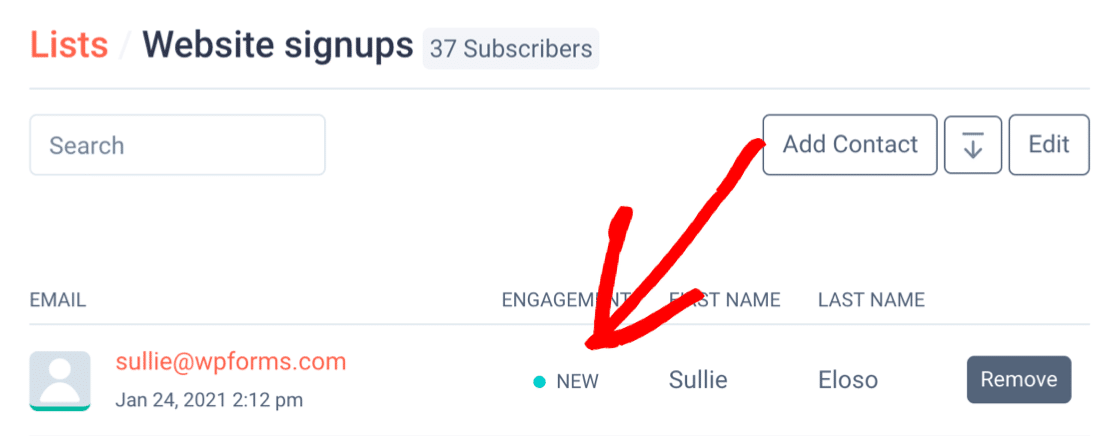
To complete the subscription, check your email and click the Confirm button.
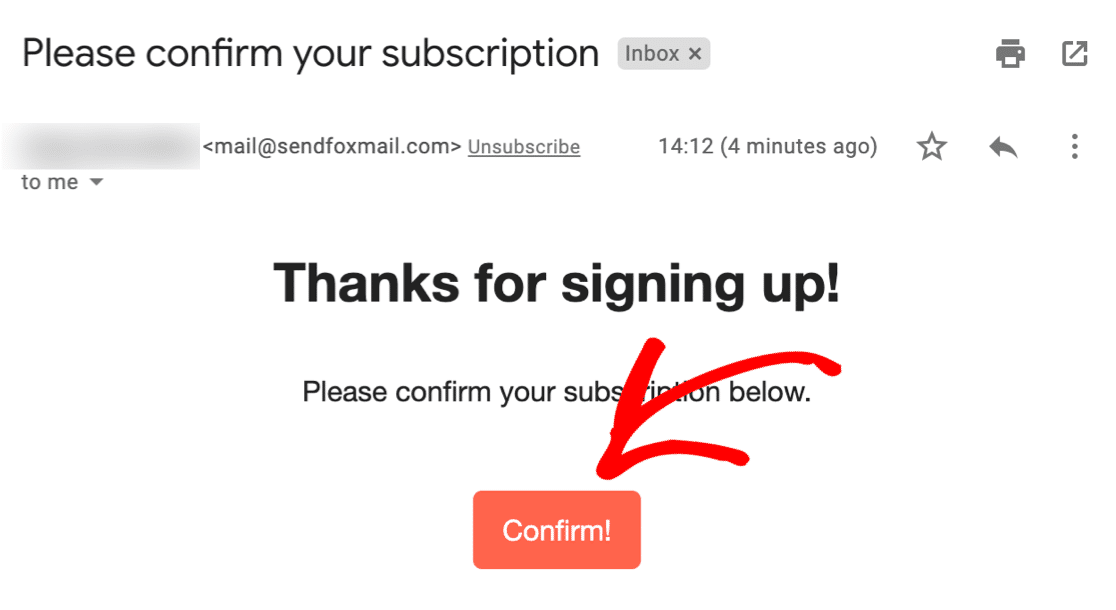
And that’s it! Now your new subscriber’s on the list! If you have a SendFox email automation set up, it’ll start running at this point.
Don’t forget to turn your Zap On in Zapier!
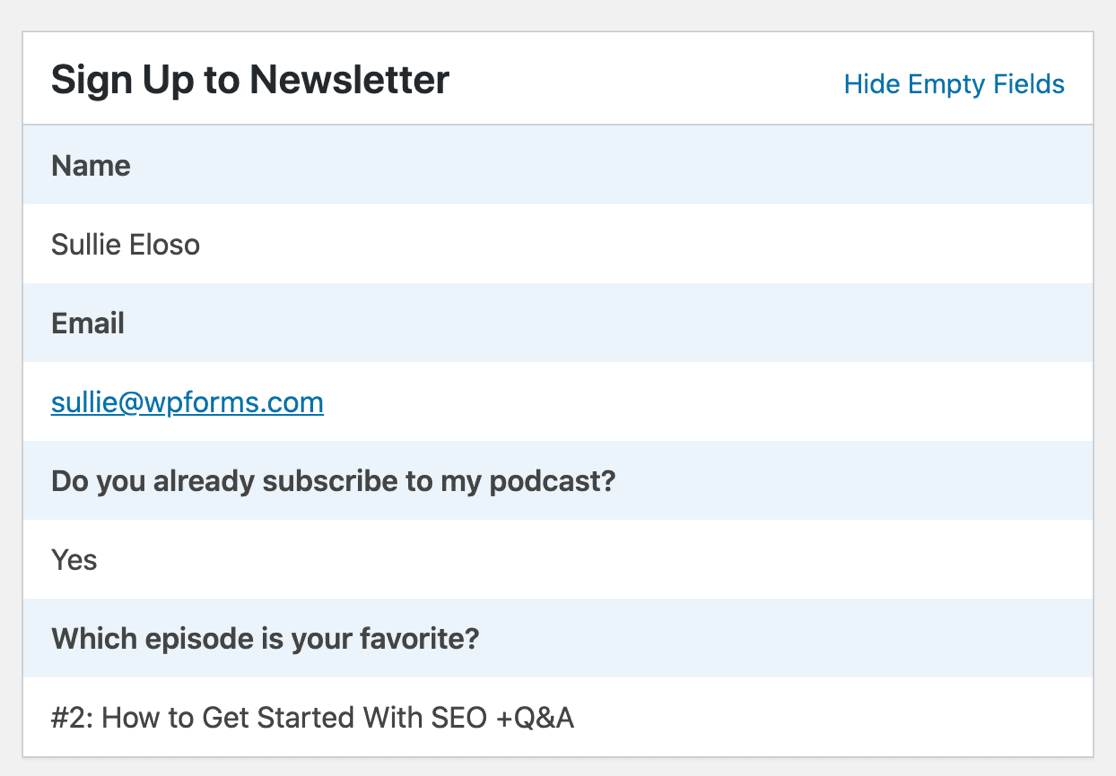
One more thing. Remember those custom fields we added? You can easily see the answers in the WordPress dashboard under WPForms » Entries.
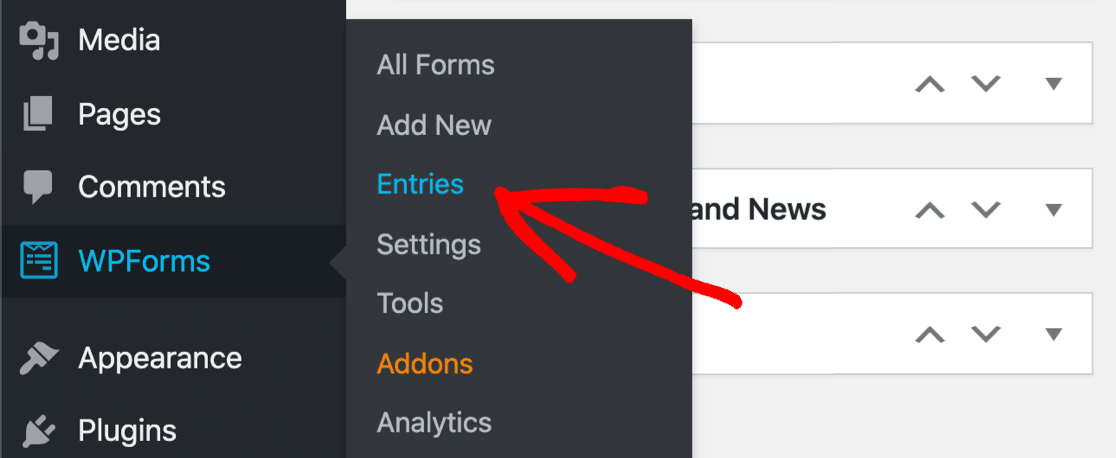
Just click on any form entry to see all of the info!
That’s it! You now have a custom SendFox WordPress form ready to collect subscribers.
Create Your WordPress SendFox Form Now
Next Step: Visualize Your Form Responses
Do you want an easy way to view the responses to your SendFox custom fields?
With the surveys and polls addon, you can easily see all of the answers on a chart.
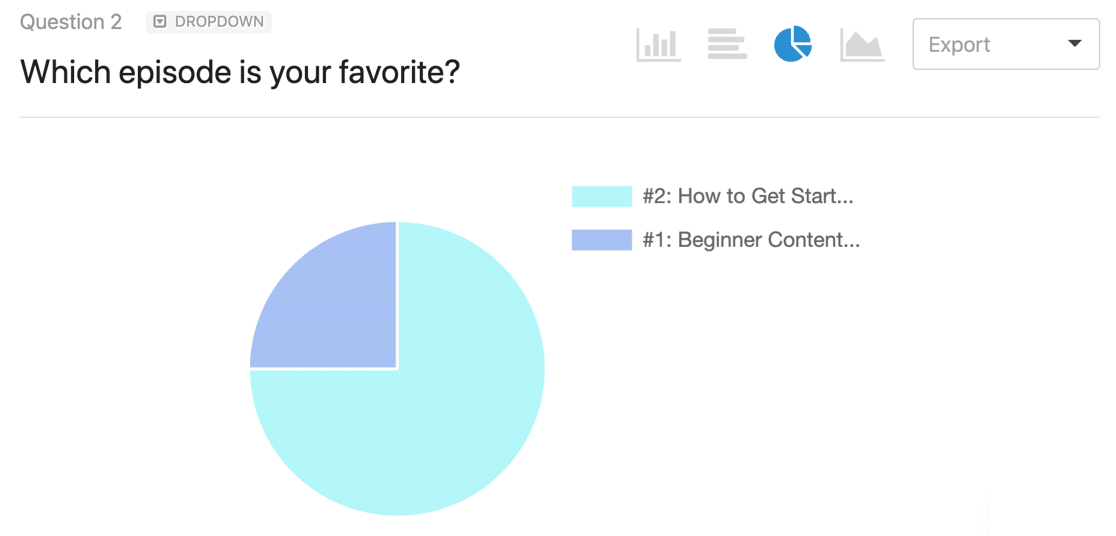
Survey reporting lets you easily visualize the answers for any form. And you can turn this survey reporting on at any time – even after your form’s been published.
Ready to build your form? Get started today with the easiest WordPress form builder plugin. WPForms Pro includes the Zapier addon and offers a 14-day money-back guarantee.
If this article helped you out, please follow us on Facebook and Twitter for more free WordPress tutorials and guides.
The post How to Connect WordPress Forms to SendFox (2021) appeared first on WPForms.
source https://wpforms.com/wordpress-sendfox-form/
