
Are you looking to recruit volunteers for your nonprofit and keep their info organized?
Volunteers are so important to your organization, and recruiting them on your website can give you a huge boost and let you reach more people.
So in this article, we’ll show you how to set up a volunteer form on your WordPress site.
Claim Your WPForms Nonprofit Discount Now
Here’s a table of contents of the tutorial if you want to jump ahead:
- Create a Volunteer Form
- Customize Your Volunteer Form
- Configure Your Volunteer Form Settings
- Customize Your Volunteer Form’s Notifications
- Configure Your Volunteer Form’s Confirmations
- Add Your Volunteer Form to Your Website
- Automatically Create User Registrations (Optional)
Why Create an Online Volunteer Form
You may be wondering what the benefits of having a WordPress volunteer form are. There are a lot, but here are some key reasons:
- Keep contact information secure and organized in your WordPress dashboard
- Set up automated marketing campaigns to email interested volunteers immediately
- Reach way more people who may be browsing your website and willing to help you by volunteering.
- and more…
So now that you see how great it can be to have a volunteer form on your website, let’s jump right in and see how to create one.
How to Set Up a Volunteer Form in WordPress
Follow these step-by-step instructions to create your volunteer form for your website and start recruiting people to help your nonprofit.
Step 1: Create a Volunteer Form
The first thing you’ll need to do is install and activate the WPForms plugin. For more details, see this step-by-step guide on how to install a plugin in WordPress.
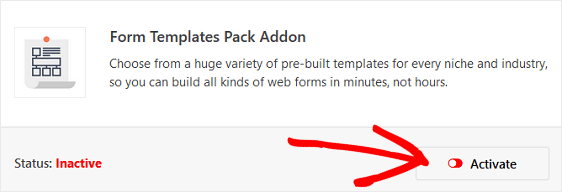
Next, you’ll need to install and activate the Form Templates Pack Addon.
With this addon, you’ll be able to access the pre-built volunteer application form template, as well as tons of other industry and niche-specific templates for creating customized forms for your site.
This saves you the time needed to manually add volunteer application form fields to a simple contact form.
Click Install Addon and Activate.
Next, go to WPForms » Add New to create a new form.
On the setup screen, name your form and scroll down to the bottom of the templates screen where it says Additional Templates.
Type “Volunteer” into the search bar and the Volunteer Recruitment Form template will appear.
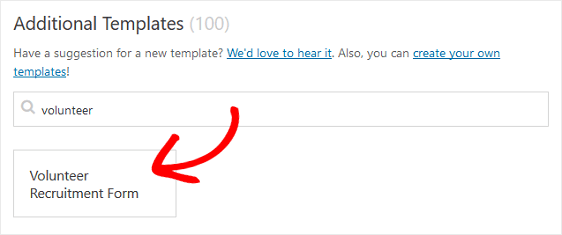
Click on the template and WPForms will create a volunteer application form for you.
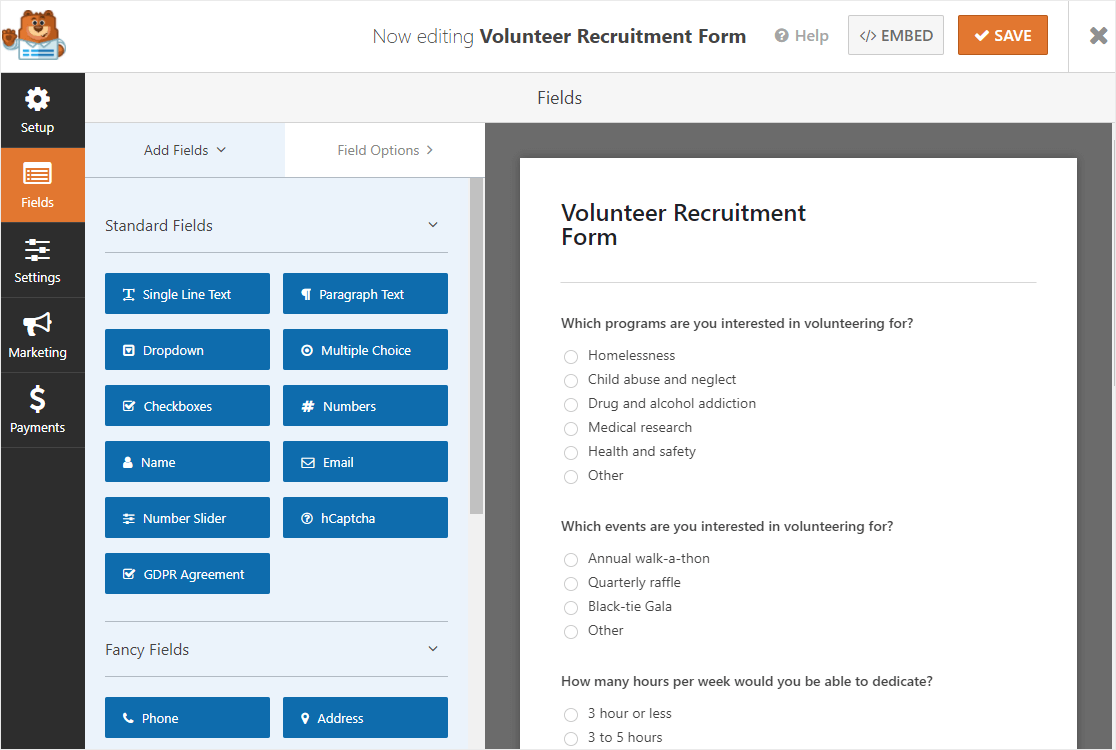
Step 2: Customize Your Volunteer Form
WPForms makes customizing forms easy to do so you can get your volunteer opportunities out there. It’s easy no matter what you’re looking for in volunteer positions.
In addition to the standard form fields of Name, Address, Email, and Phone Number, you’ll notice the following volunteer application form fields:
- Multiple Choice
- Checkboxes
- Paragraph Text
With these form fields, you can confirm volunteer eligibility and really grow your volunteer program by asking prospective volunteers about:
- The programs or events they’re interested in
- How many hours they can dedicate to your organization
- What days of the week they’re available
- Previous volunteer experience
- How they heard about your organization
- Add a multiple choice textbox to get consent for a background check to look for criminal history
- Use a text field to ask for a driver’s license number
- Add a field to collect an emergency contact
You can add additional form fields to your online form by dragging them from the left-hand panel to the right-hand panel. You can also customize the fields by clicking on the field.
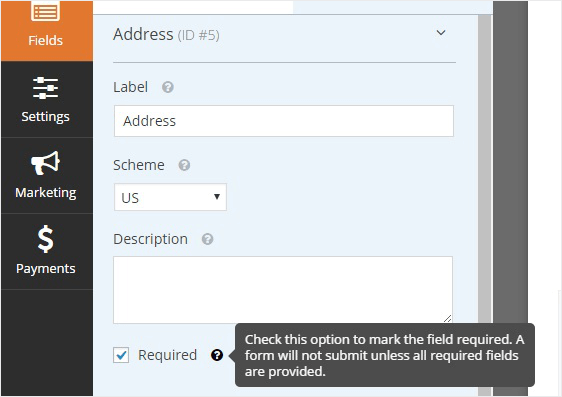
For example, if you do not want to show Address Line 2 in the address field, you just need to click on the address field on the right side.
Then, in the left section, under Field Options, click Advanced Options and click the checkbox near the Address Line 2 field.
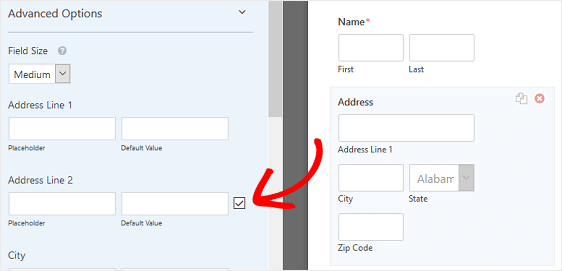
Make sure to set the field as required, so users can’t submit the form without filling those fields.
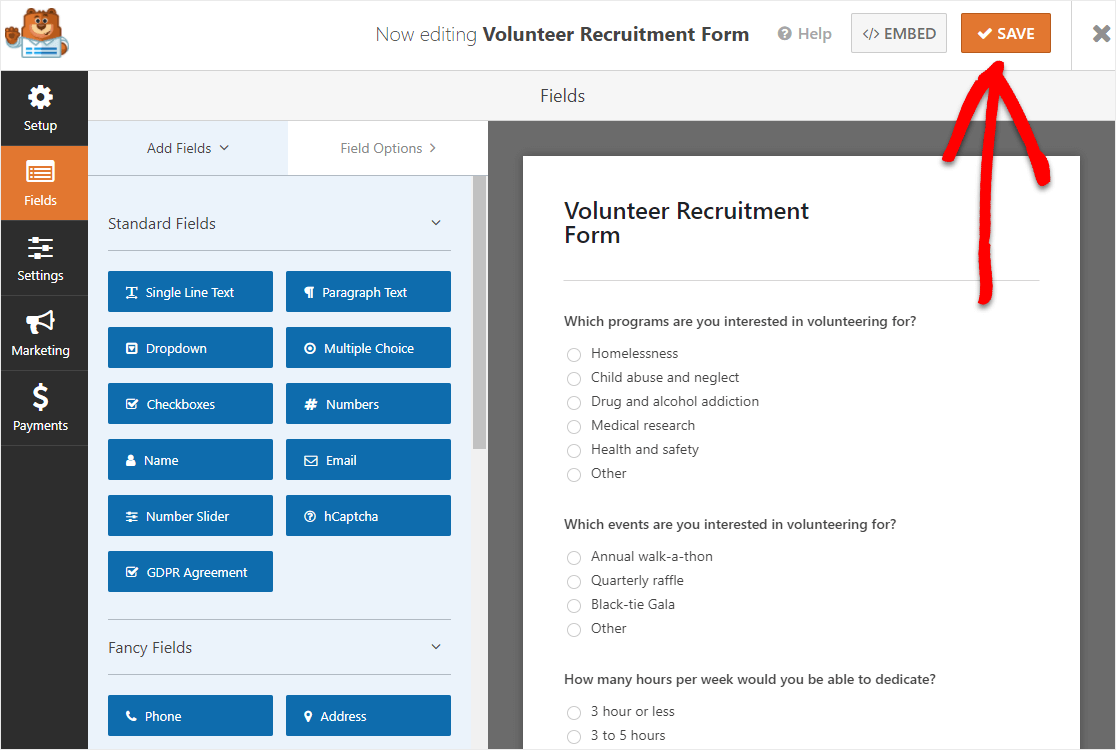
When you’re done adding all your form fields, click Save.
You’re now ready to configure your volunteer application form’s settings.
Step 3: Configure Your Volunteer Form Settings
To start, go to Settings » General.

Here you can configure the following:
- Form Name — Change the name of your form here if you’d like.
- Form Description — Give your form a description.
- Submit Button Text — Customize the copy on the submit button.
- Spam Prevention — Stop contact form spam with the anti-spam feature, hCaptcha, or Google reCAPTCHA. The anti-spam checkbox is automatically enabled on all new forms.
- AJAX Forms — Enable AJAX settings with no page reload.
- GDPR Enhancements — You can disable the storing of entry information and user details, such as IP addresses and user agents, in an effort to comply with GDPR requirements. Check out our step-by-step instructions on how to add a GDPR agreement field to your simple contact form.
When you’re done, click Save.
Step 4: Configure Your Volunteer Form’s Notifications
Notifications are a great way to send an email whenever an application is submitted on your website.
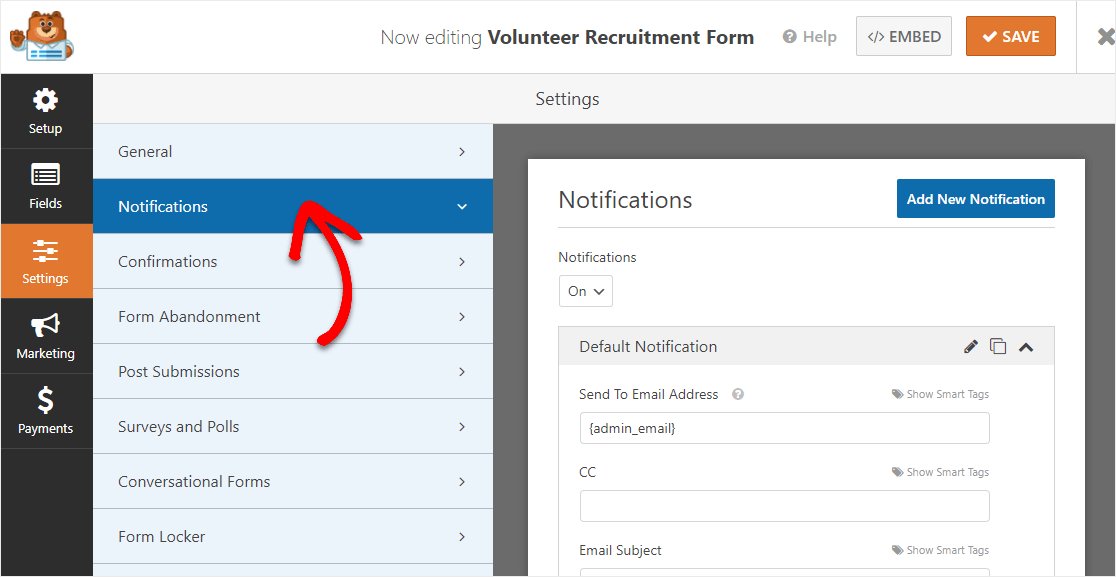
If you use smart tags, you can also send a notification to the user when they apply to volunteer, letting them know you received their application and will be in contact shortly. This assures people their application has gone through properly.
For help with this step, check out our documentation on how to set up form notifications in WordPress.
And if you need to send more than one notification, for example to yourself, a volunteer coordinator, and the volunteer applicant, check out our step-by-step tutorial on how to send multiple form notifications in WordPress.
Adding to this, if you want to keep branding across your emails consistent, you can check out this guide on adding a custom header to your email template.
Step 5: Customize Your Volunteer Form’s Confirmations
Form confirmations are messages that display to site visitors once they submit an application on your website. They let people know that their application has been processed and offer you the chance to let them know what the next steps are.
WPForms has 3 confirmation types to choose from:
- Message: This is the default confirmation type in WPForms. When a site visitor submits a volunteer application form, a simple message confirmation will appear letting them know their application was processed. Look here for some great success messages to help boost customer happiness.
- Show Page: This confirmation type will take site visitors to a specific web page on your site thanking them for applying. For help doing this, check out our tutorial on redirecting customers to a thank you page. In addition, be sure to check out our article on creating effective Thank You pages for boosting customer loyalty.
- Go to URL (Redirect): This option is used when you want to send site visitors to a different website.
Let’s see how to set up a simple form confirmation in WPForms so you can customize the message site visitors will see when they apply to volunteer for your nonprofit organization.
To start, click on the Confirmation tab in the Form Editor under Settings.
Next, select the type of confirmation type you’d like to create. For this example, we’ll select Message.
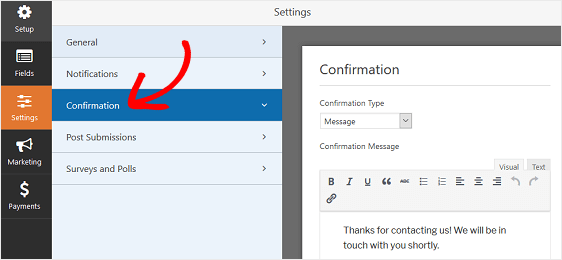
Then, customize the confirmation message to your liking and click Save.
For help with other confirmation types, see our documentation on setting up form confirmations.
Now you’re ready to add your volunteer application form to your website.
Step 6: Add Your Volunteer Form to Your Website
After you’ve set up a volunteer application form, you need to add it to your WordPress website.
WPForms allows you to add your forms to many locations on your website, including your blog posts, pages, and even sidebar widgets.
Let’s take a look at the most common post/page embed option.
Start by clicking on the Embed button at the top of the form builder.
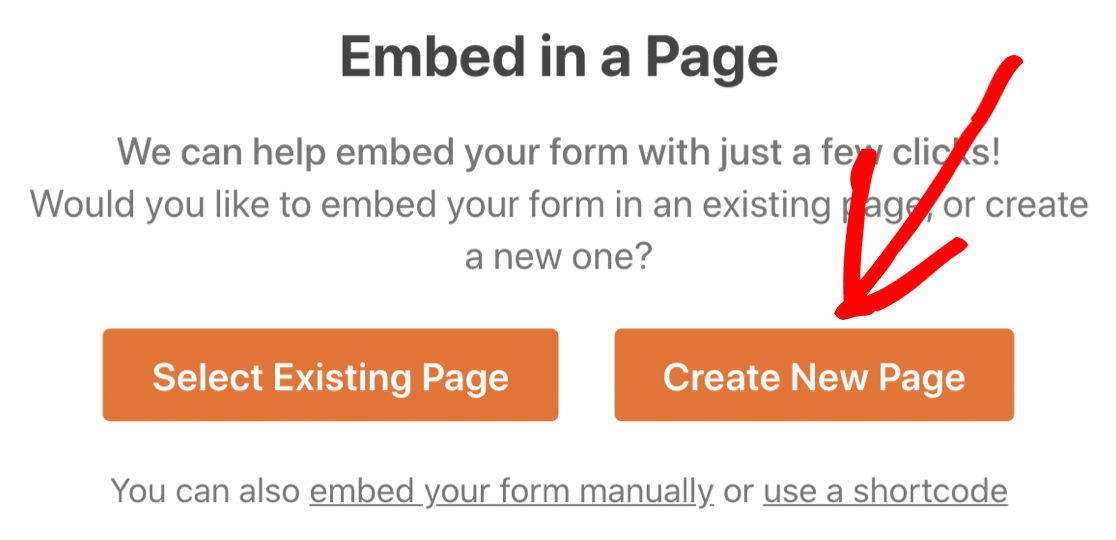
And when the Embed in a Page notification pops up, go ahead and click on Create New Page.
Next, WPForms will ask you to name your page. Type the title for the page into the box and click Let’s Go!
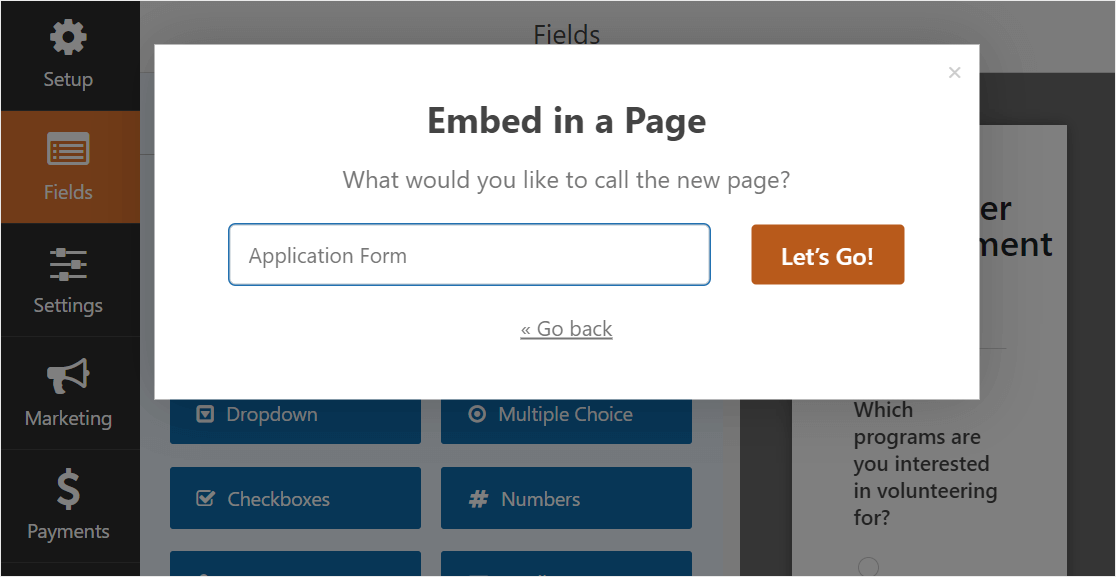
And now, WPForms will open up a new page for your application form.
So next, go ahead and click Publish or Update at the top to publish the form on your site.

Great – now you can direct people to this page to apply to volunteer for your organization from anywhere on your website.
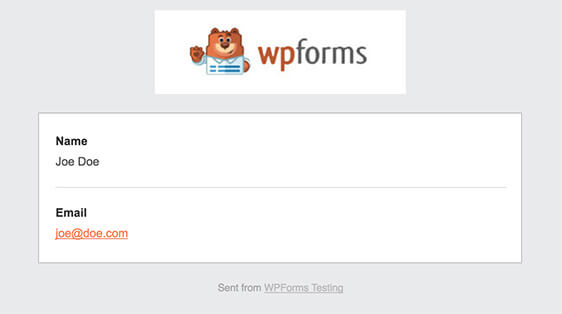
And here’s what your finished form looks like on your page.
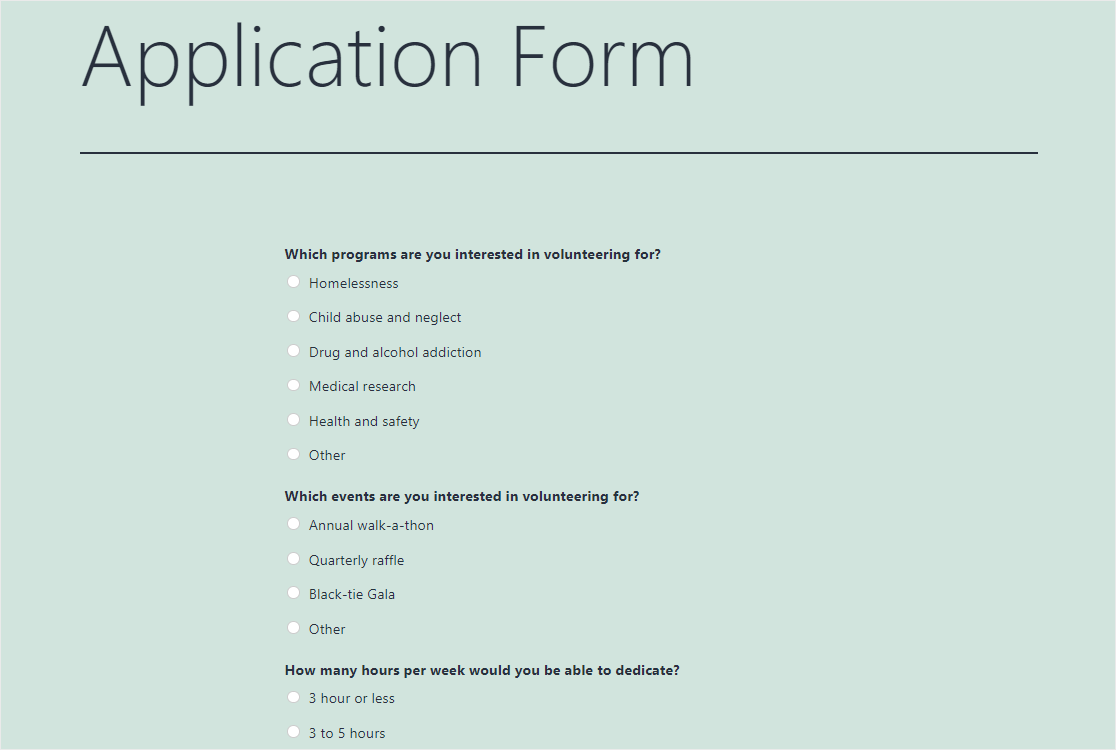
Wonderful job! Your volunteer form is now live.
Step 7: Create New User Registrations
Next up, if you’re interested in giving your volunteers access to an account, you’ll want to activate the User Registration addon to invite them to create an account.
They can do this by completing a User Registration form.

For more details, check out our tutorial on how to install and setup the user registration addon.
Bonus Tips for Your Nonprofit Website
With WPForms, you can accomplish more things for your nonprofit organization than just creating a volunteer application form.
Let’s take a look at a few possibilities.
- Set a Deadline For Volunteers to Apply
- Accept Online Donations
- Use Nonprofit Newsletter Signup Forms
- Try Multi-page Forms
- Make Survey or Poll Forms
Set a Deadline For Volunteers to Apply

If you’d like to close applications on a certain date, learn how to add an automatic expiration date to your form.
Accept Online Donations
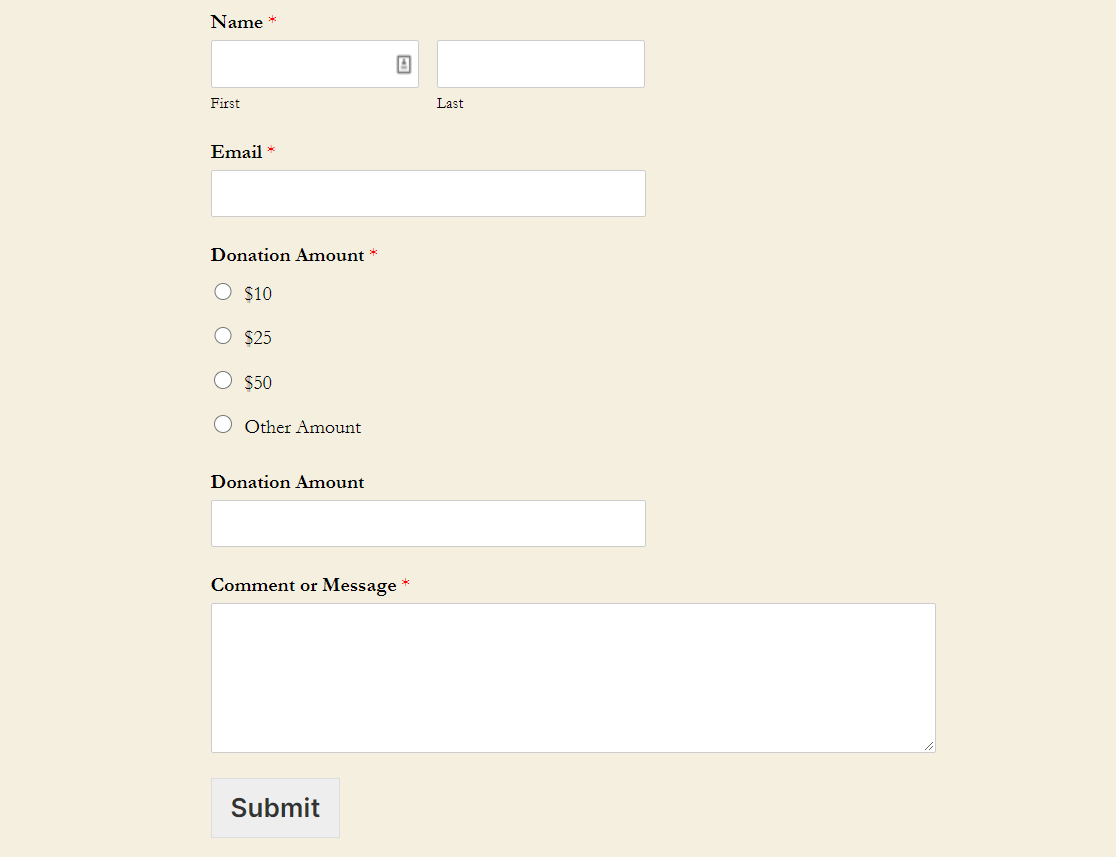
Raising funds for your charity is as important as recruiting volunteers. To receive donations online, check out how to create a donation form.
Use Nonprofit Newsletter Signup Forms
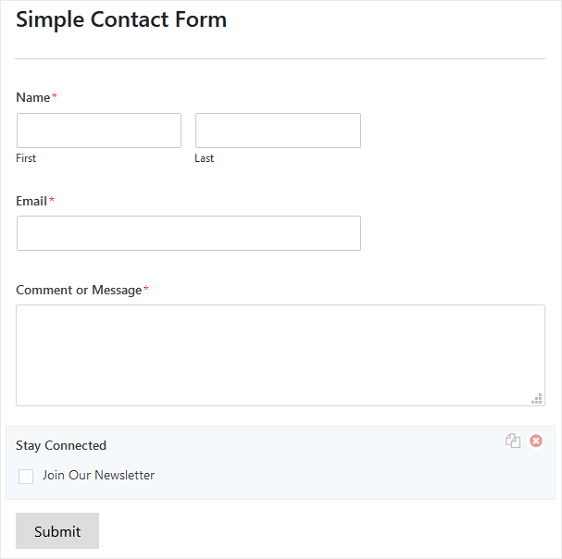
By adding a newsletter signup checkbox to your form, you can keep in touch with your volunteers. You can connect your form with popular email marketing tools including:
- Constant Contact
- Sendinblue
- AWeber
- Mailchimp
- GetResponse
- Campaign Monitor
- Drip
- ActiveCampaign
- and more…
Try Multi-page Forms

You’re more likely to get more form submissions when your form is broken down into multiple pages rather than presented as a long form.
Here’s how to easily split your form into multiple pages.
Make Survey or Poll Forms
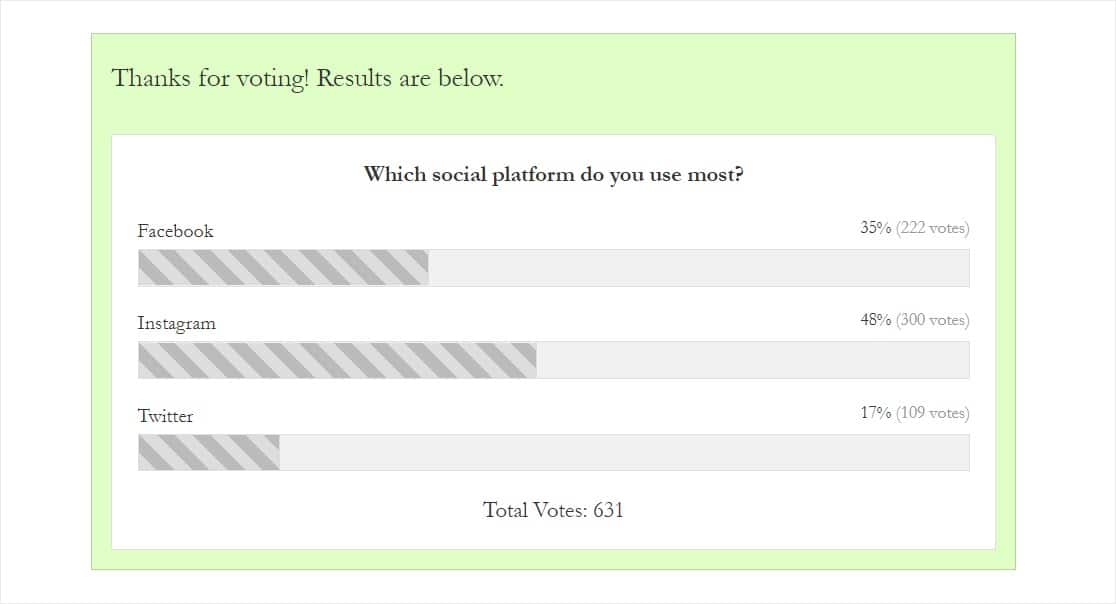
You can ask existing or potential volunteers which events they’d most like to see your organization put on by creating a poll form for your website.
You can also get more detailed information from volunteers, including how they feel about your nonprofit organization, by creating a survey form on your site.
And there you have it! You now know how to set up a volunteer form in WordPress using the WPForms Pro plugin.
Next Steps: Get WPForms Pro Now
Did you know that WPForms offers a nonprofit discount?
WPForms Pro is available to qualified nonprofits at a major discount of 75% off. That’s only $99/year for the world’s most powerful form builder for WordPress.
Claim Your WPForms Nonprofit Discount Now
So you’ll find it easier than ever to get volunteers and accept donations right on your WordPress website.
And if you’re thinking about creating a donation page on your website, be sure to check out these exceptional donation page examples to inspire your fundraising efforts.
So, what are you waiting for? Get started with the most powerful WordPress forms plugin today.
And don’t forget, if you like this article, then please follow us on Facebook and Twitter.
The post How to Set Up a Volunteer Form in WordPress (Easily) appeared first on WPForms.
source https://wpforms.com/how-to-set-up-a-volunteer-application-form-in-wordpress/

