
Do you want to create a Toggl project form in WordPress? With WPForms, you can easily make a form on your website that automatically creates a project in Toggl when the form is submitted.
In this article, we’ll show you step-by-step how to integrate Toggl with WordPress
Create Your Toggl Project Form Now
What Is a Toggl Project?
A Toggl project is an area in the Toggl workspace where you can track time, plan projects, and manage candidate screening and testing for new hires. Toggl provides three different tools that provide functionalities for each of these areas. These are:
- Toggl Track (time tracking tool)
- Toggl Plan (project management tool)
- Toggl Hire (recruitment and screening tool)
Toggl Track can be integrated with your WordPress forms through Zapier. In fact, Toggl Hire integrations with Zapier have also been recently launched, but you need an invitation first to be able to connect with it.
However, Toggl Plan doesn’t support Zapier integration as of yet.
For this article, we’ll focus on creating Toggl Track projects from WordPress forms.
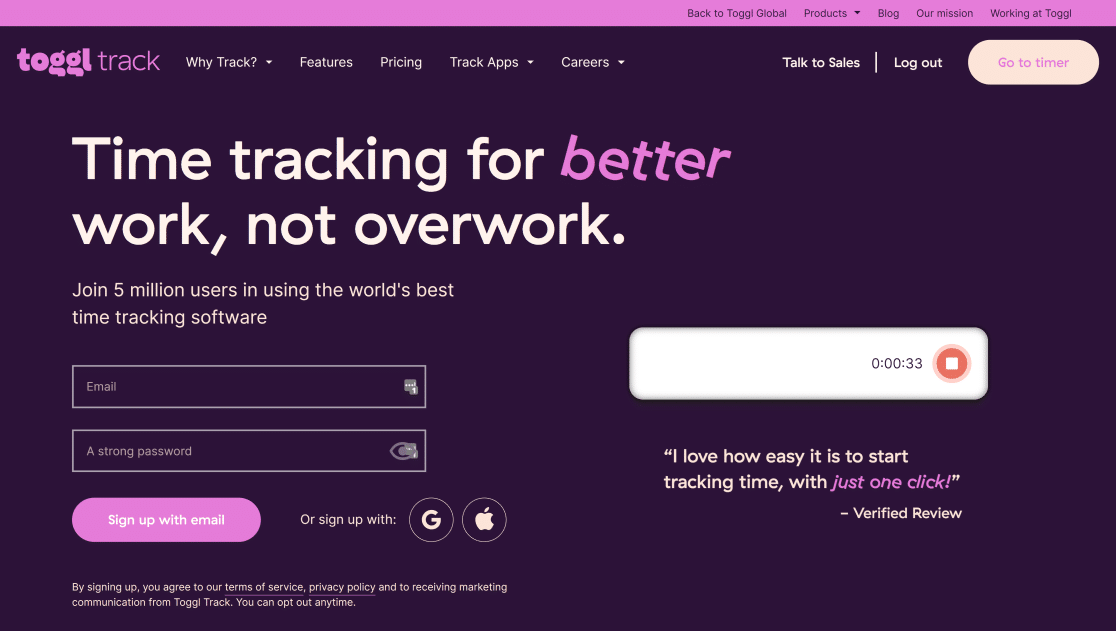
With Toggl Track, you can assign each project to a different client so that everything’s organized, then simply click the timer to start tracking time.
For example, a web designer might create a project for a new client website. By splitting the project into tasks, they can accurately track time against each step.
Tracking time in Toggl projects is useful if you want to:
- Measure project activity in your company or team
- Create timesheets for your clients
- Track the time you spend working in tools like GitHub or Basecamp by integrating them with Toggl.
So now that we understand a little more, let’s create a WordPress form to integrate Toggl with our website.
How to Create a Toggl Project from a WordPress Form
In this example, we’re going to create a Volunteer Recruitment Form in WordPress. When a volunteer signs up, we’re going to create a new Toggl project automatically so that we can organize their training and track time.
Here’s a table of contents to help you follow along:
- Install the WPForms Plugin
- Create Your WordPress Form
- Add Your Toggl Project Form to WordPress
- Connect WPForms to Zapier
- Connect Toggl to Zapier
- Create Your Toggl Project
Before you start, it’s a good idea to set up your organization and clients in Toggl. If you don’t need to assign projects to clients, just use your own name as the client for now.
Step 1: Install the WPForms Plugin
Start by installing the WPForms plugin.
If you need help with this step, see this guide on how to install a plugin in WordPress.
Once you’ve installed and activated WPForms on your site, you can move on to the next step.
Step 2: Create Your WordPress Form
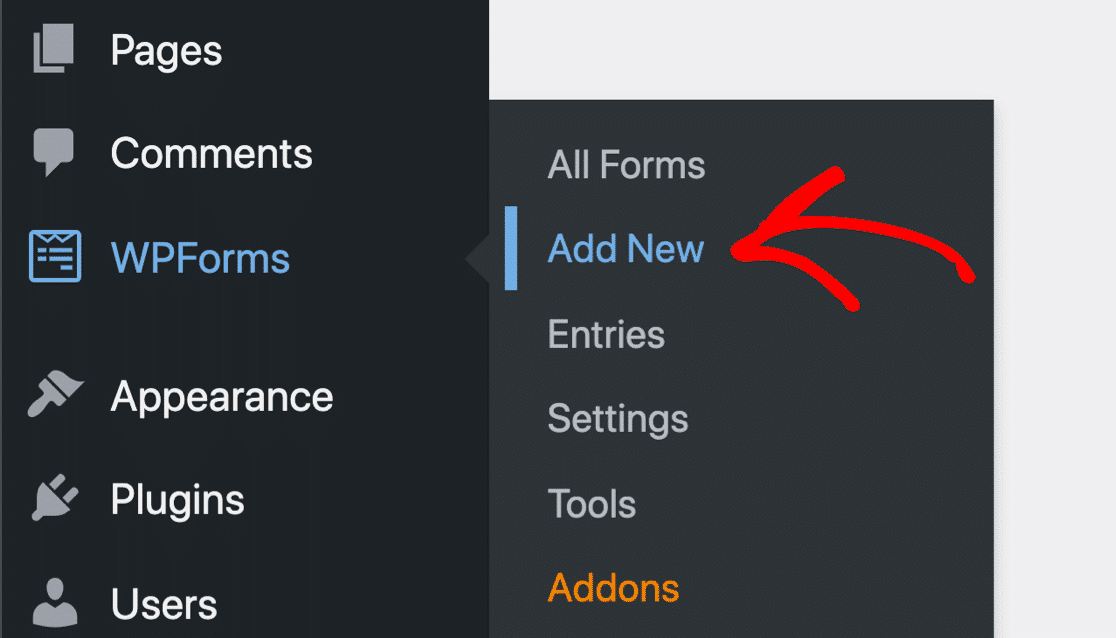
Next, create a new form in WPForms by going to WPForms » Add New.
Then, type a name for your form at the top.
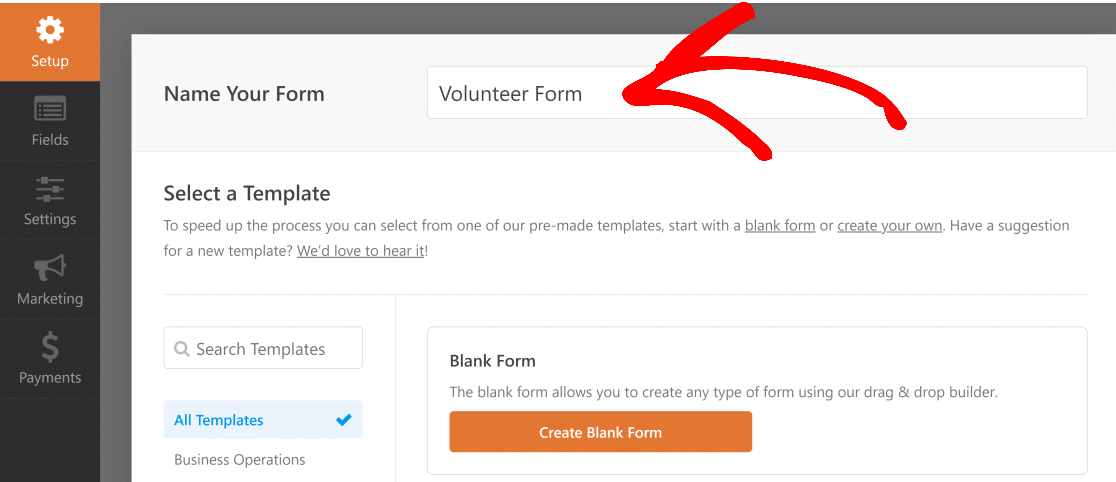
Let’s use a template to make this really easy. Use the search field under the Select a Template section and enter Volunteer Recruitment Form. Then, hover your mouse over Volunteer Recruitment Form and click on Use Template to open it.

It’s really easy to customize the form. Just drag and drop fields from the left-hand pane to the right-hand pane.
For example, if you need to know the age of your volunteers, you can add a number field like this:
And if you need to change some of the answer choices, just click the field to edit them.

You can also use the form builder to:
- Drag fields up and down to reorder them
- Mark fields as Required
- Remove fields you don’t need
- Duplicate fields
- Add a GDPR agreement field to your form.
The form we created in this example has a lot of questions. If you want to learn how to split long forms into pages, read this guide on how to create a multi-step form in WordPress.
Click Save when your form is complete.

Now it’s time to add your form to a page on your site.
Step 3: Add Your Toggl Project Form to WordPress
Adding your form to WordPress is super easy. You don’t need to copy and paste any code.
You can add forms to any page or post on your website, or place them in the sidebar.
We’re going to create a new page in this example.
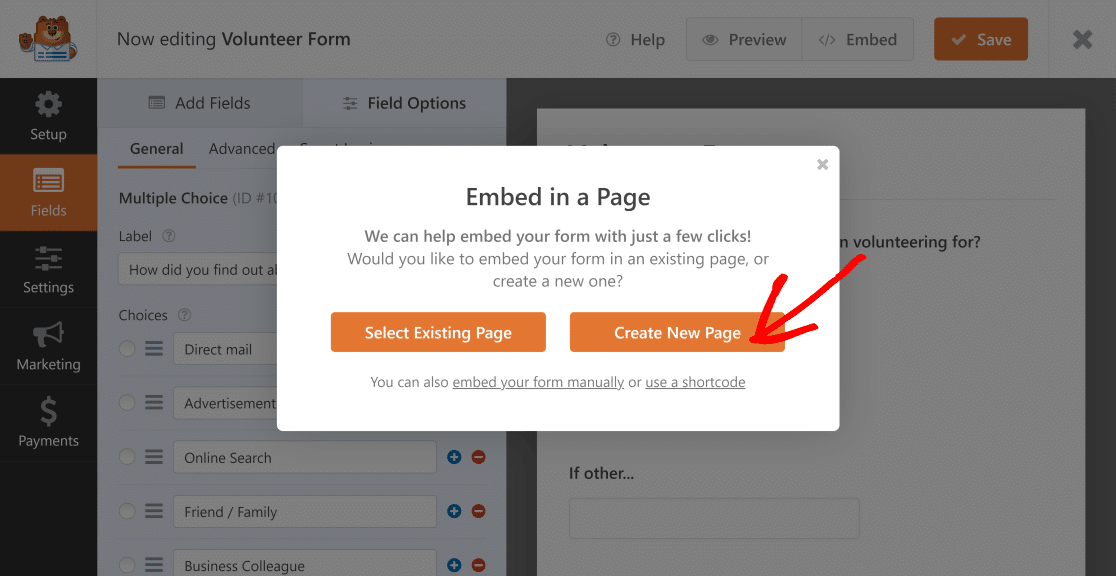
First, click on the Embed button and select Create New Page option.
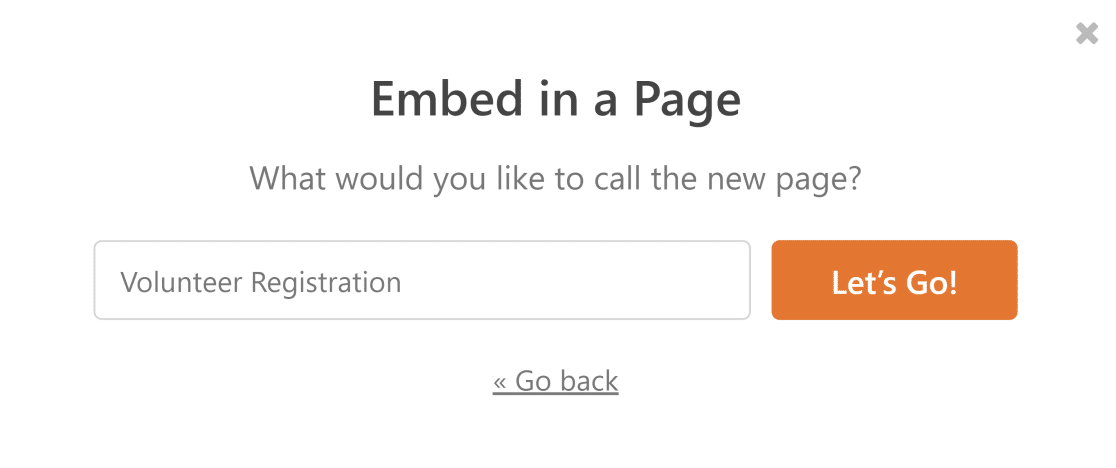
Name your new page and click on Let’s Go.
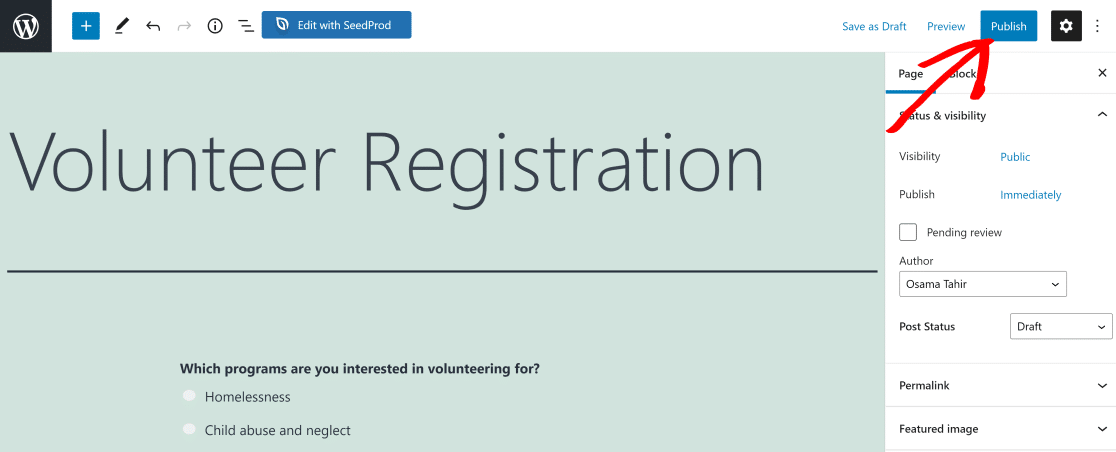
You should now see the new page with the form already added to it. Click on the Publish button when you’re ready.
Now your form is live and ready to collect entries.
Finally, we need to submit a test entry so that Zapier can pull in that data during testing.

Now it’s time to work some magic in Zapier.
Step 4: Connect WPForms to Zapier
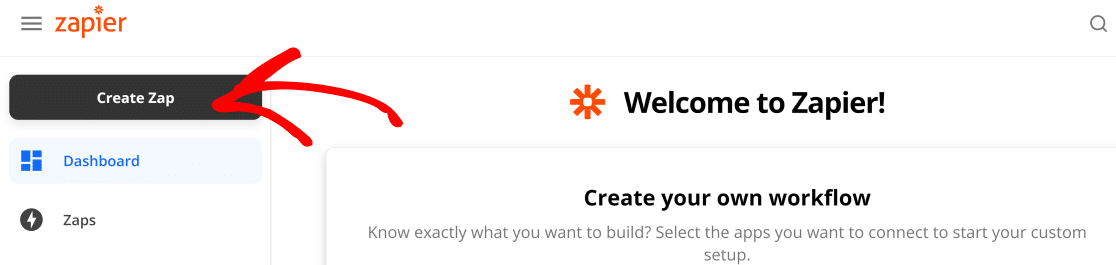
Head to Zapier and sign up to the service (if you haven’t already). Then, open your Zapier dashboard and click Create Zap.
Now search for WPForms and click the icon.

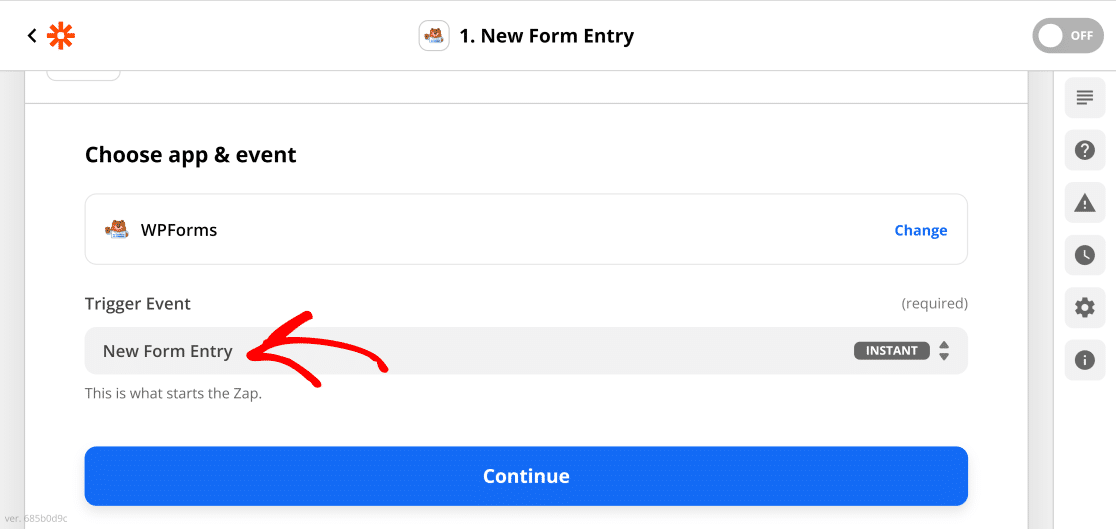
Then, choose New Form Entry as the trigger event and click Continue.
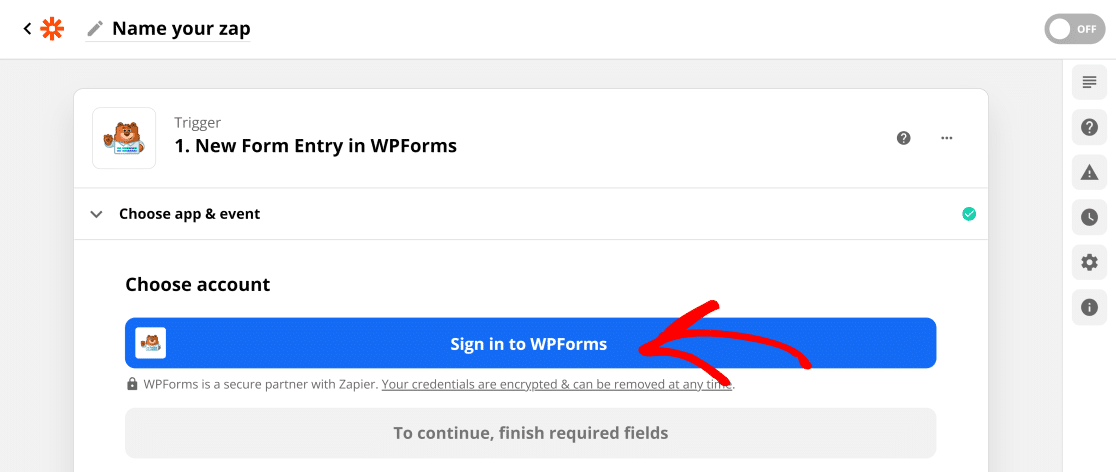
You’ll now need to connect your WPForms account with Zapier. To do this, click on Sign in to WPForms.
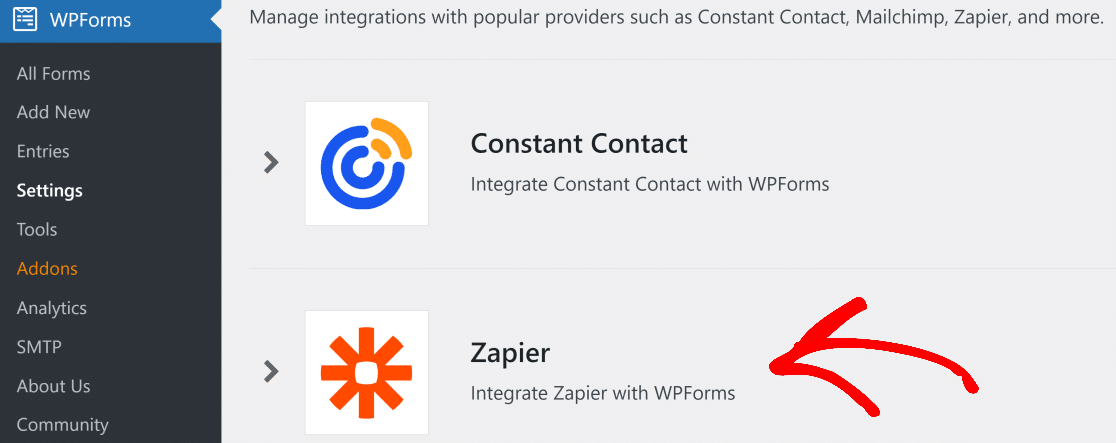
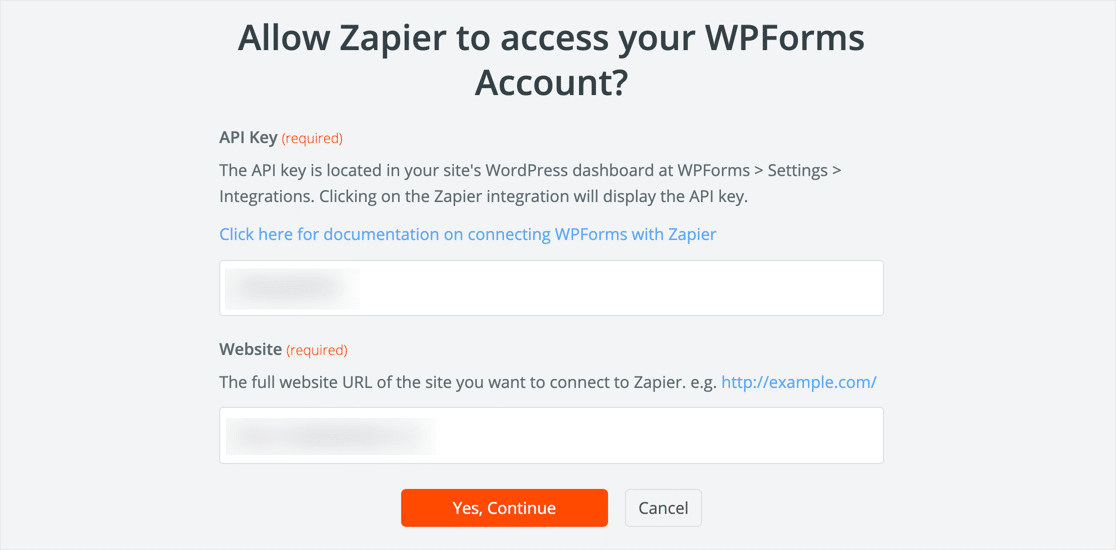
Now, you’ll need to grab the WPForms API key. Head over to your site’s WordPress dashboard and navigate to WPForms » Settings » Integrations. Click the Zapier icon to reveal your key (if Zapier isn’t installed on your site, it will prompt you to install the addon first when you click on the icon below).
Go ahead and copy the key, then paste it into the Zapier connection window with your site URL, like this:
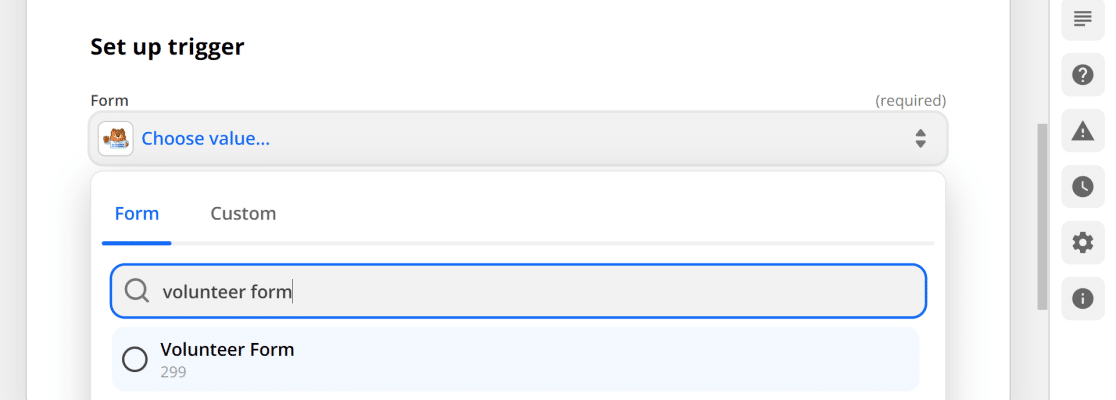
When you’re connected, the window will close. Now, click on Continue and Zapier will ask you to set up a trigger. Click on the dropdown field and select the form that you want to connect with Toggl and press Continue.
Now, the final step. Click Test Trigger.
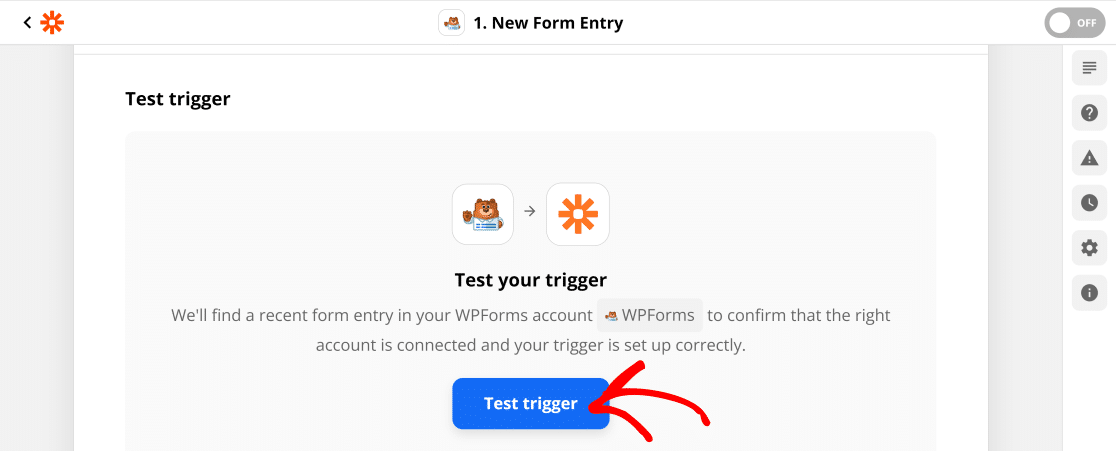
Zapier will connect to WPForms and pull in the test entry we created in step 3.
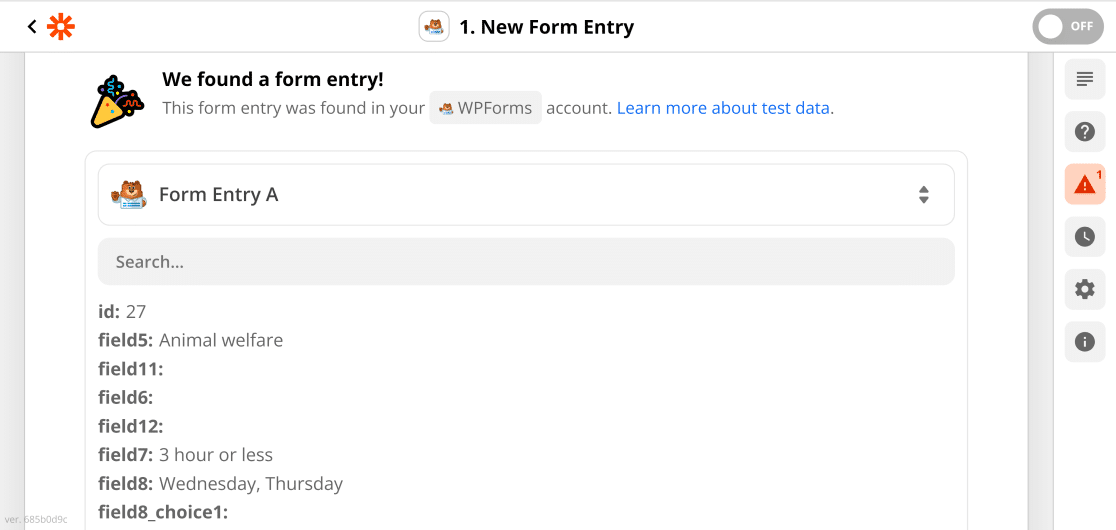
If you get an error message here, try submitting another form entry and then testing your trigger again.
When everything’s working, click Continue.
In the next step, we’re going to set up an action for the WPForms trigger we’ve just finished configuring above.
Step 5: Connect Toggl to Zapier
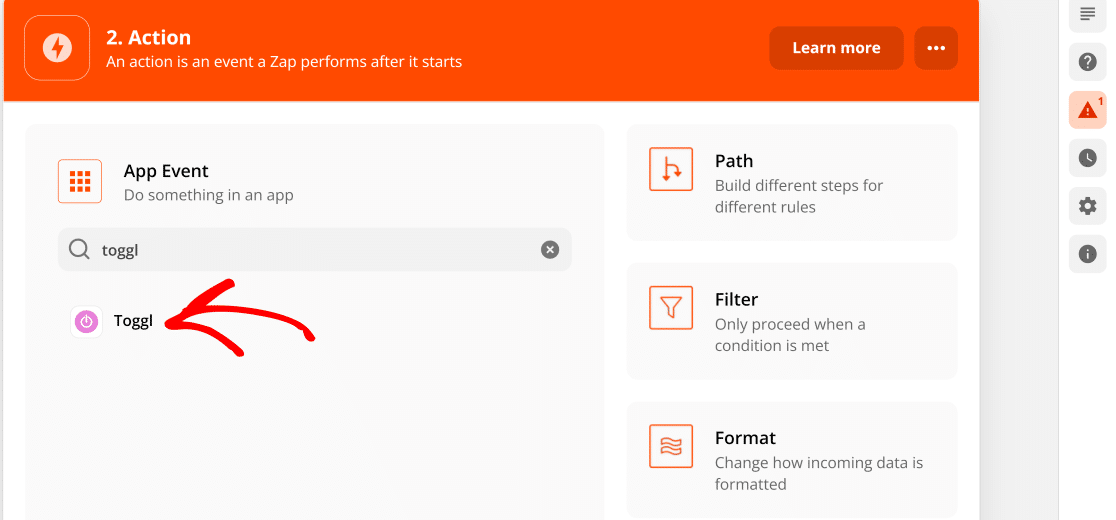
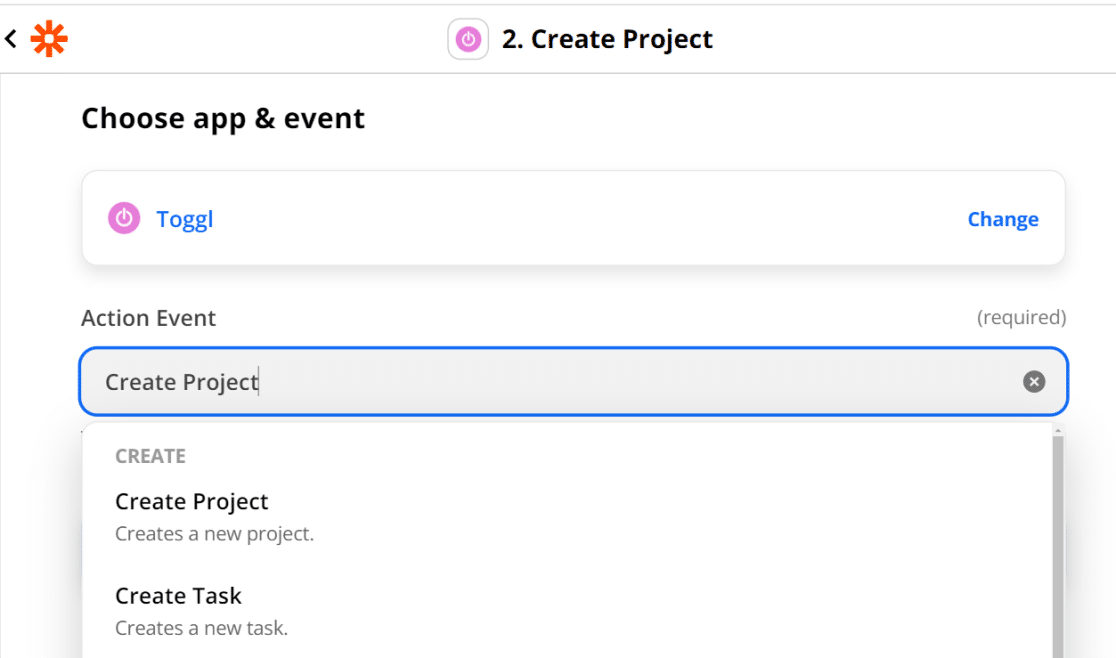
Zapier will now ask you to add an action for the trigger set up above. Here, Search for Toggl and click the icon.
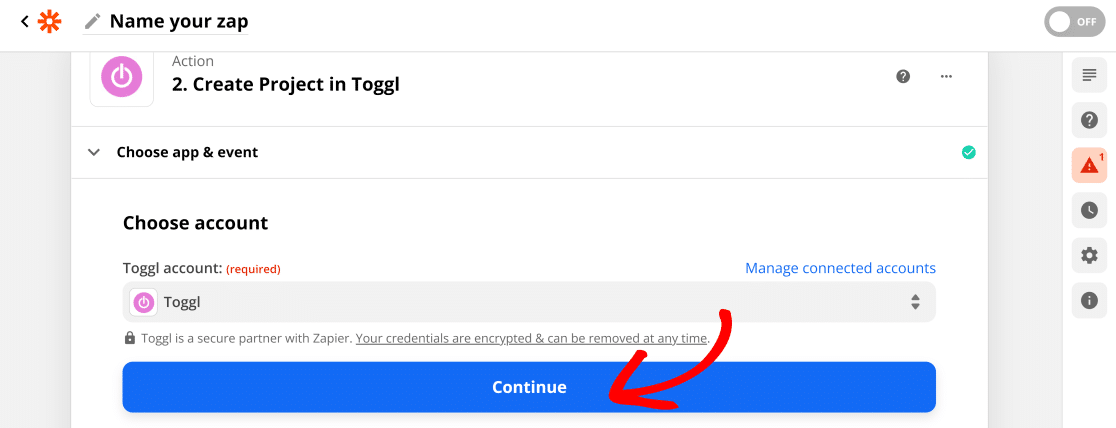
Now, Zapier will ask what you want to do when your WordPress form is submitted. There are lots of awesome things you can do here. For this example, we want to click Create Project and then click Continue.
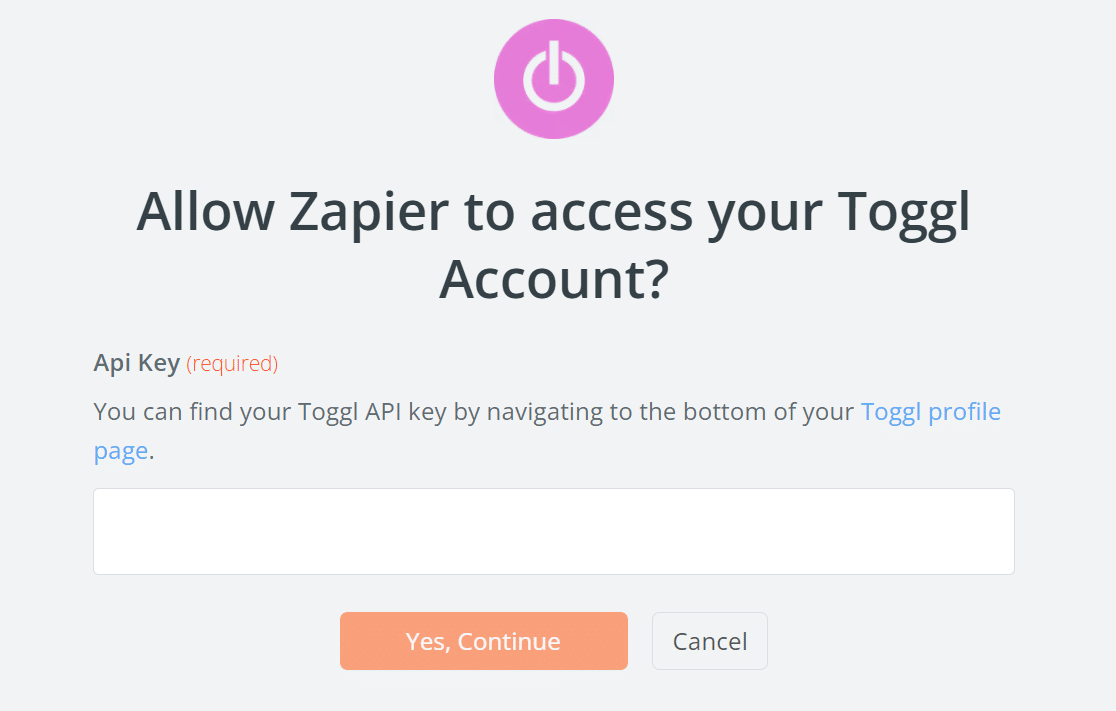
Next, Zapier will ask you to sign in to Toggl. You’ll need to grab your Toggl API key now.
For this, open your Toggl Track dashboard. Then, click on your name on the bottom-left of the page » Profile settings.
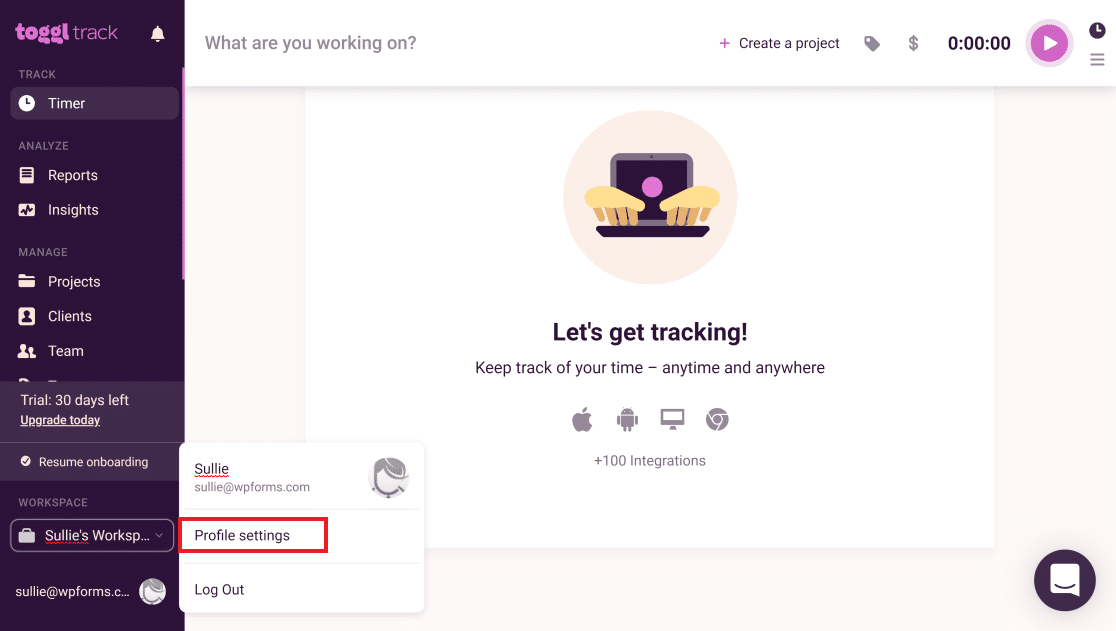
Click Profile Settings, then scroll all the way down to API Token.
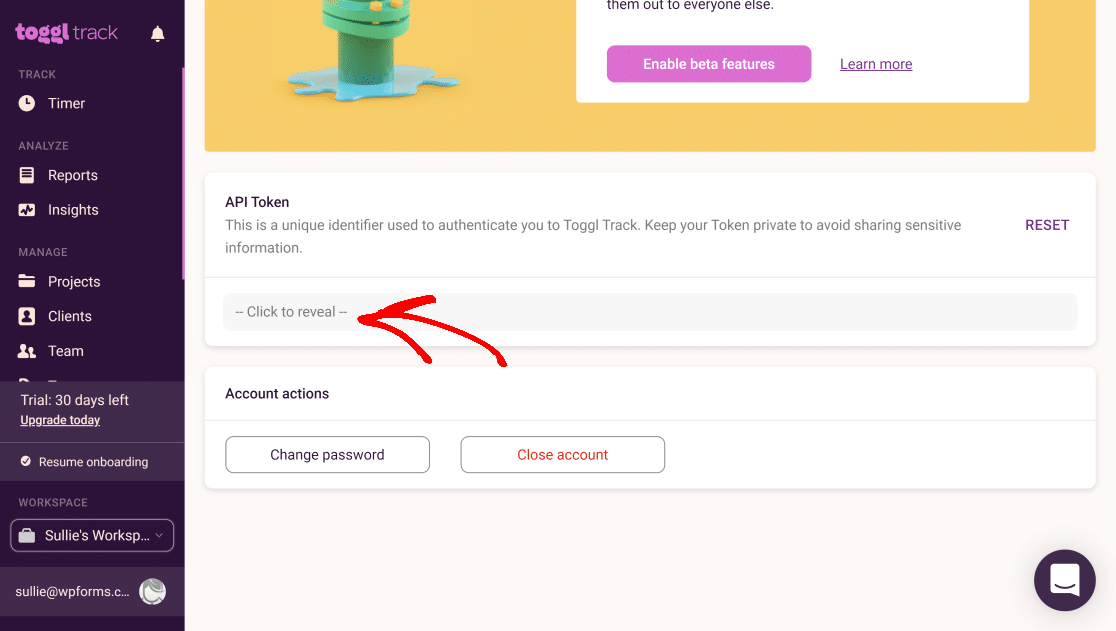
Now you can copy the key and paste it into the Zapier connection window. All done? Click Yes, Continue.
When the window closes, click Continue to move on to the fun part.
It’s time to tell Zapier what your Toggl project should look like when a user fills out a form. Use the dropdowns and fields to get everything mapped the way you want it.
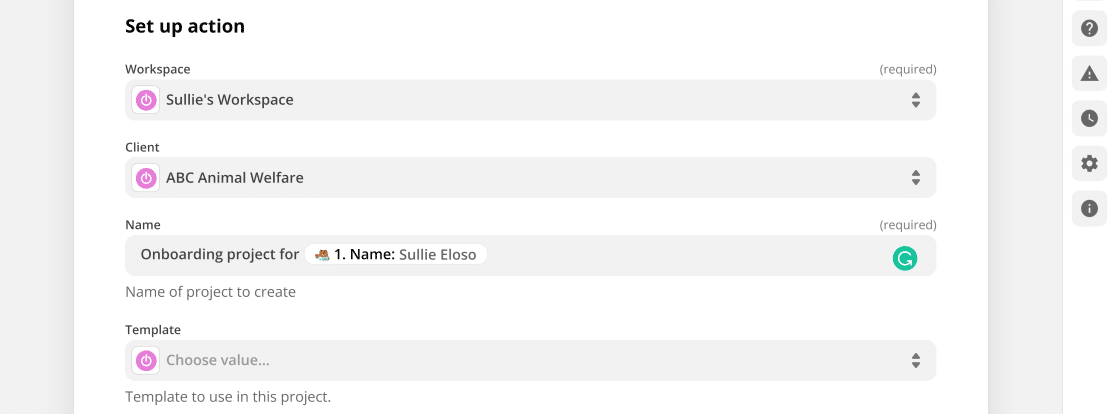
In this example, we customized the name of the Toggl project to include the name of the person who submitted the form. This will make it really easy to see who each project is for.
When you’ve customized the action, click on Continue.
Step 6: Create Your Toggl Project
Now we’re going to tell Zapier to create a Toggl project from our test data.
Once you have everything set up the way you want it, click Test and Continue.
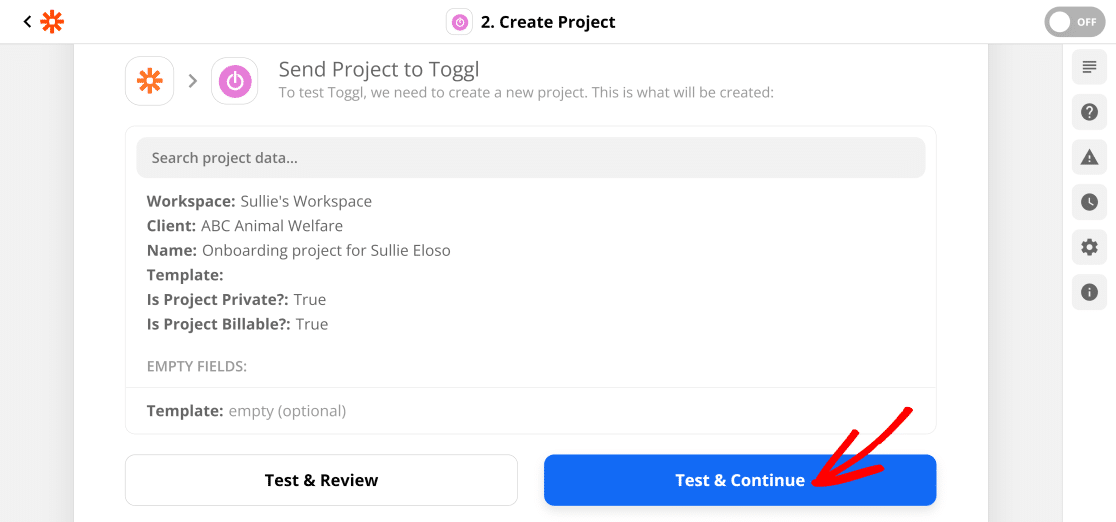
Zapier will copy all of the data from the test WordPress form entry into a Toggl project.
Let’s check everything to make sure it worked.
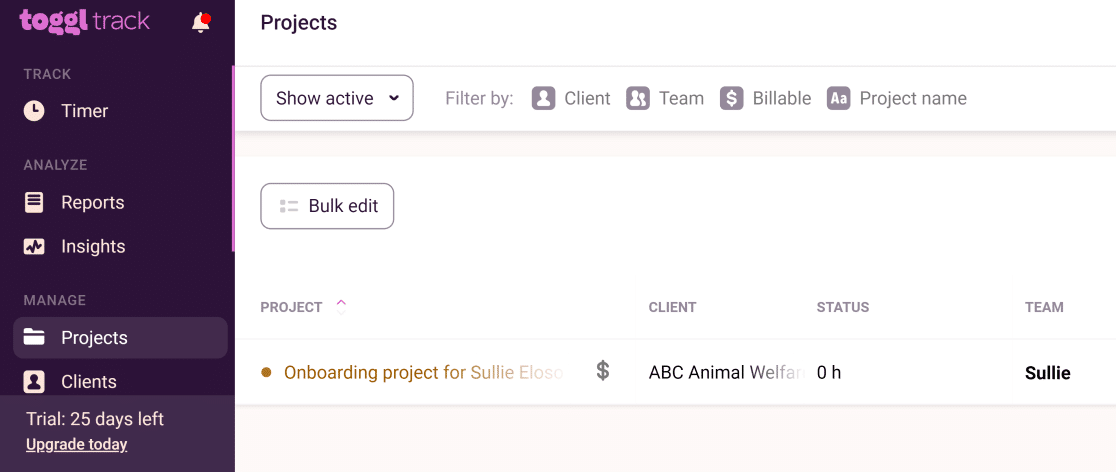
Open your Toggl workspace and navigate to Projects.
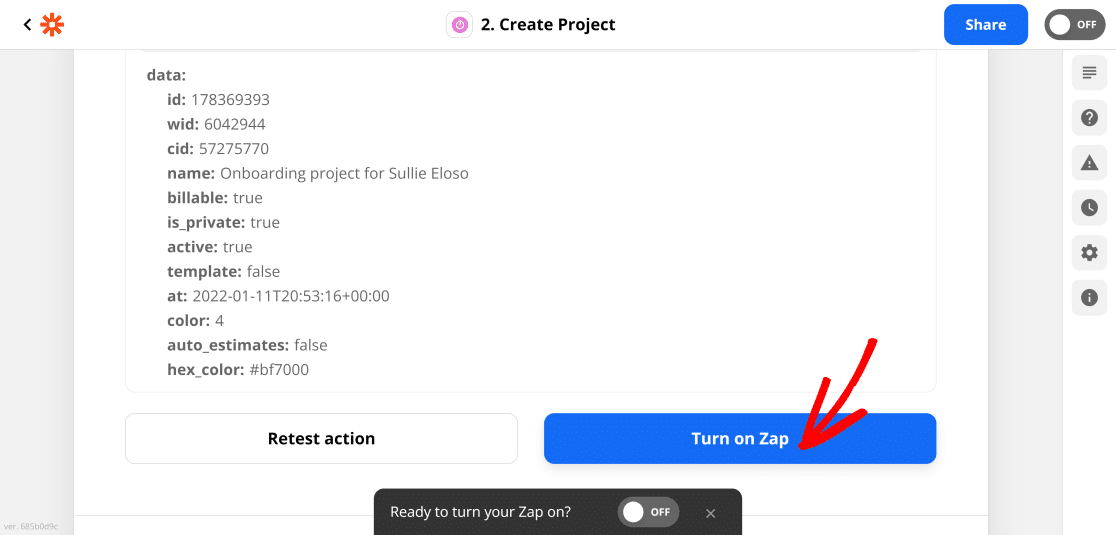
Great! We have a new Toggl project containing all of the information we submitted in WordPress.
Click on Turn on Zap to enable Toggl Track automatic project creation when a user fills out your form using WPForms.
Now we can track the time it takes to onboard our new volunteer.
And that’s it! Now you know how to create a Toggl project automatically from a WordPress form.
If you’d like to send an email confirmation to each volunteer, check out this article on how to send confirmation emails to users. You could also send them a Slack auto invite so they can meet the rest of your team.
Create Your Toggl Project Form Now
Next, Use Slack Integrations for WordPress
To make your work even easier, you can integrate lots of WordPress plugins with your Slack for quick access to all important tasks related to your site. See our guide on top slack integrations for WordPress for more information.
Also, if you’re looking for more project management tips, here’s a really neat way to add a Kanban board in WordPress.
Ready to build your Toggl project form? Get started today with the easiest WordPress form builder plugin. WPForms Pro includes free customizable templates and offers a 14-day money-back guarantee.
If this article helped you out, please follow us on Facebook and Twitter for more free WordPress tutorials and guides.
The post How to Create a New Toggl Project From a WordPress Form (2022) appeared first on WPForms.
source https://wpforms.com/toggl-project/

