Do you want to create a WordPress Salesforce integration? Connecting WordPress to Salesforce lets you create leads, contacts, and accounts automatically from your forms.
In this article, we’ll show you the best way to integrate your WordPress forms with Salesforce. Our method is the easiest way to sync up your site with Salesforce.
Create Your WordPress Salesforce Form Now
Does Salesforce Integrate with WordPress?
Absolutely. You can integrate Salesforce with WordPress to automatically create objects when your forms are submitted.
In this step-by-step guide, we’re going to show you how to integrate Salesforce and WordPress with the WPForms Salesforce addon.
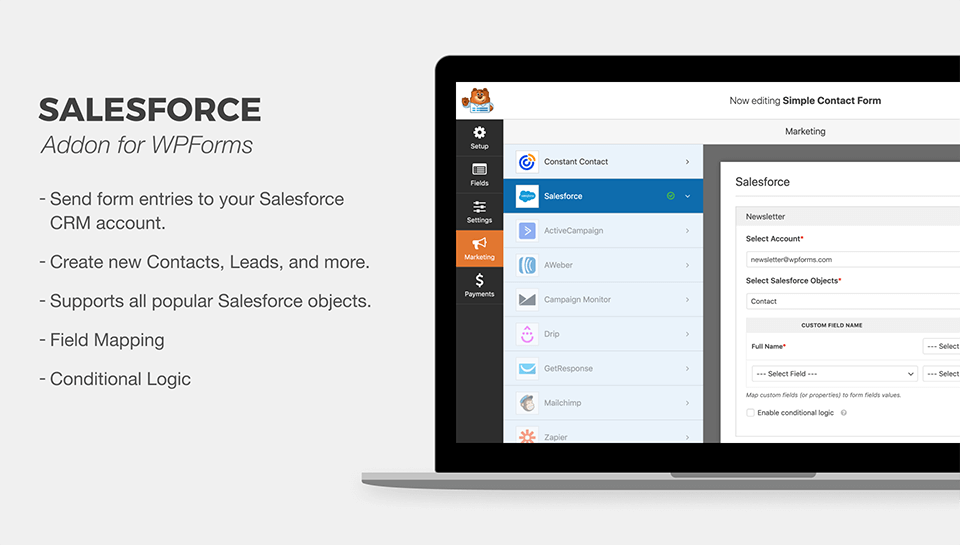
The WPForms Salesforce addon is the best way to get WordPress and Salesforce integrated. You don’t need to pay for a developer to use it because we’re going to show you how to quickly set up the connection yourself.
Let’s get started!
How to Create a WordPress Salesforce Integration
Here’s a table of contents so you can jump to the section you’re looking for in this tutorial:
- Check Your Salesforce Version
- Install the WPForms Plugin
- Set Up Your Salesforce WordPress Integration
- Set Up Your Salesforce App Permissions
- Connect WordPress to Salesforce
- Create Your Salesforce WordPress Form
- Publish Your Salesforce WordPress Integration
This article is aimed at Salesforce users only. If you’re looking for a way to integrate Pardot with WordPress, we have a separate guide on how to create a custom Pardot form in WordPress that you can switch to.
OK, we’re ready to get started with Salesforce!
Step 1: Check Your Salesforce Version
Before we start, let’s check that your Salesforce account has API access. Quickly checking this now will avoid any issues later on.
API access available on these Salesforce plans:
- Enterprise Edition
- Developer Edition
- Unlimited Edition
- Performance Edition
To check your Salesforce edition, log in to Salesforce now. Your edition will be displayed in the title area of your browser tab like this:

If you can’t see the edition, there’s another way to check.
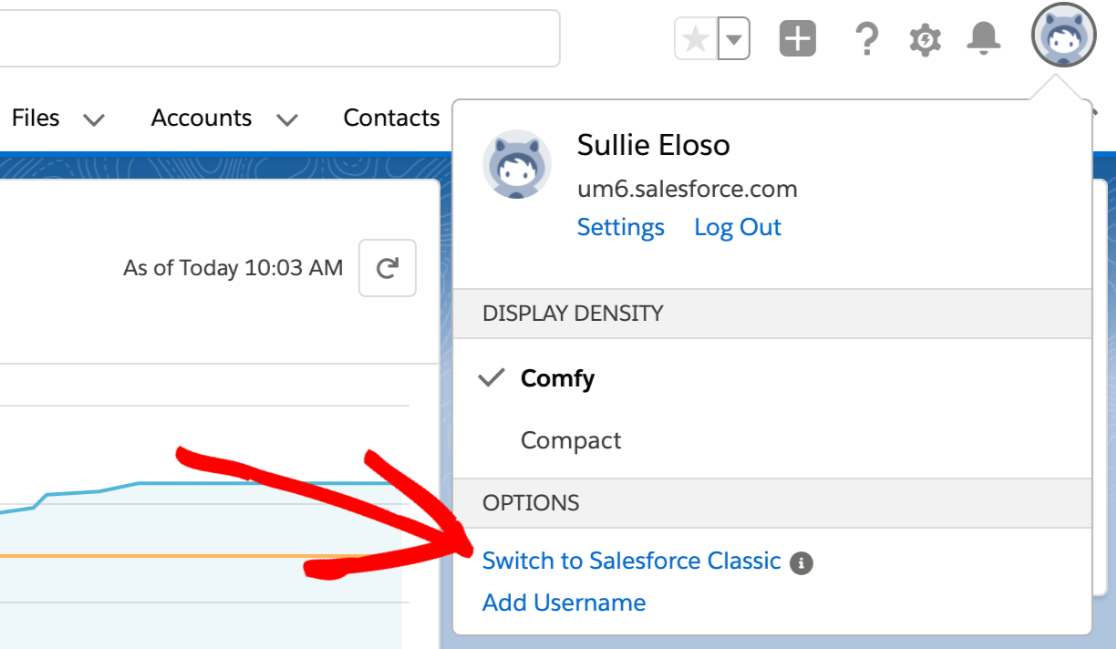
First, if you’re in the Lightning Experience, click your profile icon and then click Switch to Salesforce Classic.
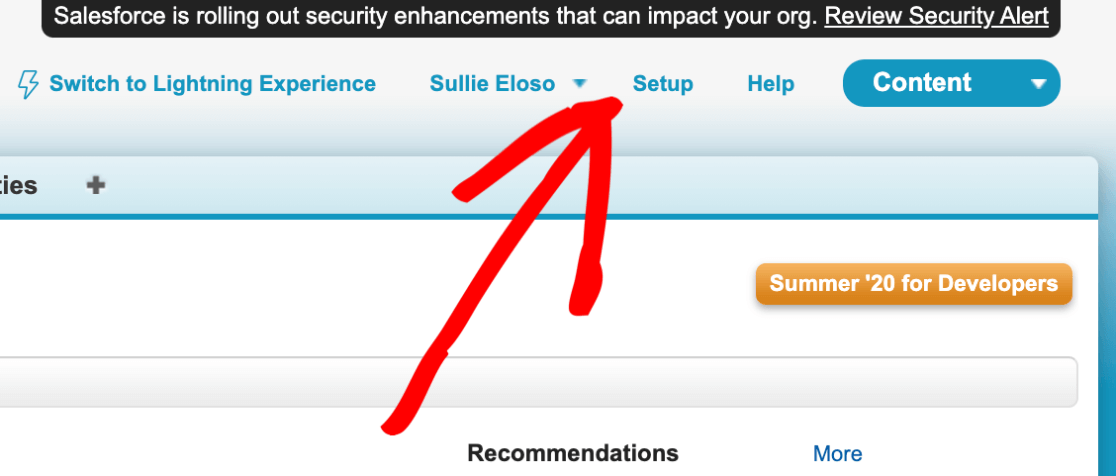
Next, go ahead and click Setup at the top.
Now expand Company Profile, then click Company Information.
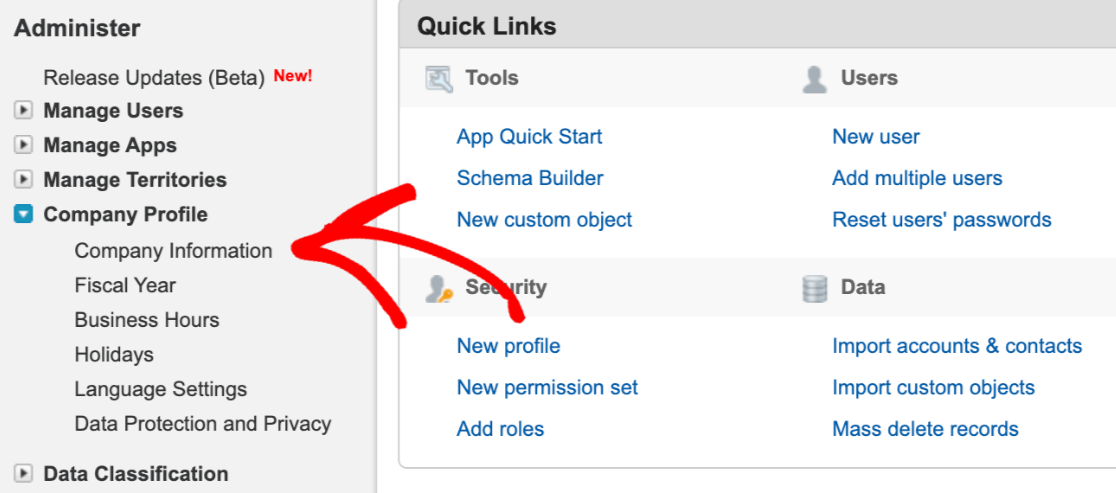
Your Salesforce edition is listed towards the bottom of this page on the right.
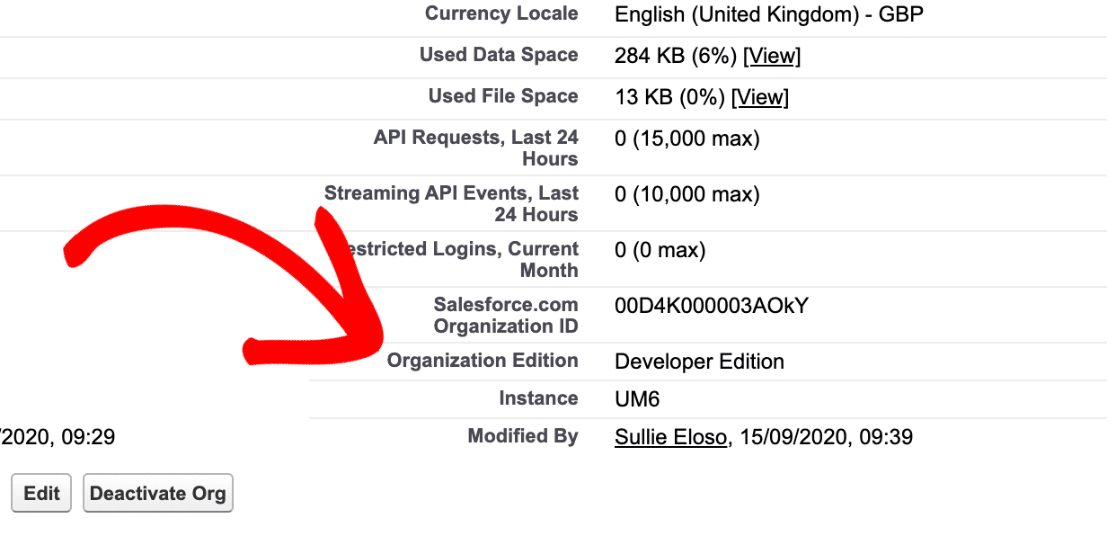
If you’re not using one of the editions that we mentioned at the start, now is the perfect time to reach out to Salesforce to change it.
If you’re already on an edition with API access, we can move on to the next step. You can keep the Salesforce site open in a tab so it’s easy to switch back to.
Step 2: Install the WPForms Plugin
Now we’re ready to install and activate the WPForms plugin so we can set up our connection to Salesforce.
Here’s a helpful step by step guide on how to install a WordPress plugin if you need a little help getting WPForms installed on your website.
Next, you’ll want to install and activate the Salesforce addon for WPForms. In the WordPress dashboard, click WPForms » Addons in the sidebar.
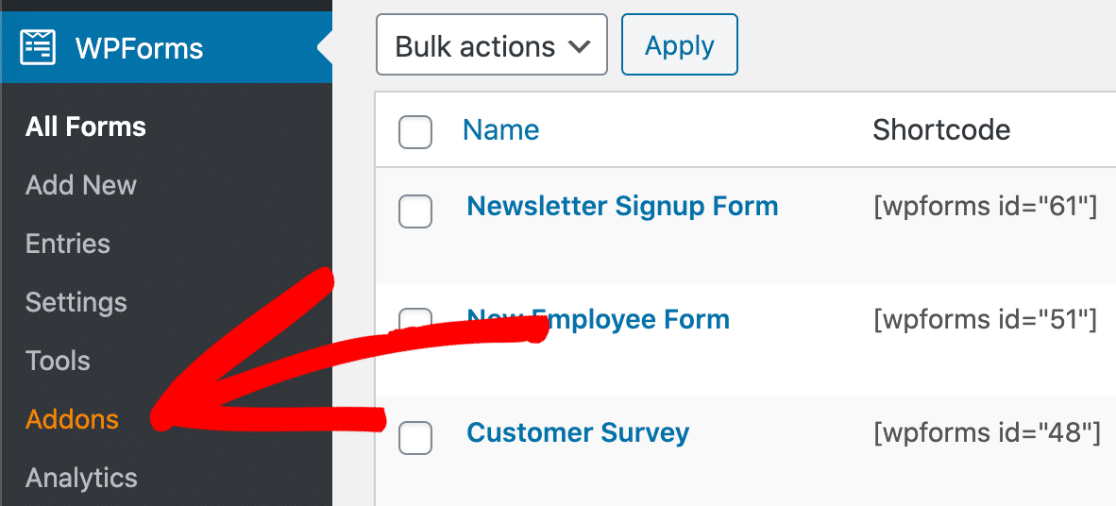
And then install the Salesforce addon by clicking this button:
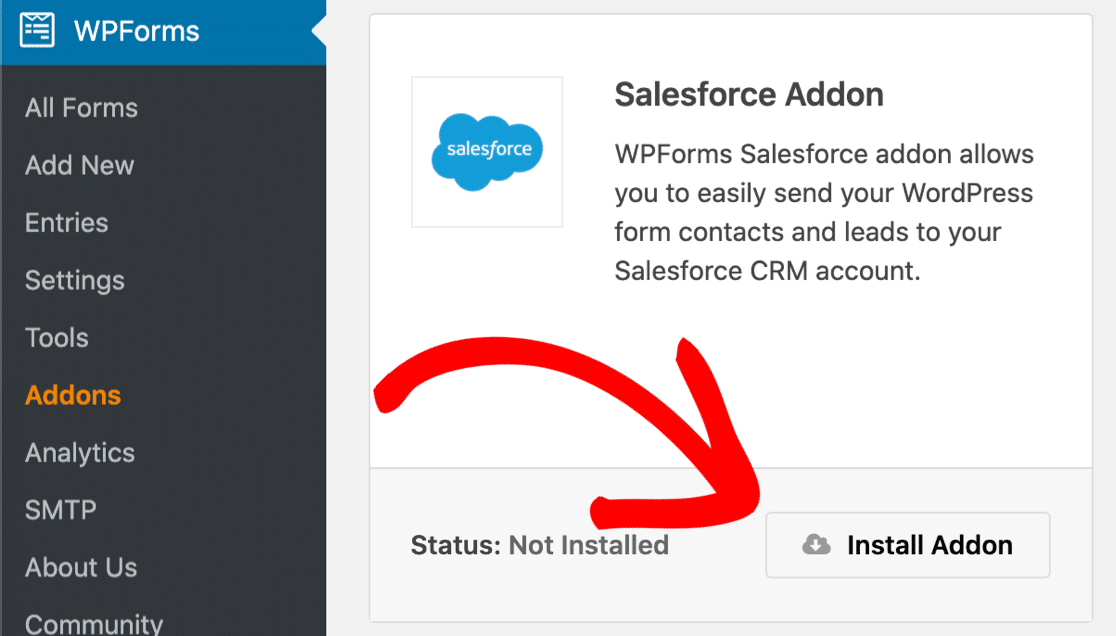
Great! We’re all set.
Let’s connect WPForms to Salesforce now. Keep the WordPress tab open to make it easy to switch back to WPForms as we move through the next step.
Step 3. Set Up Your Salesforce WordPress Integration
In this step, we’ll set up a Salesforce app. We need an app so that WPForms can make a connection to our site.
To start, log in to your Salesforce account if you haven’t done that already. You’ll want to switch to the Salesforce Classic layout if you haven’t done that yet.

When the Classic screen loads, click Setup in the top navigation bar.

Next, you’ll need to scroll down and look for the Build menu item on the left hand side. Click Create to expand the list, and then click the Apps link underneath it.
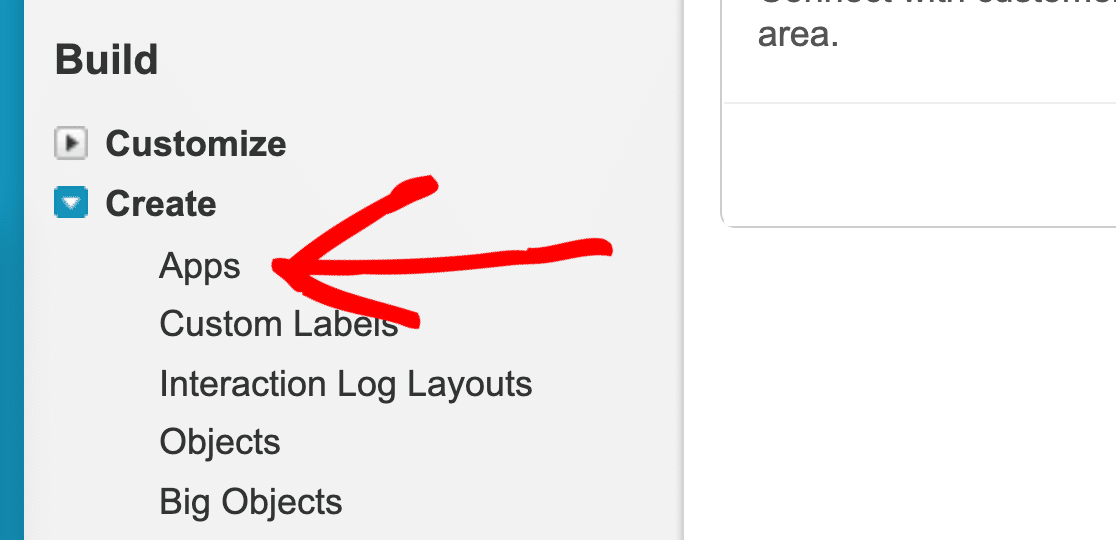
Now we’re going to scroll down to the Connected Apps section of the page. Go ahead and click the New button.

We’re ready to make our app in the New Connected App screen. There are 2 fields to fill in first:
- In Connected App Name, type in a name for your app. You can type anything that makes sense to you. When you’re done, Salesforce will automatically copy your name to the API Name field.
- In Contact Email, type in your email address.
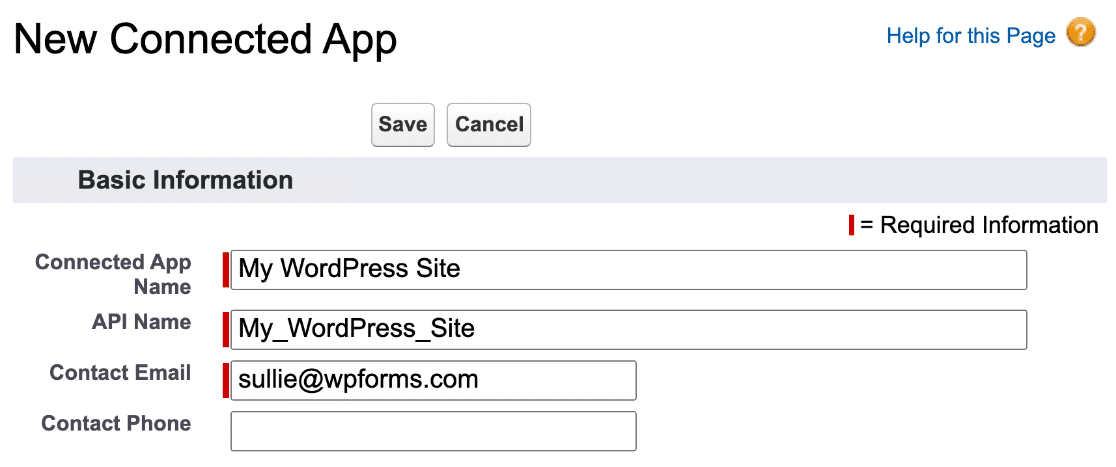
OK, that’s all we need to do, but stay on this screen for the next step.
Step 4. Set Up Your Salesforce App Permissions
Now we need to set up the authentication for the new app we created.
Go ahead and scroll down to the API section and tick the Enable OAuth Settings checkbox.

Now we’re going to need to grab the WPForms callback URL so we can paste it into Salesforce.
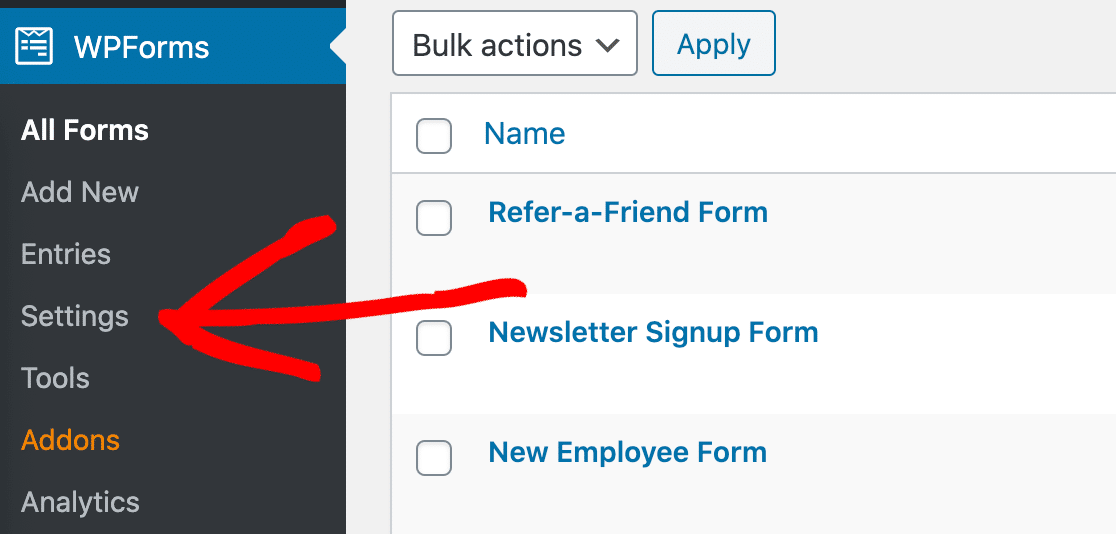
Switch back to your WordPress site in a separate tab and click WPForms » Settings.
Now look to the tabs at the top and click Integrations.

You’ll need to scroll down the Integrations page until you find the Salesforce icon.
On this line, click the small arrow to the left of the logo to expand the box. You can go ahead and click the Add New Account button.
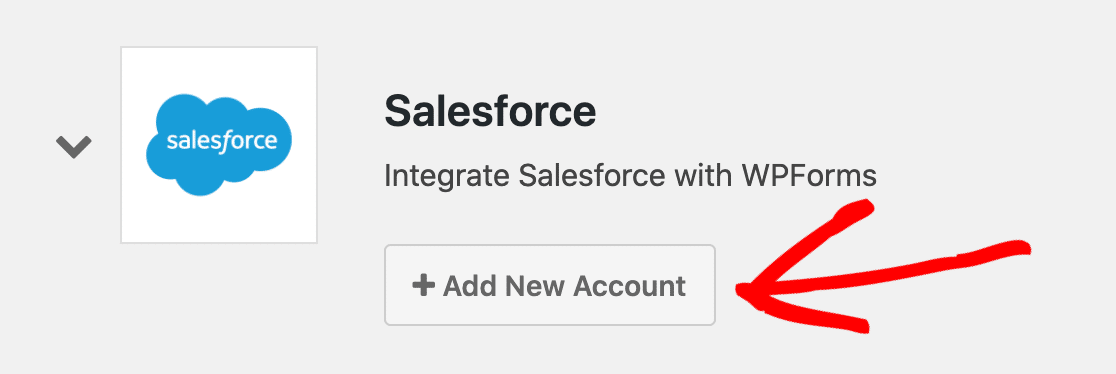
And here it is – the Callback URL. Click the copy icon here to copy it to your clipboard.
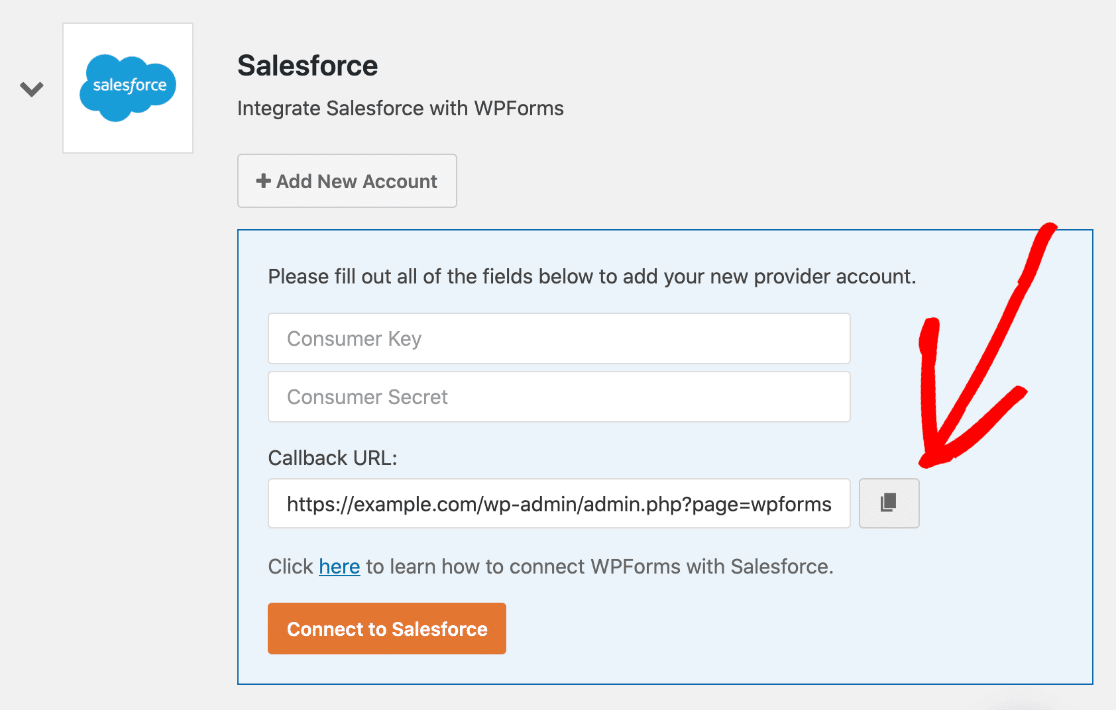
Switch back to your Salesforce tab now. Let’s paste that Callback URL into the OAuth settings box like this:

Great. We’re almost done here. Let’s scroll down a little to Selected OAuth Scopes and look for these 2 items:
- Access and manage your data (api)
- Perform requests on your behalf at any time (refresh_token, offline_access)
Use the arrows on the right to add those 2 permissions to the Selected OAuth Scopes box on the right hand side.
Here’s a quick video to show how this works:

All set? Great. Now you can click Save at the bottom of this screen.
Salesforce will show you a message now to confirm that it’s setting your app up in the background.
We recommend that you wait at least 10 minutes before moving on to Step 4. If you try to race ahead, you’ll see an error that looks like this:
error=invalid_client_id&error_description=client%20identifier%20invalid
Don’t worry! This error just means that your connection hasn’t been set up in Salesforce. It’s best to wait a few more minutes before trying again.
Step 5. Connect WordPress to Salesforce
Great! Now we’ve waited for 10 minutes, we can go ahead and copy the API keys into WordPress.
Just like before, you’ll want to have Salesforce and WPForms open in different tabs.
Follow these 2 steps to copy the keys:
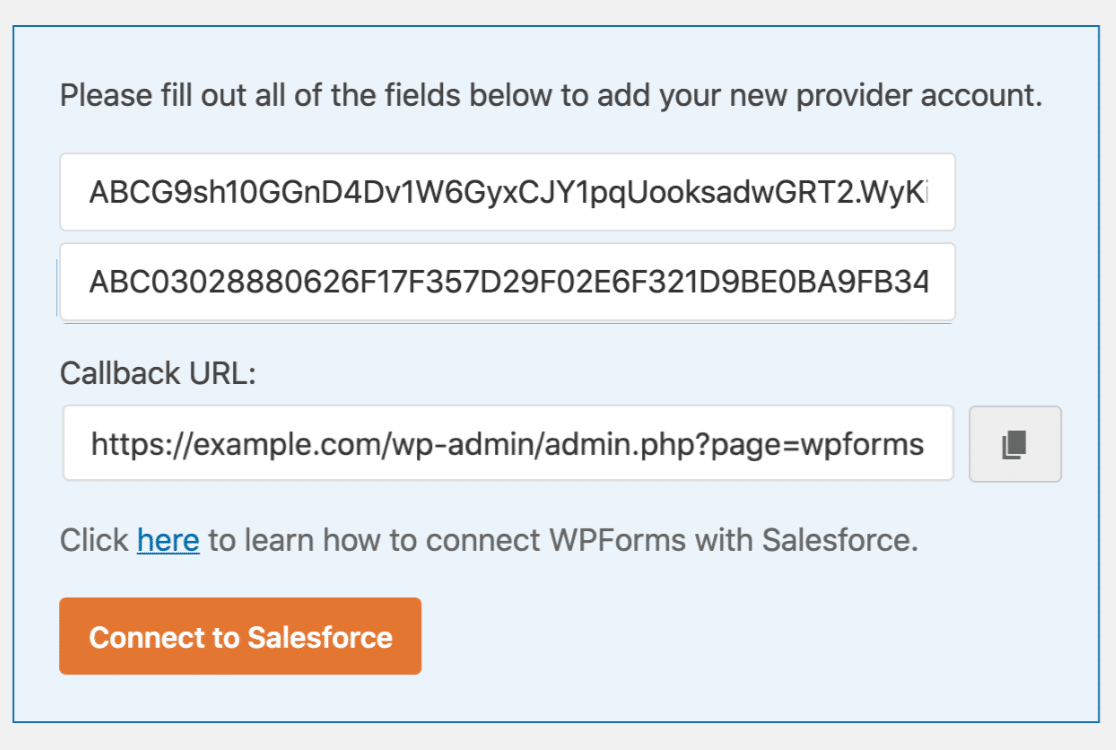
- In your Salesforce browser tab, press the Copy button next to Consumer Key. Switch to the WPForms tab and paste the key in.
- Switch back to your Salesforce tab and look to the right. Next to Secret Key, press Click to reveal. Copy the key, then switch back to WPForms and paste that in too.
That’s everything done. You can click Connect to Salesforce.
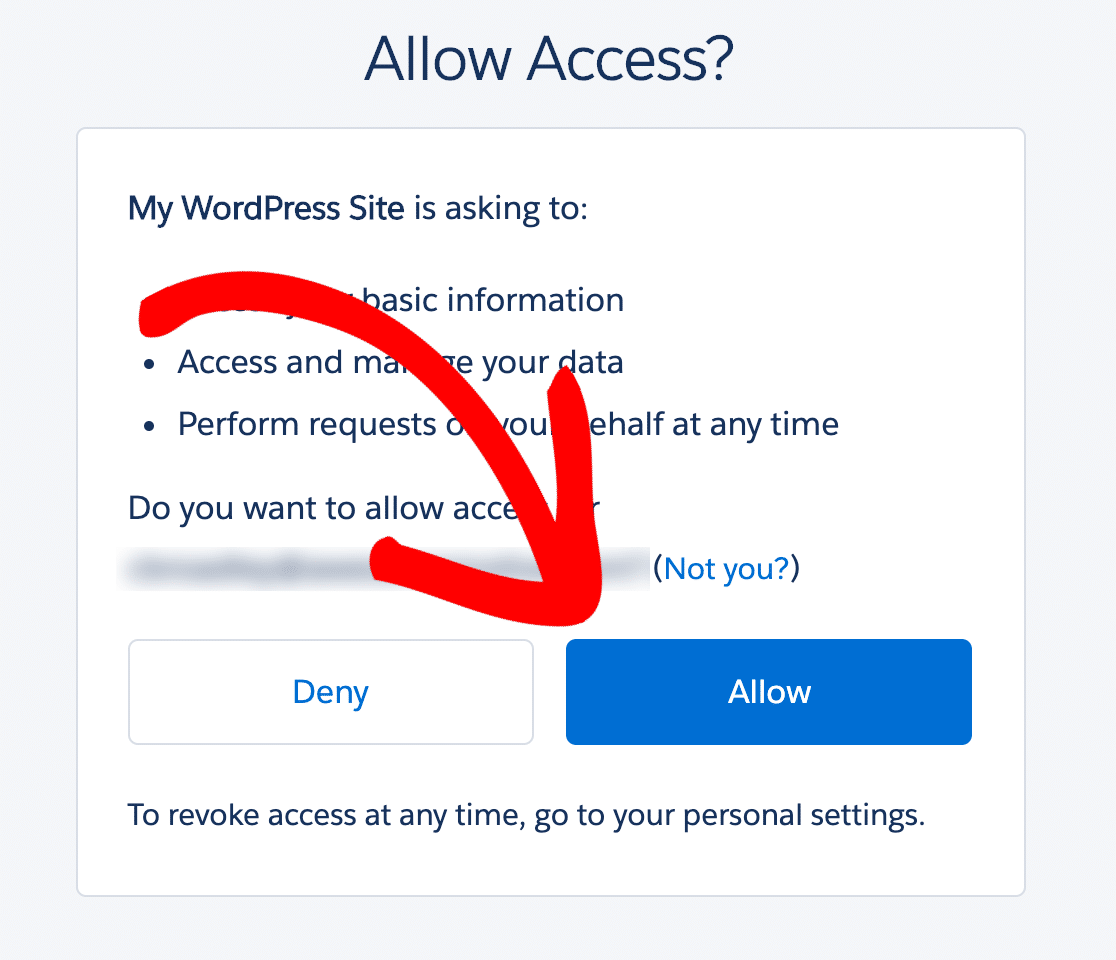
You may need to log in to Salesforce again here. Once you’ve one that, click the blue Allow button.
And that’s it! Your Salesforce account is connected to WordPress.
You can see that we have a success message in WPForms at the top of the screen now:
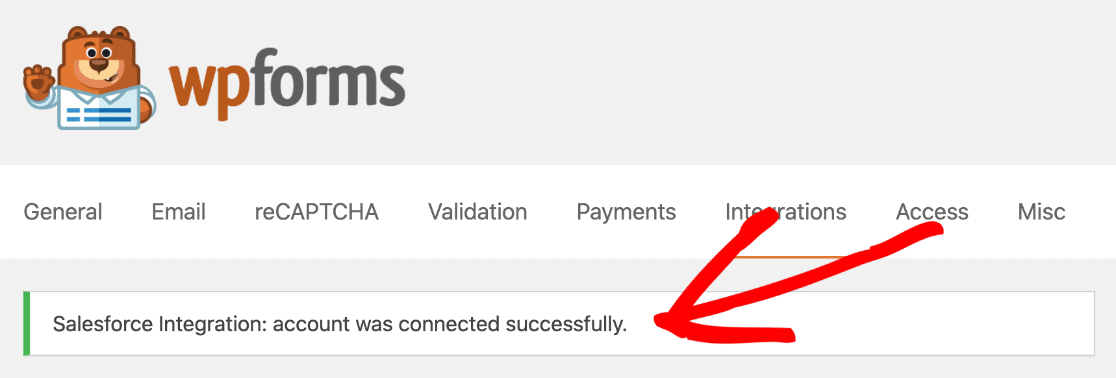
And we have a connected account on the Integrations page too!

That’s the hard part over. Now let’s make the form.
Step 6. Create Your Salesforce WordPress Form
Now we have our Salesforce WordPress integration set up, we’re ready to send data from a form to Salesforce.
If you don’t already have a contact form on your site, jump over to this guide on how to create a simple contact form. Come back to this page when you have your form set up the way you want it.
WPForms lets you connect any form to Salesforce. And each form can create a different object. You can create:
- Accounts
- Campaigns
- Cases
- Contacts
- Leads
- Opportunities
- Products
In this example, we’re going to create a lead from the contact form we made.
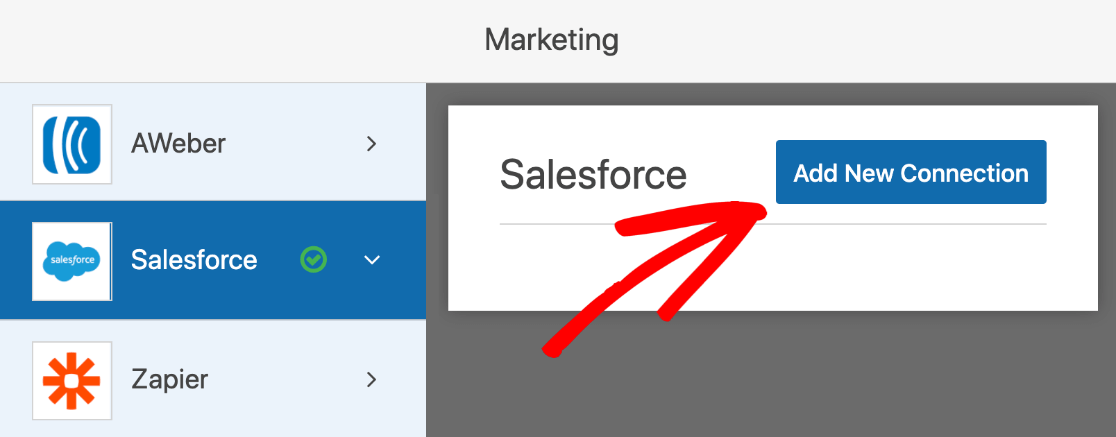
Start in the form builder and click Marketing on the left.
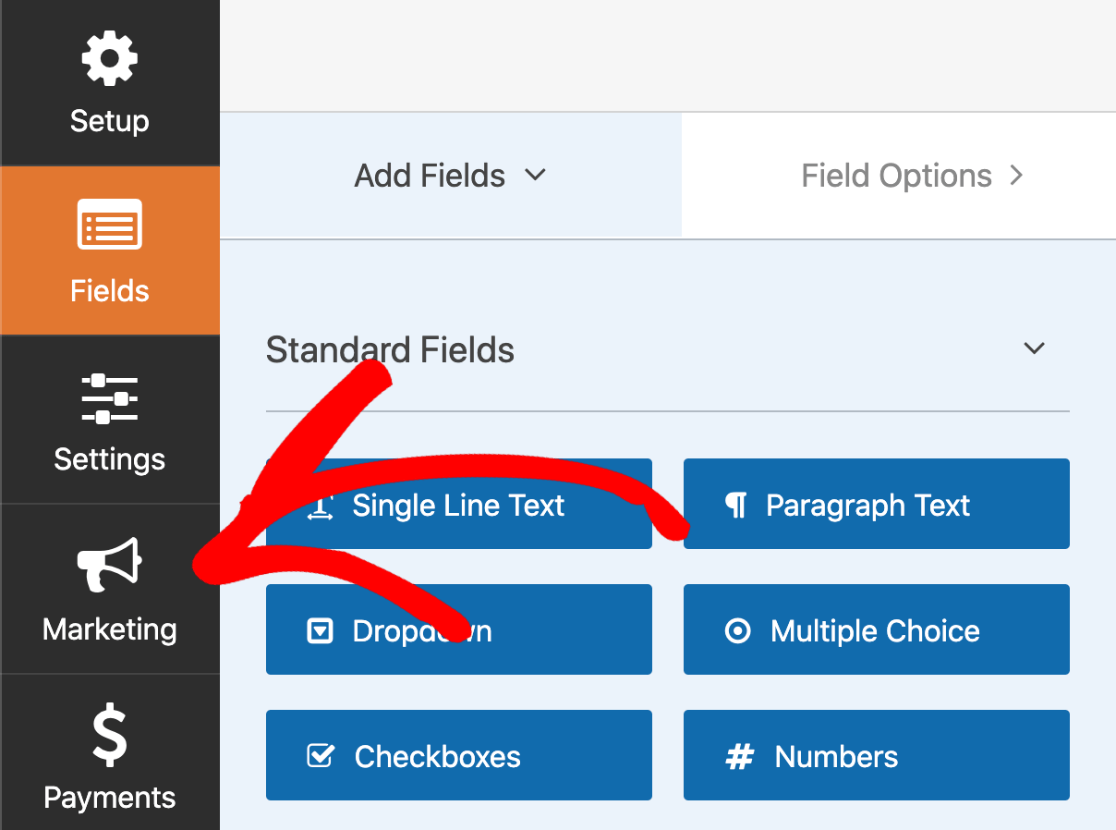
From here, click Salesforce. Then click Add New Connection.
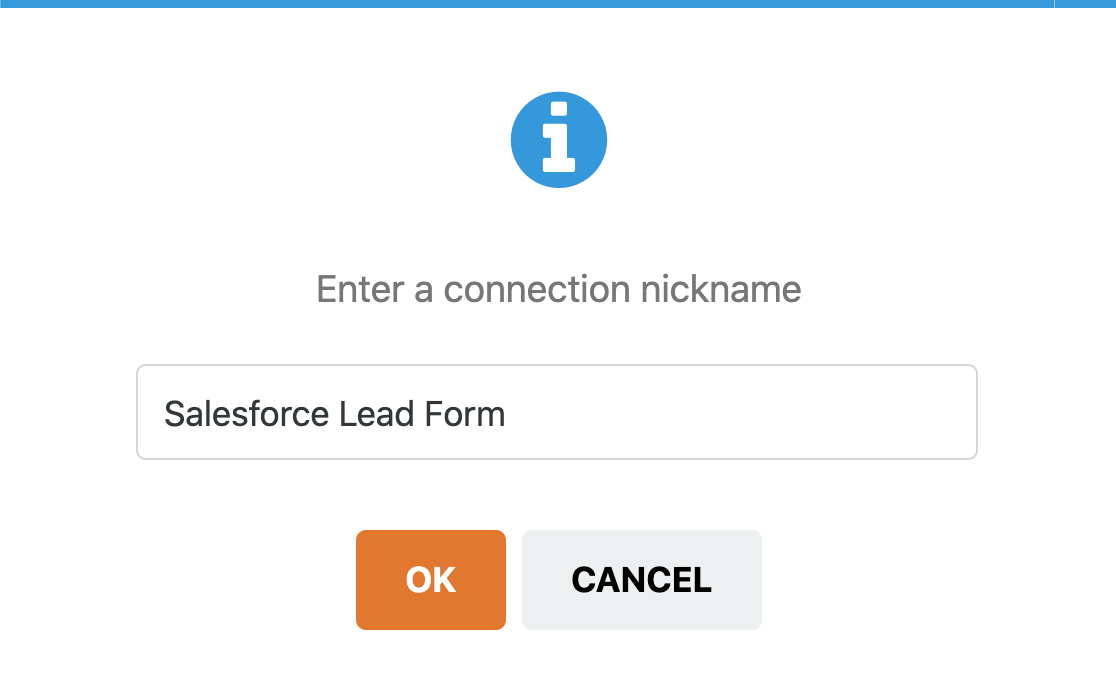
WPForms will ask you to give your connection a name. This will appear in the form builder so you can easily identify it later.
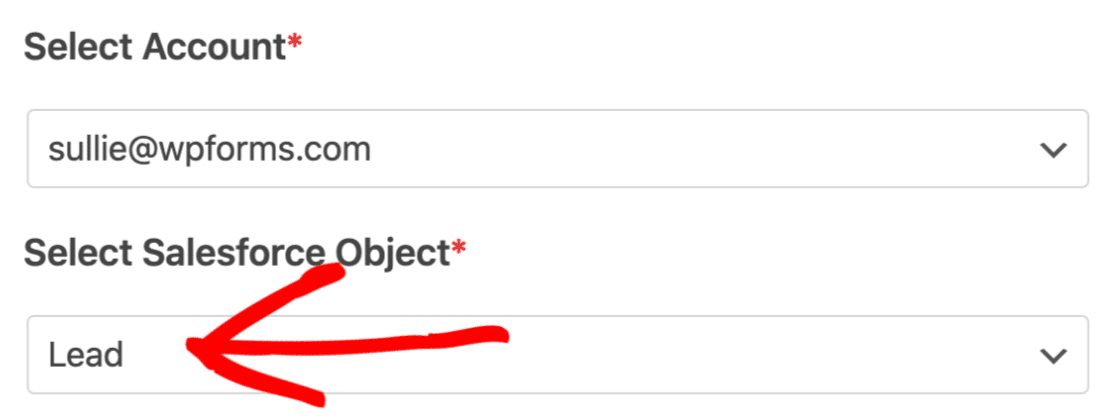
Now select the Salesforce account you set up earlier from the first dropdown. In the second one, let’s select Lead.
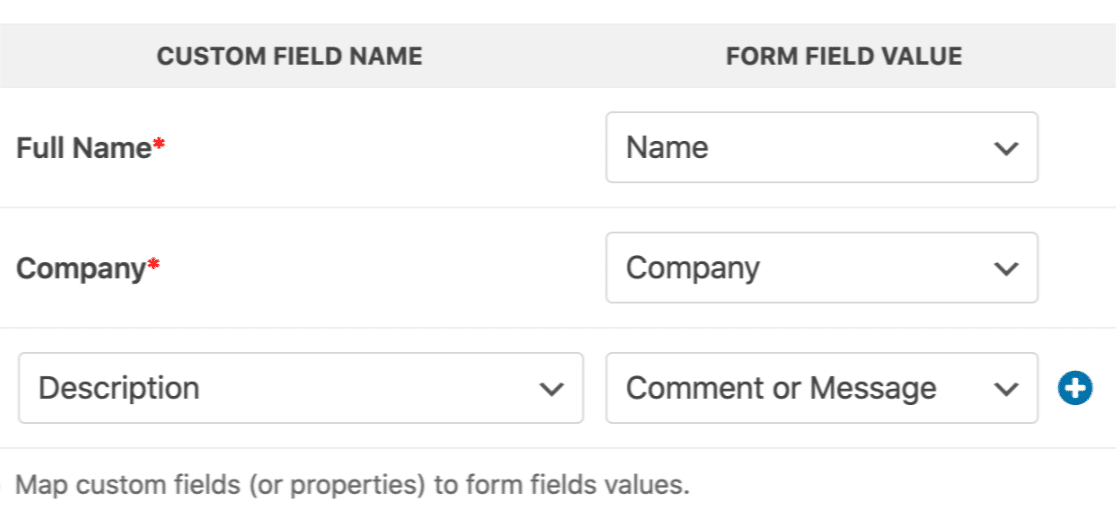
Underneath, we’re going to map the fields on the contact form to the fields in the leads area of our Salesforce account.
You can stop here and save the form if you’d like to. But here’s another neat trick. We can use smart conditional logic to automatically filter the leads that get sent to Salesforce.
For example, on our form, we asked our visitors if they wanted to hear more about our product. If we enable conditional logic, we can choose to only send the lead to Salesforce if the visitor answered Yes.

That’s it. Just click Save at the top to save your progress.
We’re almost done!
Step 7: Publish Your Salesforce WordPress Integration
The final step is the easiest of them all. You can publish your form without using any code.
This part takes just a few minutes.
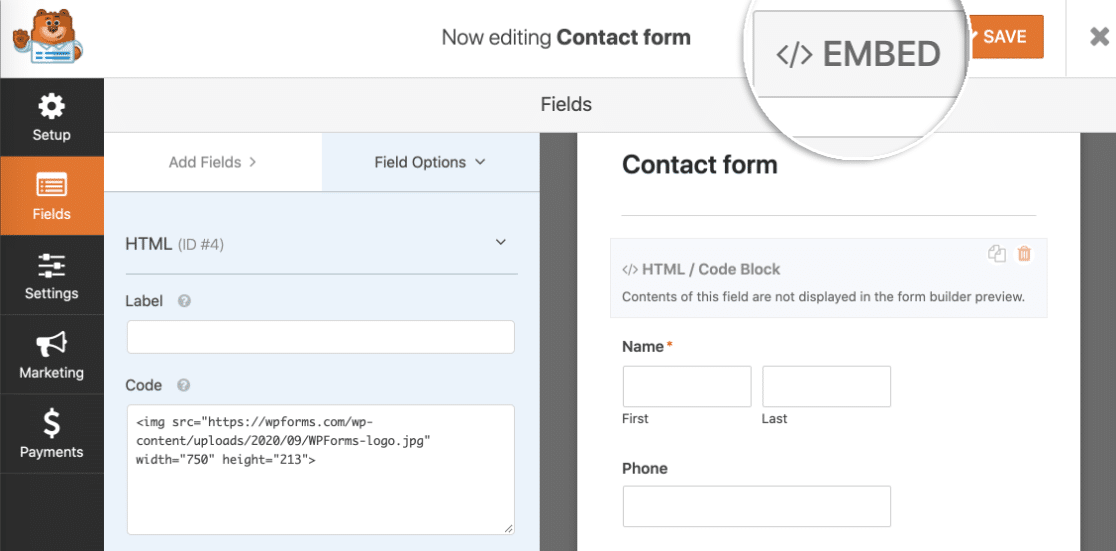
At the top of the form builder, click Embed.
Now let’s click Create New Page.

Now type in a name for your new page here.

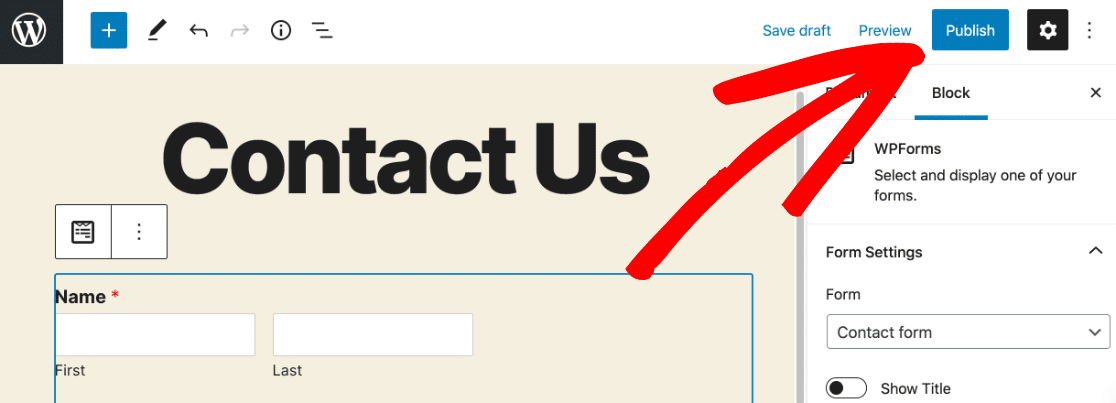
When you click the Let’s Go button, WPForms will automatically create a WordPress page with your form embedded in it. All we need to do now is press the blue Publish button to go live.
And we’re done! You can test the form now and check that everything’s working. When you submit the form entry, you’ll see the corresponding entry appear in Salesforce:

And that’s it! Your WordPress Salesforce integration is live.
Create Your WordPress Salesforce Form Now
Next Step: Save Your Form Entries
Do you want to view your form entries in WordPress as well? Saving your entries in the WordPress dashboard makes it easy to see how your lead capture forms are performing.
Check out this guide on how to save contact form entries in the WordPress database to quickly learn how this works.
Ready to build your form? Get started today with the easiest WordPress form builder plugin. WPForms Pro includes free form templates and offers a 14-day money-back guarantee.
If this article helped you out, please follow us on Facebook and Twitter for more free WordPress tutorials and guides.
The post How to Create a WordPress Salesforce Integration (The BEST Way) appeared first on WPForms.
source https://wpforms.com/the-easy-way-to-capture-leads-from-wordpress-to-salesforce/

